If you have a bird problem on your roof right now, here is the fastest path forward: figure out which bird, find exactly where it is getting in or roosting, stop new birds from entering (without sealing any in), clean up any droppings safely with a respirator, then block every gap permanently once the birds are out. The rest of this guide walks you through each step in the right order so you do not make the classic mistake of trapping birds inside your roof space.
Bird Problem on Roof: Humane Steps to Identify and Exclude

Maya Carver
19 May 2026
Quick diagnosis: what bird, where, and how it's getting in
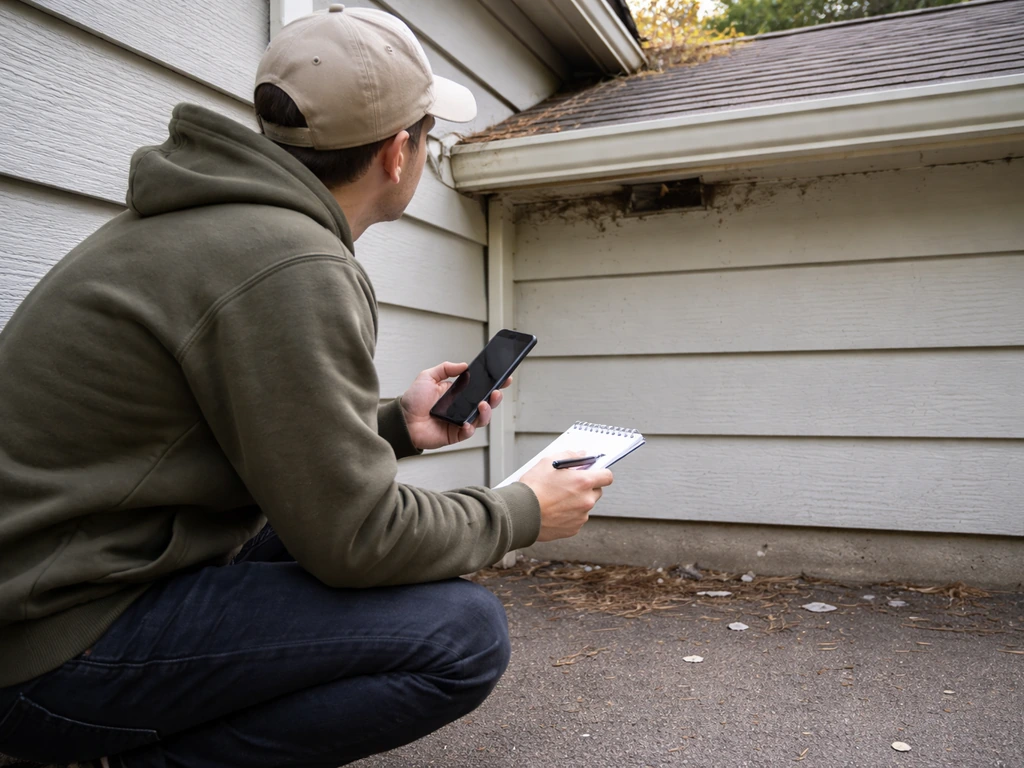
Before you do anything physical, spend 10 minutes watching from the ground. You need three pieces of information: the species involved, the exact location on the roof, and how the bird is accessing that spot. Each of those answers changes what you do next.
Identify the species first
The most common roof culprits are pigeons, starlings, sparrows, and in some regions woodpeckers, seagulls, or crows. Pigeons tend to roost in flat or low-slope areas and under solar panels. If the bird activity is specifically under your solar roof panels, the removal and exclusion steps need to be coordinated so you do not trap birds inside while taking the array off under solar panels. Starlings and sparrows go straight for vents, gaps under ridge tiles, and open eaves. Woodpeckers peck fascia boards or soffits. Seagulls nest on flat commercial roofs. Knowing the species matters for two reasons: legal protection status (more on that below) and the right deterrent or exclusion method. The UK government’s March 2026 nesting advice note also covers prevention and deterrence before nest construction, with a range of methods and mitigation planning for nesting birds blank" rel="noopener noreferrer">deterrent or exclusion method.
Pinpoint the problem location
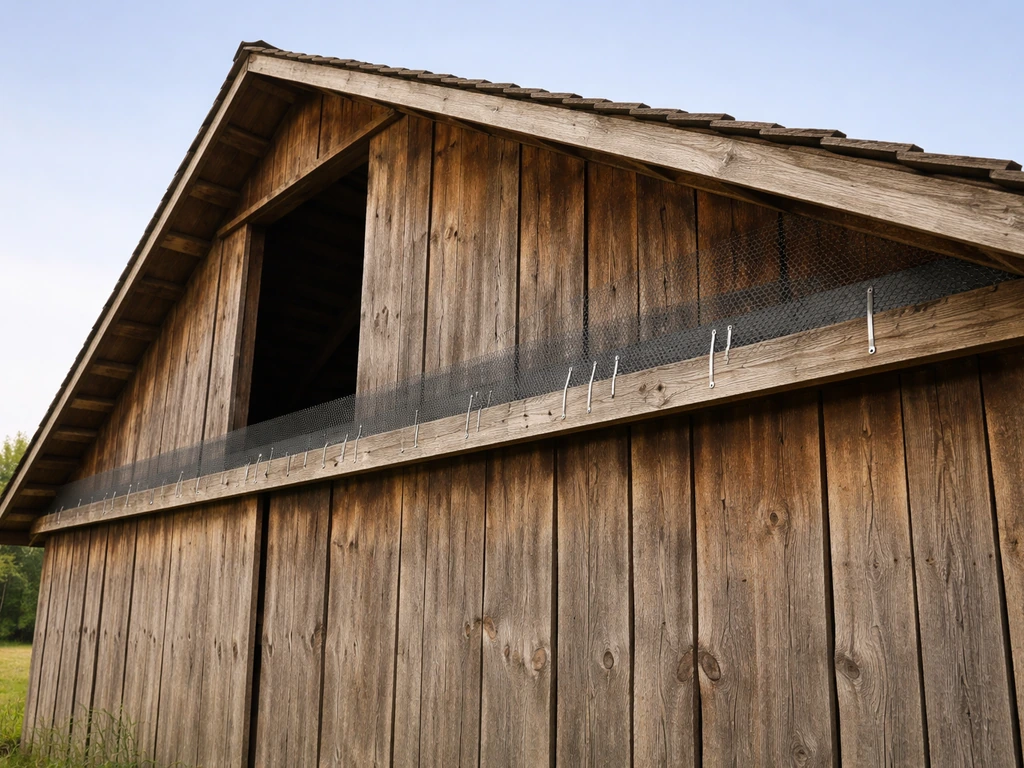
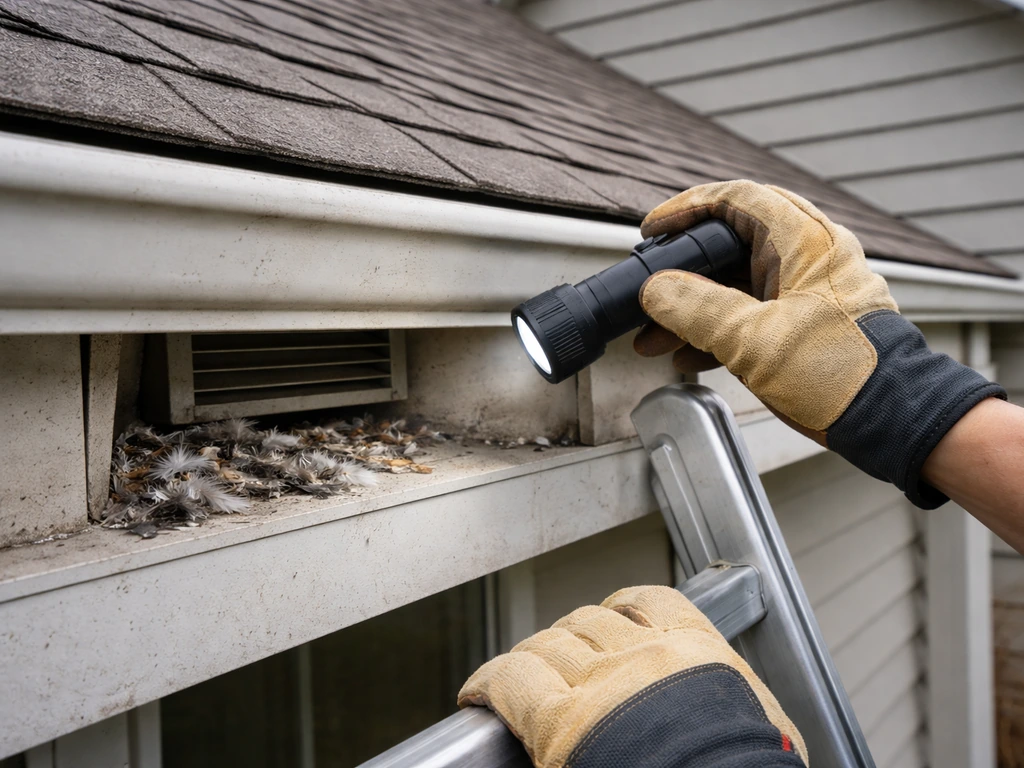
Look at the roof in sections. Common hotspots include ridge lines, open or poorly screened roof vents, chimney gaps and the space behind flashing, soffits with rot or gaps, open eaves, under solar panels, and flat roof parapet ledges. Check for droppings clusters directly below a roost point as a fast indicator. Once you find the droppings clusters, you can identify the specific roof bird entry points to seal after the birds have left. At dusk or dawn, watch the roofline and you will see exactly where birds are entering or landing.
Figure out whether they are roosting, nesting, or already inside
| Situation | Signs to look for | Urgency |
|---|---|---|
| Roosting on the roof surface | Droppings on ledges/tiles, feathers, noise at dusk and dawn | Medium — can start deterrents today |
| Nesting in a vent or gap | Nesting material visible, persistent chirping from one spot, parents making repeated short flights to the same point | High if active nest with eggs/chicks — legal restrictions apply |
| Birds already inside roof space | Sounds of movement inside, droppings on ceiling below, birds appearing in loft | High — use one-way exit strategy, do not seal yet |
| Pecking or structural damage | Holes in fascia, soffits, or tiles; drumming sounds | High — stop damage and seal after birds leave |
Immediate safety steps and emergency actions
Two risks need to be dealt with before anything else: physical fall hazard from roof access, and health hazard from accumulated droppings. Do not skip either. Histoplasmosis, a fungal lung infection, is caused by breathing in Histoplasma spores that grow in soil or materials heavily contaminated with bird droppings. Psittacosis is another respiratory illness linked to aerosolized dried droppings. CDC/NIOSH also notes other infectious disease risks for workers related to contact with birds and bird droppings, including psittacosis from aerosolized contaminated material. The CDC and NIOSH recommend NIOSH-approved N95 filtering facepiece respirators as minimum protection when disturbing any accumulation of bird droppings, along with gloves and eye protection.
- Do not go on the roof alone. Use a secured ladder, wear non-slip footwear, and have someone hold the base.
- Put on an N95 or higher respirator, nitrile gloves, and safety glasses before getting near any droppings.
- Wet droppings lightly with water and a drop of dish soap before disturbing them — this reduces airborne dust significantly.
- Keep pets and children away from areas below a roost while droppings are accumulating.
- If birds are already inside your loft or roof space, do not open internal access hatches without a plan — you may drive the bird deeper into the structure.
- Do not seal any entry point until you are confident all birds are out. Sealing birds inside leads to dead birds, odor, flies, and secondary pest problems.
If you have a large-scale infestation with several years of droppings buildup, the cleanup alone qualifies as a biohazard job. In that case, stop, call a wildlife exclusion contractor, and do not disturb the material yourself.
DIY humane deterrents for roofs
Deterrents work best as a holding measure while you prepare a permanent exclusion, or as the primary solution for open roosting on ledges and flat surfaces where there is no actual entry point to seal. On their own, deterrents rarely solve a nesting or inside-roof problem permanently. Use them in combination and be consistent.
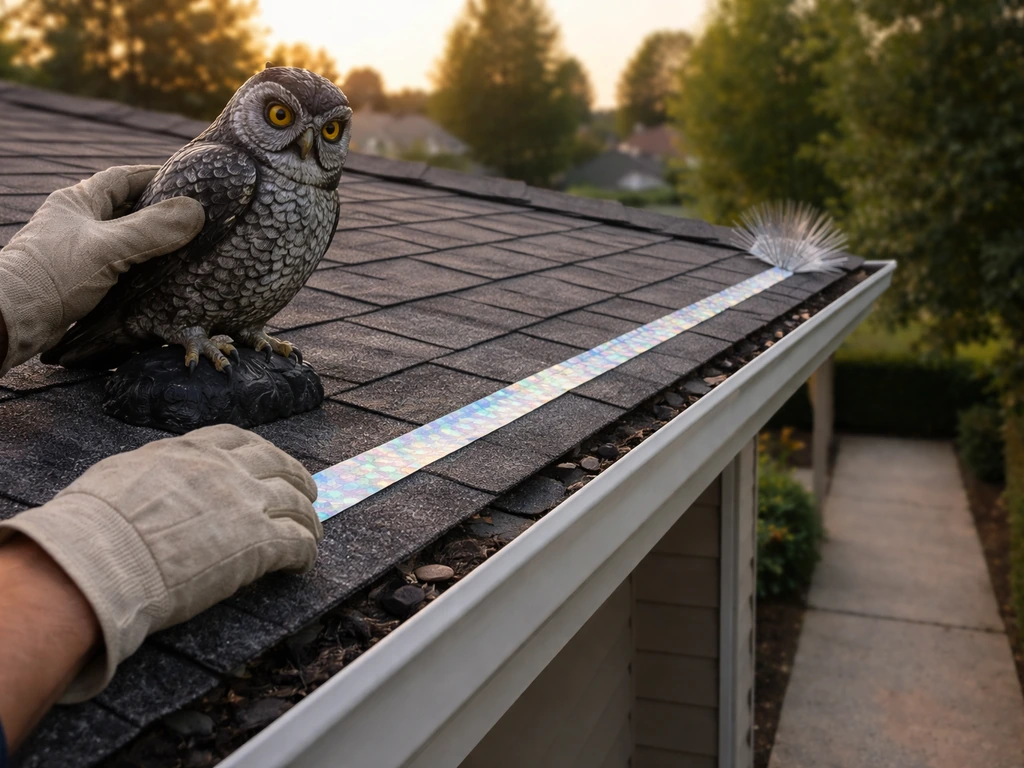
Visual deterrents
- Predator decoys (hawk or owl silhouettes): effective short-term on flat roofs and parapets. Move them every 2-3 days or birds habituate quickly.
- Reflective tape and holographic flash tape: attach along ridge lines, eaves, and ledges. The movement and light reflection disturbs roosting birds. Replace when faded.
- Bird-scare balloons with large eye patterns: hang near active roost areas.
- Slope physical barriers: install polycarbonate or metal anti-roosting slope covers on flat ledges so birds cannot land flat-footed.
Sound deterrents
- Ultrasonic bird repellers: clip-on or fixed units emit frequencies uncomfortable to birds but largely inaudible to humans. Effective in enclosed or semi-enclosed areas. Less reliable in open outdoor spaces.
- Distress call speakers: devices that broadcast species-specific alarm calls. Work best for pigeons and starlings. Alternate calls and keep volume reasonable for neighbors.
- Wind-activated noise makers: simple, low-tech, and maintenance-free for exposed ridge areas.
Physical (non-contact) surface deterrents
- Stainless steel or polycarbonate bird spikes: install on ridges, ledges, parapets, and chimney stacks. These do not harm birds — they simply make landing uncomfortable. Use 5-inch (12 cm) spikes for pigeons, 2-inch (5 cm) for smaller birds.
- Bird wire systems (tensioned stainless wire at 3-5 cm above the landing surface): nearly invisible and very effective on narrow ledges and ridge tiles.
- Anti-roosting gel: applied in thin lines on ledges, it creates a sticky, unpleasant surface. Reapply every 6-12 months. Avoid in very hot climates where it liquefies and can harm birds — this is a last resort, not a first choice.
- Netting over solar panels or flat roof areas: heavy-duty UV-resistant bird netting (19 mm or 50 mm mesh depending on target species) fixed tightly with no gaps. This is the gold standard for large open areas.
When deterrents are not working
If birds return within days of installing a deterrent, you have one of two problems: either there is an active nest nearby that is overriding the deterrent response (birds will endure discomfort to protect a nest), or the deterrent is not covering the full landing or access zone. Check for nest material first. If you find an active nest with eggs or chicks, you must stop and read the legal section below before doing anything else.
Seal and exclude roof access points: step-by-step
This is the permanent fix. Deterrents buy you time; exclusion is the solution. The critical rule is: confirm all birds are out before you seal. Do a thorough inspection at midday (when birds feeding away from the roost) and again at dusk (watch which gaps they return to). Once you are certain no birds remain inside, work through these steps. In practice, learning how to bird proof your roof comes down to finding the entry points and sealing or excluding them properly.
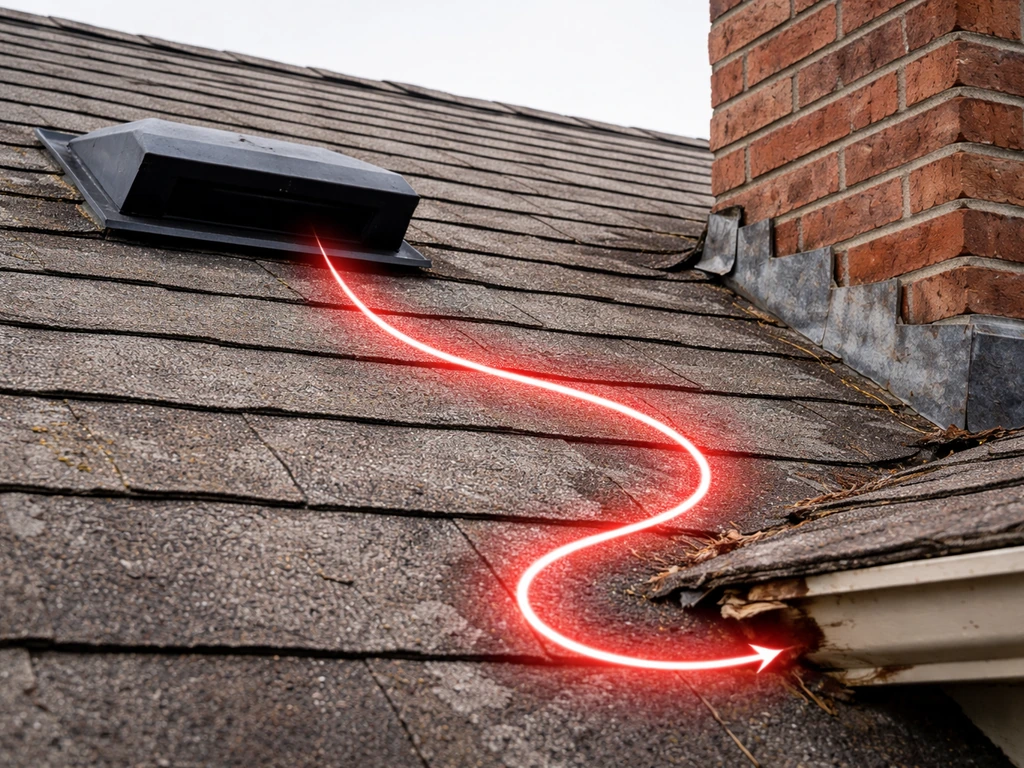
- Map every entry point from the ground and from any safe roof access you have. Common gaps: open or damaged box vents and turbine vents, gaps between fascia and soffit boards, open eaves on older construction, spaces behind loose ridge tiles, gaps around pipes and conduits through the roof deck, open chimney flues, and spaces under solar panel frames.
- Prioritize by size and activity. Block the most-used entry first, but plan to seal everything in one session so birds do not just shift to the next gap.
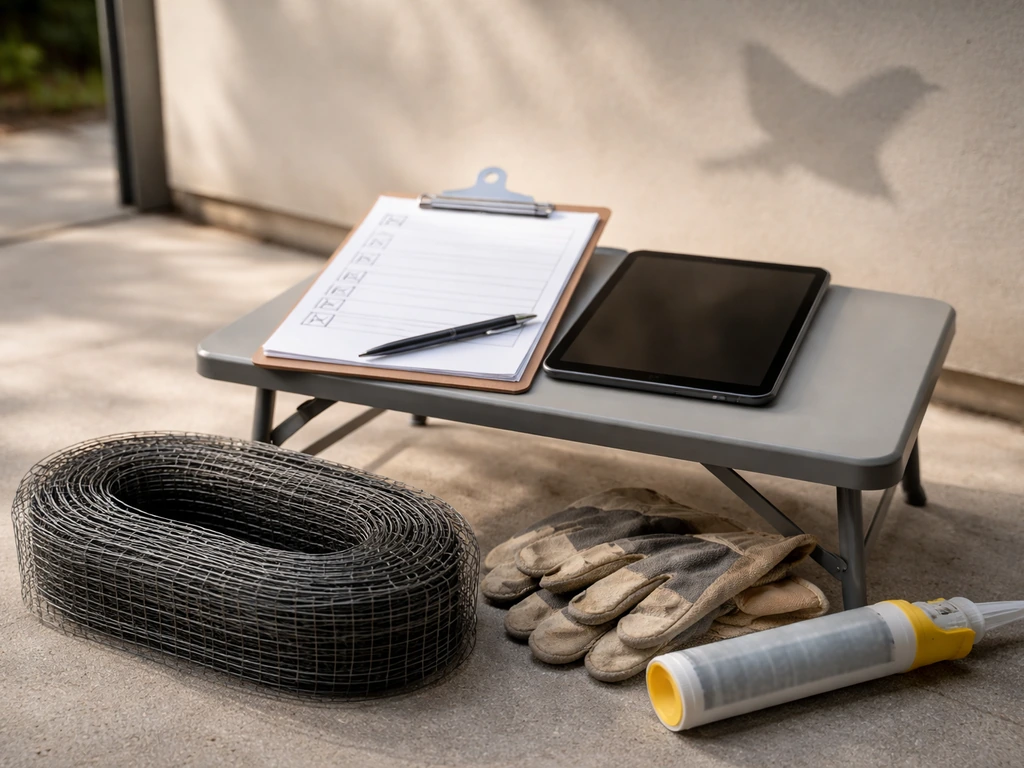
- For roof vents (box vents, turbine bases, static vents): fit stainless steel wire mesh (hardware cloth, 1/2-inch or 13 mm grid) behind the vent cover. Cut to size, attach with stainless steel screws or cable ties. For plastic vents with no internal frame, replace the vent with a bird-proof louvered equivalent.
- For gap between fascia and soffit (a very common sparrow and starling entry): push hardware cloth or foam backer rod into the gap, then seal over it with a paintable exterior silicone caulk. For larger continuous gaps, tack a strip of galvanized steel mesh along the inside edge.
- For open eaves on older homes: install a continuous soffit vent strip with a fine integral mesh (no larger than 6 mm openings for small birds). This allows ventilation while blocking entry.
- For chimney flues: fit a chimney cap with a built-in bird guard mesh. Ensure the cap is rated for your flue size and secured with a lock or screws to prevent wind displacement. For unused chimneys, a solid capping slab with a small ventilation grille is sufficient.
- For gaps around pipes, conduit, or cables: use pre-formed pipe collars with integral mesh, or pack with copper mesh (not steel wool, which rusts and compresses) and seal with exterior silicone.
- For ridge tile gaps: re-bed loose tiles with roofing mortar and check the full ridge line. Some roofers install a continuous ridge roll ventilation product with fine mesh already integrated.
- For under solar panels: have the panels professionally skirted with a purpose-made solar panel bird-proofing kit — a UV-resistant mesh frame that attaches to the panel frame without voiding warranties.
Once all gaps are sealed, do a final perimeter walk 48 hours later and look for signs of birds attempting re-entry (fresh scratch marks, feathers at sealed points). Touch up any weak spots immediately.
When birds are already inside: one-way doors and escape-first strategy
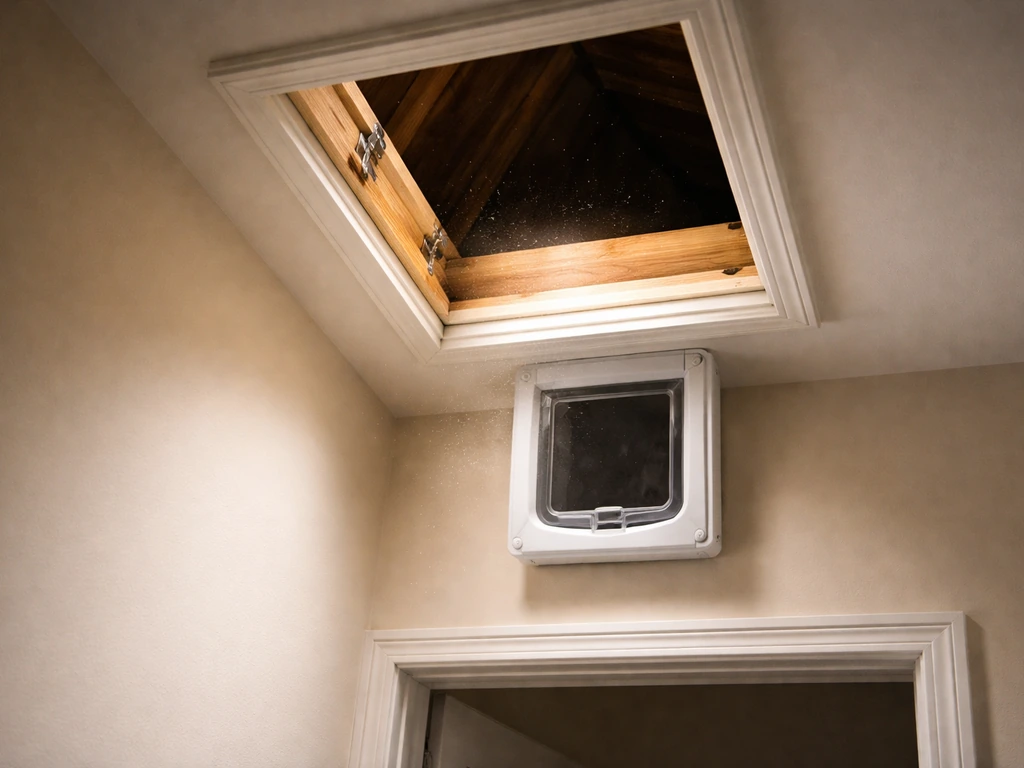
If birds are confirmed inside your roof space, attic, or loft, the approach flips. You cannot seal them in, and you should not attempt to chase or catch them if avoidable. The correct method is to install a one-way door (also called an excluder or one-way exit device) over the primary entry/exit point, seal all other gaps first, then wait.
- Identify the main entry/exit point the birds are using (the one with the most droppings directly below it or the most flight activity).
- Seal every other gap, vent, and secondary opening first. Do this completely before fitting the one-way door.
- Install the one-way door or excluder cone over the main entry. A simple DIY version is a cone of hardware cloth or a plastic funnel: birds can push out through the narrow end but cannot navigate back in. Commercial one-way excluder doors are also available for vents.
- Leave the one-way door in place for a minimum of 7 days. Maine wildlife guidance recommends 7 days minimum, and longer during cold, wet, or overcast weather when birds are less active.
- After 7 days with no audible or visible activity inside, remove the one-way door and seal that final point permanently.
- If you suspect a nest with young birds is present, do NOT install the excluder. Parent birds must be able to come and go to feed the chicks. Wait until the young have fledged (typically 2-4 weeks from hatching depending on species), then proceed.
Live trapping birds inside a loft is generally unnecessary for small numbers and is not recommended unless you have a wildlife license or are working with a licensed professional. If you want to bird proof a room, an excluder on the main entry point helps guide birds back out without letting them return one-way door. If a bird is actively flying inside your living space, open the largest window or door in that room, darken all other light sources, and it will typically exit toward the light within a few minutes.
Long-term roof and bird management plan
A single exclusion job is not the end. If you are working on a barn specifically, use this same exclusion-first approach for how to bird proof a barn so birds cannot roost or enter again. Birds are persistent, and buildings develop new gaps over time. Building a seasonal maintenance habit is the difference between solving this once and dealing with it every year.
Seasonal timing guide
| Season | Priority action | Notes |
|---|---|---|
| Late winter (Feb-Mar) | Pre-nesting inspection and sealing | Best window to seal gaps before birds claim nest sites. Nesting season begins as early as March for some species. |
| Spring (Apr-Jun) | Monitor sealed points, install deterrents if birds are scouting | Do not disturb active nests with eggs or chicks — legal restrictions apply in most jurisdictions. |
| Summer (Jul-Aug) | Post-fledging exclusion | Once young have left nests, seal all open entry points. Clean and disinfect old nest sites. |
| Autumn (Sep-Nov) | Full roof inspection before winter roosting season | Repair any storm damage, re-check all sealed points, replace worn spikes or netting. |
| Winter (Dec-Jan) | Maintenance check and habitat reduction | Remove food sources (open bins, standing water). Check that existing exclusion hardware is intact. |
Habitat reduction around the roof
Reducing the attractiveness of your roof as a habitat is as important as physical exclusion. Pigeons and seagulls are particularly drawn to roofs near open food waste. Starlings and sparrows are attracted by nearby dense vegetation used for staging. Cut back overhanging branches that provide a launch point onto the roof. Secure bin lids and reduce food availability within 20-30 meters of the building. Remove standing water from flat roof areas using drainage covers. Where moss or lichen builds up on roof tiles, clean and treat it, thick moss creates ideal nesting substrate for small birds.
Annual maintenance checklist
- Inspect all vent mesh and screens for rust, holes, or displacement (every spring and autumn).
- Check silicone seals around pipes and cable entries — silicone degrades and shrinks over 3-5 years.
- Walk the ridge line and check all ridge tiles are firmly bedded.
- Inspect chimney caps and bird guards — wind and frost can dislodge fixings.
- Look under solar panels for any bird activity or nesting material building up.
- Replace any spikes or wire systems where sections are missing or corroded.
- Remove and safely dispose of any nest material from cleaned-out sites before nesting season begins.
Legal protections, health safety, and when to call a pro
Know what's protected before you act
This is non-negotiable. In the United States, the Migratory Bird Treaty Act (MBTA) makes it illegal to destroy, move, or disturb an active nest containing eggs or young birds without a federal permit, and this covers the vast majority of common wild bird species. In the UK, all wild bird species, their eggs, and their nests are protected under the Wildlife and Countryside Act 1981. Active nests cannot legally be disturbed while in use or being built. The EU Birds Directive applies equivalent protections across EU member states under Articles 5 and 9. The practical implication: if you find a nest with eggs or chicks inside any part of your roof, stop work on that area until the nest is vacated and the young have fledged. You can and should continue sealing other areas of the roof not associated with the active nest.
Some pest species such as pigeons (feral, non-native) have fewer protections in certain jurisdictions, but always verify locally before taking any action beyond deterrence. When in doubt, call your state wildlife agency, Natural England, or equivalent body for a definitive answer.
Health and safety essentials
- Always wear an N95 or higher respirator when handling or cleaning bird droppings. N95 is the CDC/NIOSH minimum recommendation for tasks that disturb accumulations.
- Wear disposable gloves and eye protection. Bag and seal waste immediately.
- Never dry-sweep or use a leaf blower on droppings — lightly dampen first to suppress dust.
- Fall protection: use a secured ladder, wear non-slip footwear, and follow local working-at-height rules. Never work on a roof alone.
- For large accumulations (multiple years of droppings, bat or bird guano in confined attic spaces), hire a licensed biohazard or wildlife exclusion firm.
When to call a wildlife professional or roofer
Some situations are genuinely beyond DIY scope and trying to handle them yourself risks legal liability, health damage, or making the problem worse. Call a wildlife exclusion professional or licensed pest controller if:
- You have found an active nest with eggs or chicks in a legal gray area and need written guidance or a variance.
- There are a large number of birds (10 or more) roosting or nesting and several years of accumulated droppings.
- Birds are entering through structural damage that requires roofing repair — combine a wildlife exclusion contractor with a roofer or have one firm that does both.
- You cannot safely access the roof or attic space to confirm all birds are out before sealing.
- You are in a commercial or multi-occupancy building where health and safety regulations require documented, licensed pest control.
- After two attempts at DIY exclusion, birds are still getting in.
When you call a professional, tell them: the species (or your best guess), exactly where on the roof the activity is, how long the problem has been going on, whether you can hear movement inside the roof space, and whether you have found a nest. This gets you to the right solution faster and avoids being sold work you do not need.
Your next steps right now
- This morning: Do a 10-minute ground-level observation at dawn or dusk to identify the species and the exact entry or roost point. Note locations of droppings.
- Today: Gather your PPE (N95 respirator, gloves, eye protection) before going anywhere near droppings.
- Today: Check for active nests with eggs or chicks. If found, mark the area and do not disturb it — shift your focus to all other entry points.
- This week: Install deterrents (spikes, wire, reflective tape) on active roost surfaces as a holding measure while you prepare for exclusion.
- This week: If birds are inside the roof space, install a one-way door over the primary entry point after sealing all secondary gaps. Leave it for 7 days minimum.
- Once birds are confirmed out: Work through the seal-and-exclude checklist — vents, eaves, ridge tiles, chimney, pipes, and solar panel edges.
- Set a calendar reminder for late February next year for your pre-nesting season inspection.
- If the problem is beyond your safe DIY scope, call a licensed wildlife exclusion contractor now rather than after further damage accumulates.
FAQ
How can I tell whether the birds are roosting on the outside of the roof or living inside the attic or loft?
Use timing and sound direction. Outside-roosting activity is usually concentrated at dusk and ends after the birds settle, with little or no interior noise. If you hear consistent scratching, wing flaps, or commotion from inside the roof space during the day, especially near the same spot repeatedly, assume they are inside. Also look for droppings under interior roof seams or at ceiling vents, not just along the exterior entry points.
What should I do if I see what looks like an active nest but I am not sure it has eggs or chicks yet?
Stop work on that roof section until you confirm. Many nests are not obvious from a distance, and you should not assume they are inactive. A practical check is to look for fresh food debris, downy material, or repeated adult arrival patterns at the exact nest location, then pause sealing and deterrent installation in that area until the nest is vacated.
Can I seal entry gaps right away to stop a bird problem on my roof?
Only after you have confirmed no birds remain inside. Sealing too early is the most common mistake and can trap birds in the roof structure. Follow a two-time inspection approach, midday (birds away) and at dusk (birds returning), and inspect again 48 hours after sealing for fresh scratch marks or feathers at treated points.
Is it safe to clean droppings before I exclude and remove birds?
It depends on how much buildup you are dealing with, but generally you should not disrupt a heavy accumulation yourself. If birds are still using the area, you risk increased aerosolization from ongoing traffic and you can also inadvertently push birds deeper inside. If the droppings are extensive or years old, treat it as biohazard cleanup and involve a wildlife exclusion professional rather than DIY disturbing the material.
Do I need a full respirator setup for any droppings, or only for large areas?
Use respirator protection whenever you disturb droppings, even for smaller amounts, because the key risk is airborne particles during cleanup. For light, contained cleanup, a minimum N95 filtering facepiece respirator plus gloves and eye protection is recommended in the article’s guidance. For widespread or caked droppings, upgrading to professional handling is safer because visibility and containment are harder.
What if birds keep returning after I install deterrents, but I cannot find a nest?
Two common causes are an uncovered landing zone and multiple access points. Birds may be deterred at the original gap but still have an alternate route, like a nearby vent, ridge gap, or soffit opening. Recheck all hotspots within the same line of travel, then verify there are no hidden nests by observing repeated adult entry at dawn and dusk and inspecting around vents and under flashing.
How do I deal with bird problems on a roof that has solar panels without creating a bigger mess?
Coordinate exclusion and roofwork so you do not trap birds while the panel system is being disturbed. Before any panel removal, identify where birds are roosting or entering (for example under panel edges) and plan to exclude those points before work begins. If you must remove panels quickly, consider using a licensed contractor so the timing and sealing sequence stays bird-safe and fall-safe.
What is the safest way to handle a bird that is flying inside my home near the roofline or attic access?
Create a directional escape route. Open the largest exterior door or window in the room, darken other light sources, and leave that exit unobstructed. Avoid chasing or attempting to catch it unless necessary, because repeated capture attempts can stress the bird and increase injury risk. If birds have entered the attic, switch to one-way exit thinking and seal other gaps first.
Should I use live trapping if birds are stuck inside the roof space?
Generally no for small numbers. The article notes live trapping is generally unnecessary and not recommended unless you have the proper license or are working with a licensed professional. The preferred approach is an excluder or one-way door on the primary entry point, with all other openings sealed after you confirm the birds can exit.
How long should I wait after installing an excluder or one-way door before I seal everything permanently?
Wait until you are confident all birds have left, then verify with inspections at midday and at dusk. In practice, birds may exit over a short window, but waiting based on observation is key rather than a fixed number of days. Once confirmed, seal and then do a final perimeter check 48 hours later to catch any attempts at re-entry.
What should I tell a wildlife exclusion professional when I call, beyond my best guess of the bird species?
Provide the timing and evidence you already observed, for example when the activity peaks (dawn or dusk), exact roof sections (ridge, soffit, under solar panel edges, chimney flashing area), whether you hear movement inside the roof space, and whether you have spotted droppings clusters or nest material. If you have photos or a rough map of droppings locations, include that, since it speeds up identifying the correct entry points.