To bird-proof a room, you need to do three things in order: get any bird that's already inside out safely, find every gap or opening it used to get in, then seal those openings permanently with the right materials. If a bird is inside right now, stop reading and jump straight to the first section below. If you are removing a Bird Buddy solar roof as part of the cleanup, follow the device-specific removal steps so you do not damage the unit or create new gaps for birds to get in remove solar roof from a Bird Buddy. If the room is currently bird-free and you want to keep it that way, the inspection and sealing sections will get you there.
How to Bird Proof a Room: Humane Steps for Bedrooms and Indoors

Maya Carver
29 Apr 2026
Bird Already Inside? Do This First
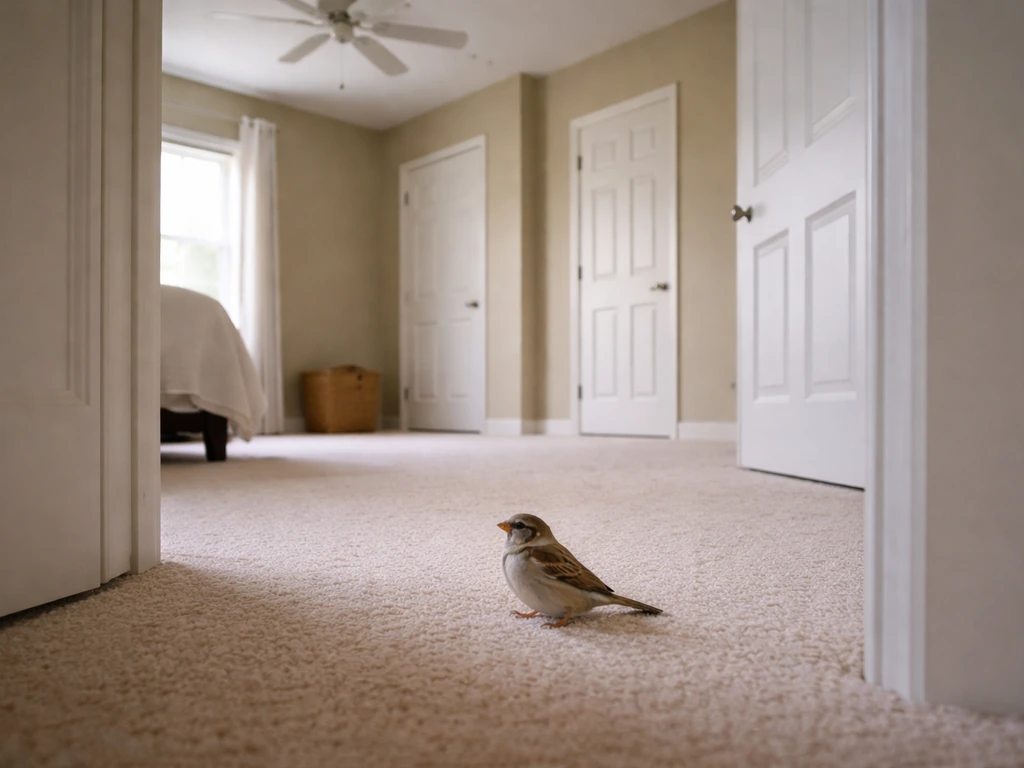
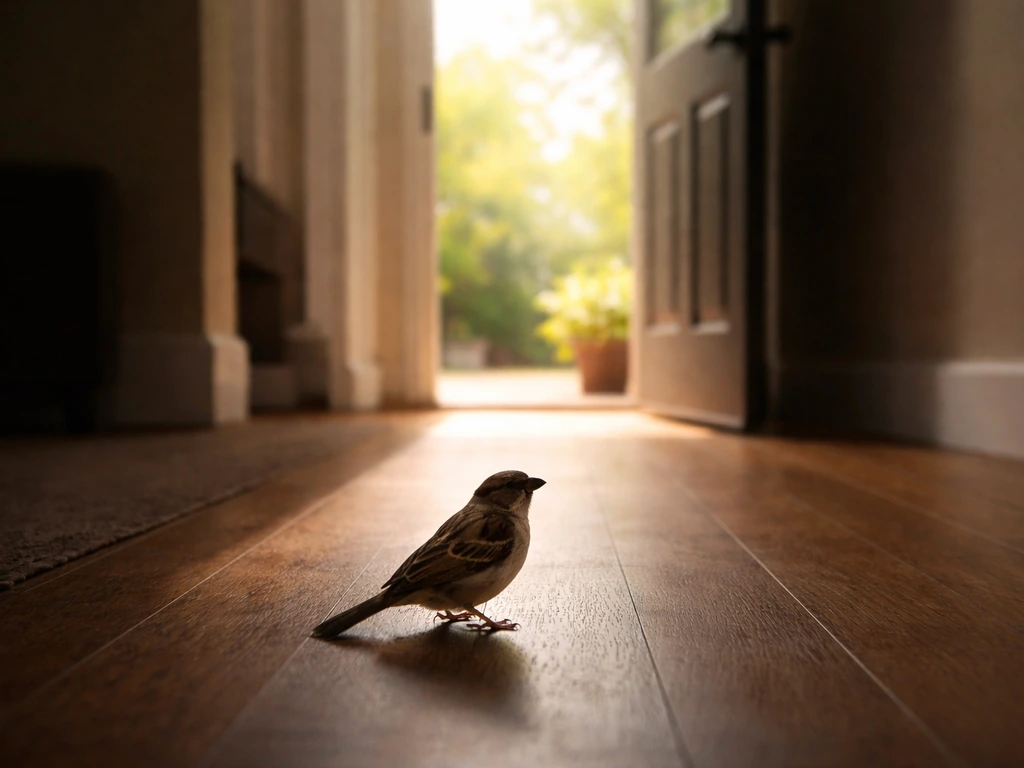
A panicked bird in a bedroom can injure itself quickly by flying into walls, mirrors, and ceiling fans. Stay calm, move slowly, and work through these steps in order.
- Turn off ceiling fans immediately. A spinning fan is a serious injury risk.
- Close every interior door so the bird is contained in one room.
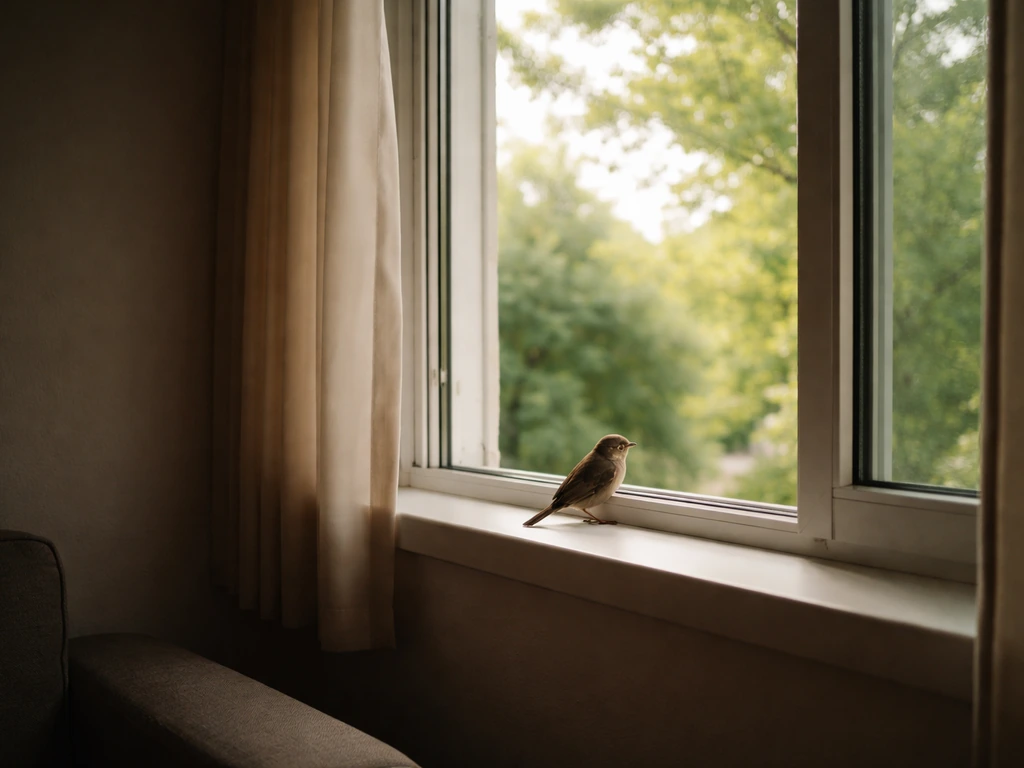
- Close blinds or drapes on all windows except one, which you should open fully (remove the screen if you can). This gives the bird one obvious, bright exit.
- Cover skylights with a sheet or towel if possible — birds fly toward light and a skylight can trap them near the ceiling.
- Leave the room quietly and give the bird 10 to 15 minutes to find the exit on its own. Most birds will leave without intervention.
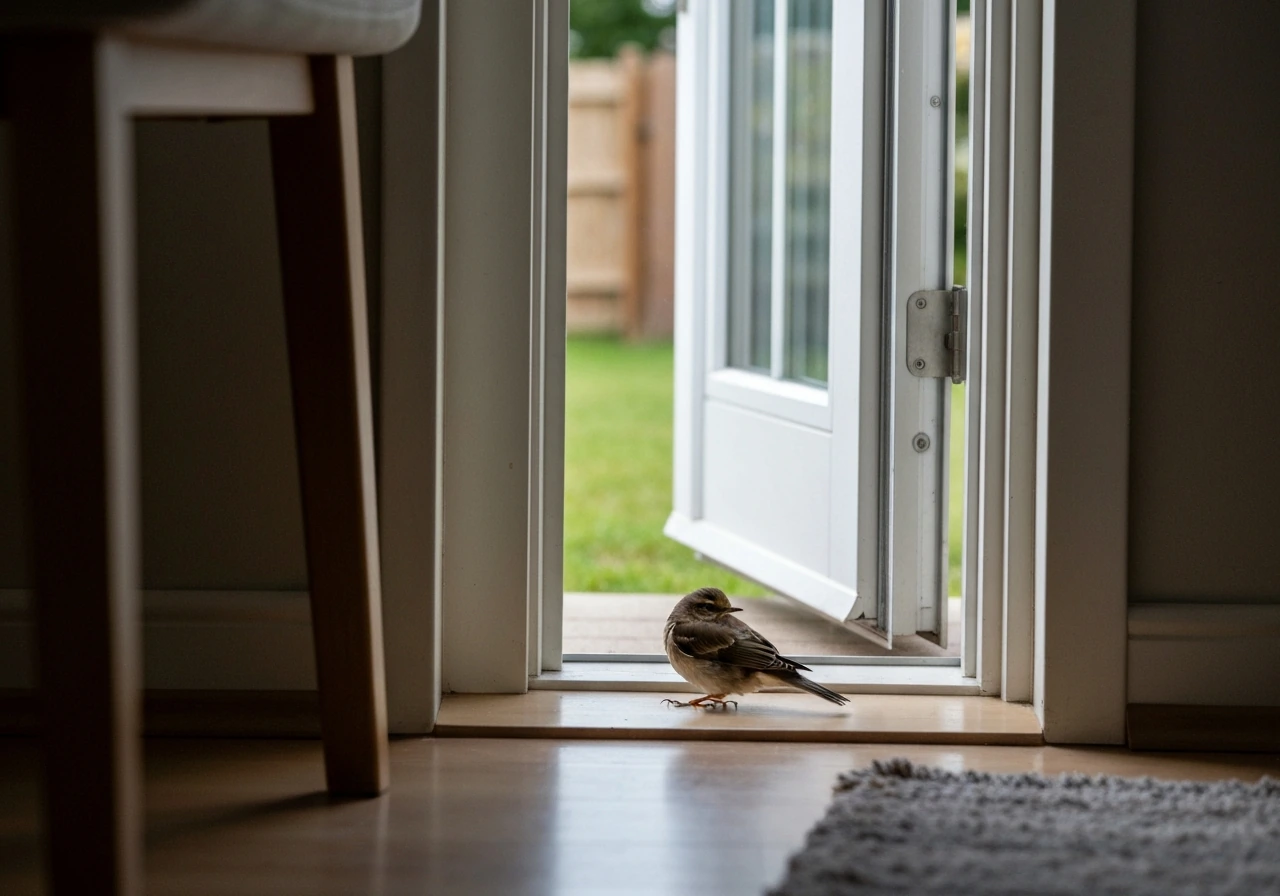
- If it stays, re-enter slowly with a light-colored towel. Gently herd the bird toward the open window by moving the towel in a wide arc behind it. Do not chase, grab, or corner the bird.
- If it still won't leave, drape the towel loosely over it, cup it gently with both hands, carry it outside, and release it facing open space.
If the bird is injured, exhausted, or you suspect it may be a protected migratory species, do not attempt prolonged handling. Under U.S. federal law (the Migratory Bird Treaty Act, 16 U.S.C. § 703), most wild birds are legally protected. The good news is that USFWS does allow prompt removal of migratory birds from building interiors without a permit when the bird is disrupting normal use, creating a health or safety risk, or at risk of injury from being trapped. But if you're unsure of the species or the bird is clearly hurt, contact a licensed wildlife rehabilitator or your local animal control. Tell them the species if you can identify it, the room dimensions, and how long the bird has been inside.
One safety note: if the bird scratches or bites you during removal, wash the wound thoroughly with soap and water and seek medical attention. Tell your doctor you were exposed to a wild bird.
Find How It Got In: Your Inspection Checklist
Once the room is clear, resist the urge to immediately seal things up. A thorough inspection first will save you from doing the job twice. Birds most commonly enter rooms through gaps and openings that are easy to overlook from inside. Work through this checklist methodically, ideally on a bright day when you can see light coming through gaps.
Windows and Doors
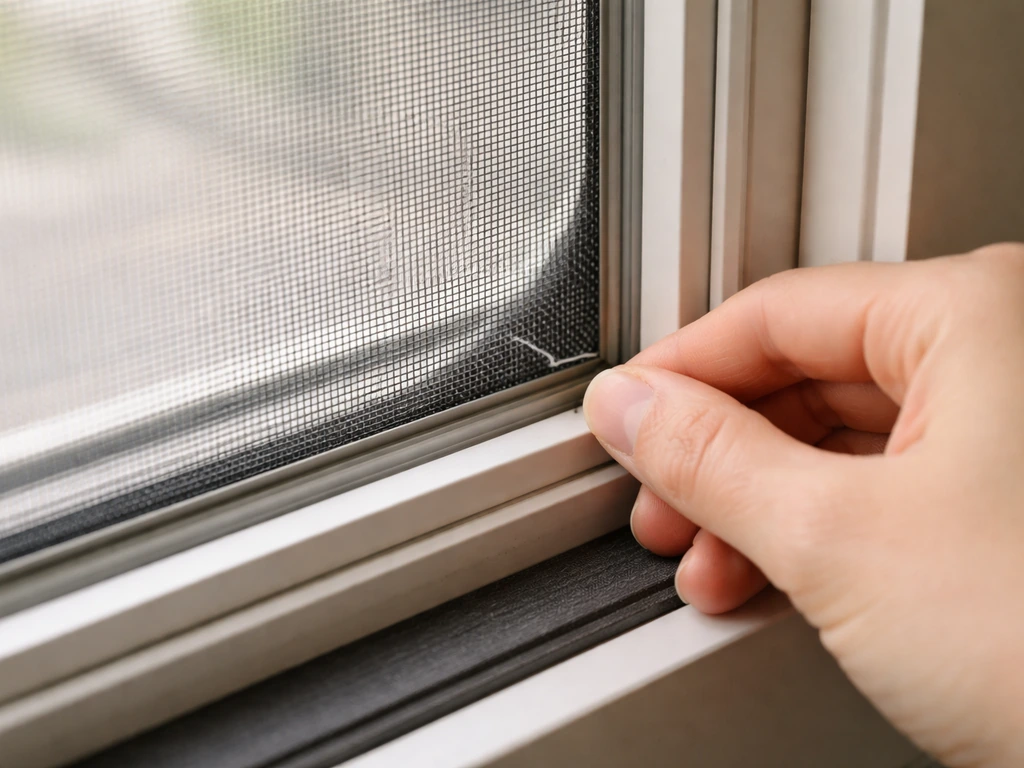
- Check every window screen for tears, holes, bent frames, or gaps at the corners. Even a small puncture can widen quickly.
- Test whether screens fit flush in their tracks — push gently on the frame. A loose screen is not bird-proof.
- Inspect weatherstripping around door frames. Compressed or missing strips leave gaps birds can push through, especially around sliding balcony doors.
- Check the gap under exterior doors. If light comes through, a bird can potentially squeeze through over time, and smaller species absolutely can.
- Look at balcony or patio door tracks. Debris buildup often prevents doors from closing fully.
Vents, Ductwork, and the Roofline
- Inspect every vent cover on exterior walls and the roof — bathroom exhaust vents, kitchen vents, HVAC intakes, and attic vents are all common entry points.
- Check vent flaps from outside. Plastic flap covers degrade and crack over time, leaving openings.
- Look at the roofline where it meets the exterior wall. Gaps in fascia boards, loose soffit panels, or deteriorated mortar are easy entry points.
- Inspect any chimney or fireplace flue opening if the room connects to one.
- Check ceiling vents inside the room — can you see light or feel airflow from outside? That means birds can potentially find that path.
Bird Attractants Inside the Room
- Open food containers, pet food bowls, or uncovered fruit are strong attractants once a bird has discovered the room.
- Indoor plants with dense foliage can look like nesting material to birds that have been roosting nearby.
- Bright reflective objects near windows (mirrors, shiny decorations) can attract some species.
- Clutter on windowsills — especially near open or poorly screened windows — gives birds an easy perch and reason to investigate.
Roosting Behavior to Watch For
Some birds, particularly house sparrows, starlings, and pigeons, will return to the same spot repeatedly once they've identified it as a safe roost. If you've had a bird in the same room more than once, there's almost certainly a consistent entry point they've memorized. Note the time of day the bird appeared, most indoor bird entries happen at dawn or dusk when birds are actively moving and windows or doors are opened.
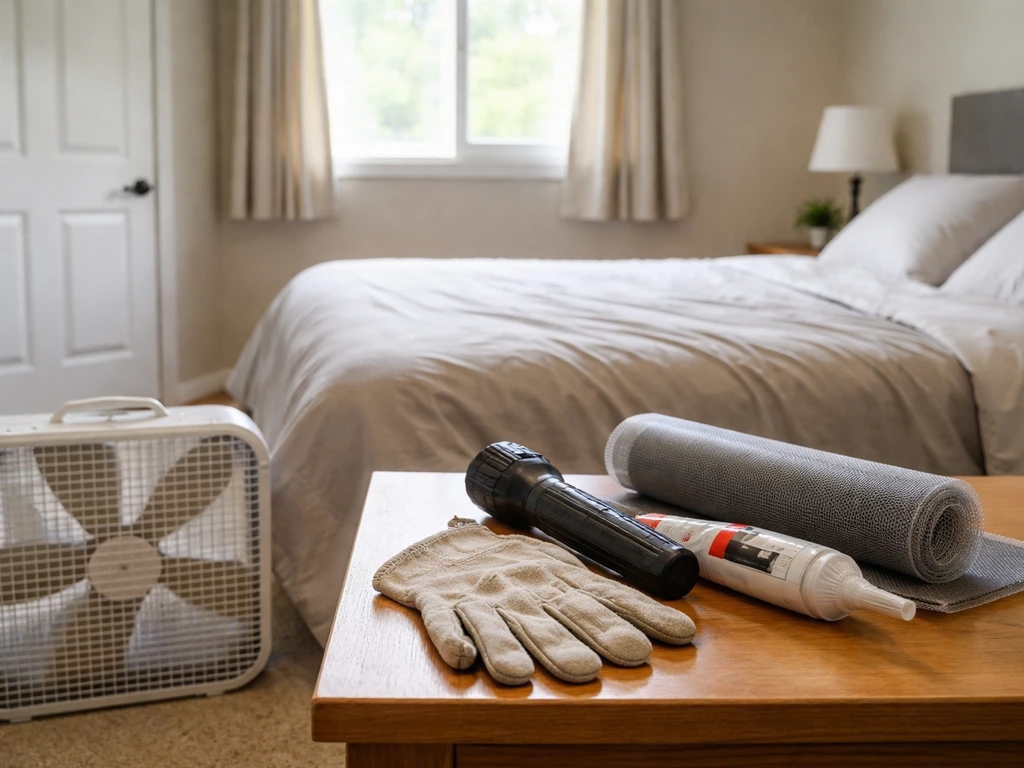
Seal It Up: DIY Bird-Proofing Fixes
With your inspection notes in hand, here's how to close each type of opening permanently. If you are trying to prevent birds from nesting on your roof, start by finding entry points and then seal them with bird-safe barriers permanently. Most of these fixes cost under $30 and take less than an hour each.
Repairing and Replacing Window Screens
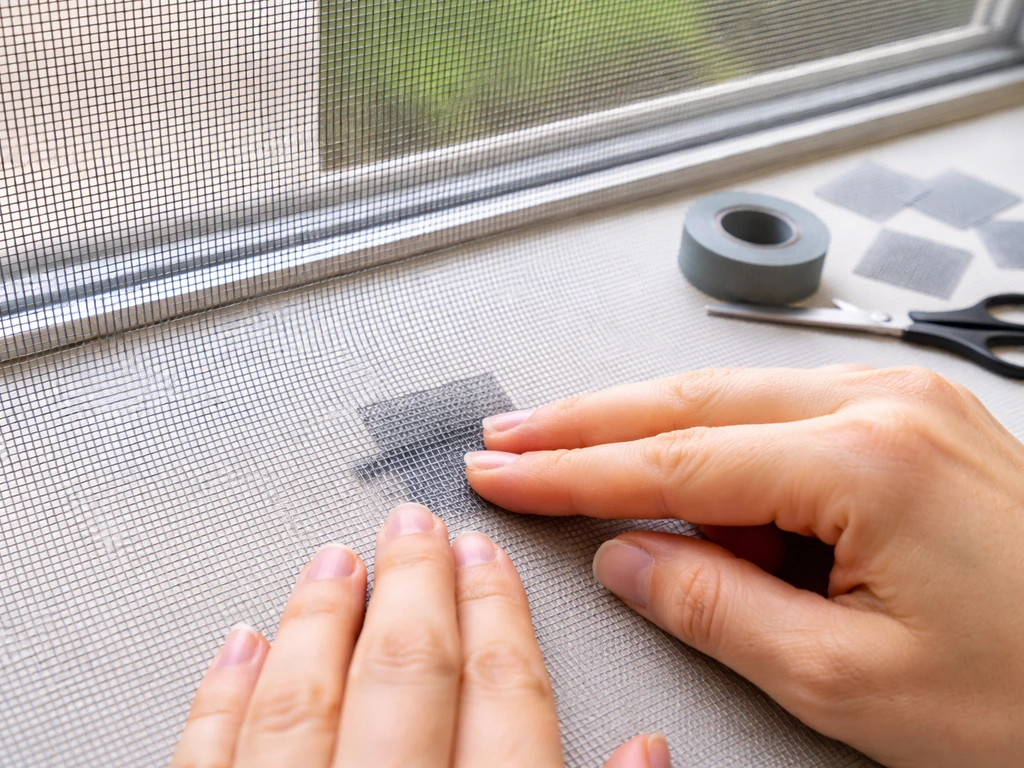
Small tears (under 1 inch) can be patched with screen repair tape or a self-adhesive screen patch kit, available at any hardware store. For larger damage or frames that don't fit properly, replacing the screen mesh is the better call. Use a fiberglass or aluminum mesh with openings no larger than 1/4 inch to exclude even small songbirds. Aluminum is more durable and harder for birds to peck through. When reinstalling, make sure the spline (the rubber cord holding the mesh in the frame) is fully seated, a gap anywhere in the spline is a gap in your seal.
Weatherstripping and Door Gaps
For exterior doors and balcony doors, foam compression weatherstripping works for door frames. For the gap under a door, a heavy-duty door sweep with a flexible rubber or brush seal is more effective than foam. Look for a sweep rated for exterior use, interior sweeps are often too light. On sliding doors, check that the door seals against both the frame and the floor track when fully closed, and replace worn pile seals (the fuzzy strips in the track) if they've thinned out.
Caulking and Filling Gaps
Gaps smaller than 1/2 inch around window frames, where pipes or wires enter the wall, or at roofline joints can be sealed with paintable exterior-grade silicone caulk. A bird problem on the roof is usually caused by gaps at roofline joints, vents, or soffits that need the same kind of sealing and exclusion as other entry points bird problem on roof. If you are trying to stop birds from entering through a roofline, check for similar small gaps around the eaves, flashing, and other roof joints what is a bird stop on a roof. For gaps larger than 1/2 inch, use a combination of hardware cloth (galvanized 1/2-inch wire mesh) stapled or screwed over the opening first, then caulk the edges. Steel wool stuffed into gaps before caulking adds an extra layer of resistance against birds that probe with their beaks. Avoid expandable foam alone on exterior openings, birds can peck through it.
Vents and HVAC Openings
Every exterior vent should have a working damper or flap that closes when the vent is not actively exhausting air. If existing vent covers are cracked or their flaps are stuck open, replace them. For bathroom and kitchen exhaust vents, use a pest-resistant vent cover with a spring-loaded damper. For larger openings like gable vents or soffit vents, add a backing of 1/4-inch or 1/2-inch galvanized hardware cloth behind the decorative cover, screw it to the frame from inside the attic or crawl space. This is the single most common fix for birds getting into connected attic spaces that then work their way into rooms below.
Windows, Doors, and Airflow: Keeping the Room Open Without Letting Birds In
One of the most common complaints is: I want to have the window open for fresh air, but birds keep getting in. You have several practical options.
Window and Balcony Door Screens
A properly fitted, undamaged window screen is your primary line of defense. For more specific steps on how to bird proof windows, include the whole frame, seams, and any screen repairs window screen. If you don't currently have screens, magnetic snap-in window screens are a good retrofit option for casement or double-hung windows. For sliding balcony doors, retractable screen doors are worth the investment, they work with the door's existing track and can handle years of daily use. Make sure any screen you install is rated for insect exclusion at minimum: most 18x16 mesh screens will keep out birds while allowing good airflow.
Window Films and Exterior Patterns
If birds are flying into closed windows (a separate but related problem), external treatments are more effective than interior ones. Cornell Lab research confirms that markings placed on the outside surface of the glass break up reflections better than indoor decals or curtains. The Smithsonian recommends applying pattern stickers or window films with elements spaced no more than 2 inches apart horizontally and 4 inches apart vertically, so birds can't mistake gaps for open flight paths. This is especially relevant for bedroom windows that face a garden or tree-lined area.
Ceiling Fans and Interior Vents
If your room has a ceiling vent that connects to a duct running to the exterior (common in bathrooms and laundry rooms that share a wall with a bedroom), confirm the ductwork is sealed at every joint and that the damper at the exterior termination closes fully. Inside the room, a standard louvered vent cover is not bird-proof on its own if the duct has gaps. Adding a fine mesh behind the interior vent cover acts as a secondary barrier but can reduce airflow, so check your exhaust fan's rated CFM against the added resistance before doing this.
Removing Nests and Roosting Materials Safely
Before removing any nest, you must determine whether it is active. Under USFWS guidance, a nest is considered active from when the first egg is laid until the nestlings fledge and are no longer dependent on it. Removing an active nest of a migratory species without authorization is a violation of the Migratory Bird Treaty Act. The exception is that removal from the interior of a building is permitted without a permit when the situation creates a health or safety risk or disrupts normal use, but you should still document what you found and why removal was necessary.
If the nest is inactive (no eggs, no nestlings, birds not returning), you can remove it. If it's inside the room and small (a single nest), wear gloves and a well-fitting N95 or P100 respirator. Place the nest material in a sealed plastic bag for disposal. Do not shake or dry-brush dried droppings, this releases particles that can carry Histoplasma spores. The CDC notes that histoplasmosis is a lung infection caused by inhaling Histoplasma spores from the environment, including soil contaminated with bird and bat droppings Histoplasma spores from bird and bat droppings. Instead, lightly mist the area with water and a few drops of dish soap before wiping or scooping. Dispose of everything in sealed bags in outdoor trash.
For significant droppings accumulation (more than a square foot of material, or any accumulation in a confined space like a vent shaft), do not attempt DIY cleanup. The CDC recommends professional hazardous waste removal companies for large amounts of bird or bat droppings. If you must handle moderate amounts yourself, CDC engineering control guidance recommends wetting with a surfactant solution to reduce aerosolization before collection, using sealed disposal bags, and wearing full PPE including gloves, eye protection, and respiratory protection.
Deterrents After Cleanup
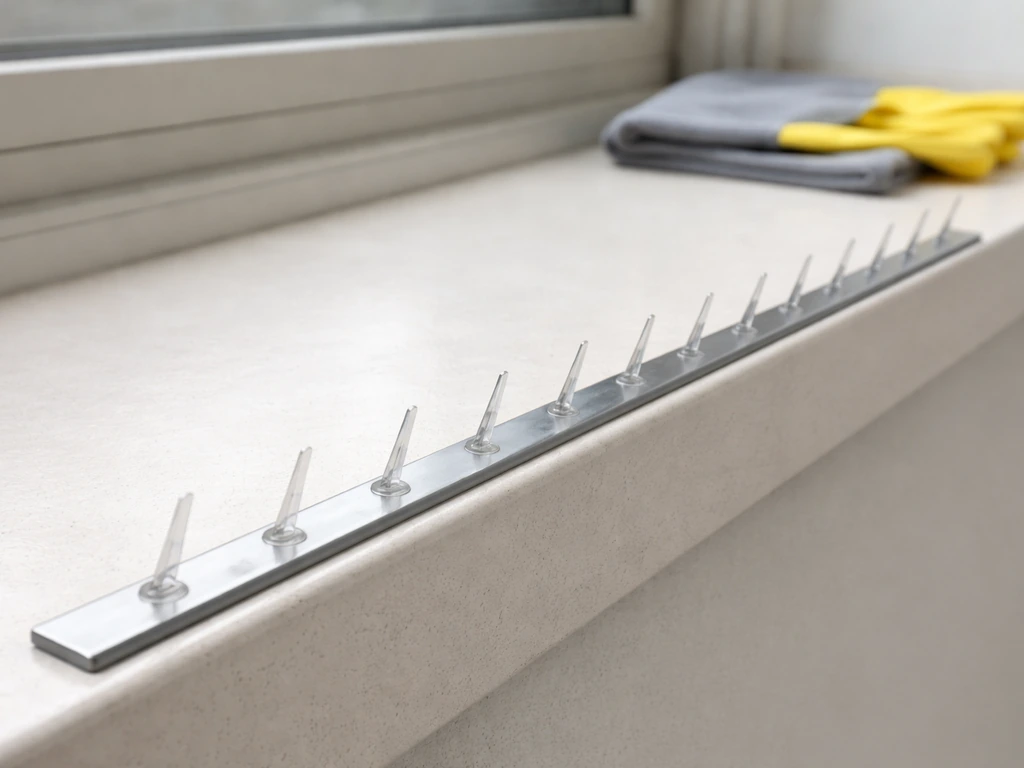
Once the area is clean, use deterrents to discourage re-roosting on the same ledge or surface. Physical deterrents work best for indoor and semi-indoor spaces. Narrow ledge surfaces (window sills, tops of cabinets, ceiling beams) can be treated with bird slope strips or double-sided tactile tape designed for birds. Reflective tape or hanging foil strips near exterior-facing openings can discourage birds from approaching. Ultrasonic devices have inconsistent real-world results and are generally not recommended as a standalone solution. Whatever you use, make sure it doesn't trap or injure birds, adhesive traps are both inhumane and explicitly prohibited under federal regulations.
Long-Term Prevention: Seasonal Plan and Maintenance Schedule
Bird-proofing is not a one-time fix. Weather, UV exposure, and physical wear degrade even good seals within a few years. A simple seasonal check keeps problems from coming back.
| Season | What to Check | Action if Needed |
|---|---|---|
| Late Winter (Feb–Mar) | Window screens, weatherstripping, vent covers before nesting season begins | Repair or replace before April when birds begin actively seeking nest sites |
| Spring (Apr–May) | All exterior gaps, roofline, fascia — highest-risk period for nesting birds discovering new sites | Seal any new gaps immediately; monitor for activity at vent openings |
| Summer (Jun–Aug) | Screen integrity after storms and temperature-related expansion/contraction | Patch tears, re-seat loose screens; check that vent flap dampers still close fully |
| Fall (Sep–Oct) | Weatherstripping and door sweeps before cold weather drives birds to seek warm roost sites indoors | Replace worn door sweeps; re-caulk any cracked exterior joints |
| Winter (Nov–Jan) | Check for any active roost signs (droppings below windows or vents, feathers near openings) | Address immediately — roosting birds in winter often return nightly and establish strong site fidelity |
Maintenance Checklist (Do This Every 6 Months)
- Walk the exterior of the building and inspect all vent covers, screens, and roof-to-wall junctions
- Push on each window screen to confirm it's secure in its frame
- Close all exterior doors and check for visible light gaps around frames and under sweeps
- Test all vent damper flaps from outside to confirm they close and spring back fully
- Check caulked joints around window frames and pipe penetrations for cracking or shrinkage
- Remove any debris (leaves, twigs) from window sills and ledges that could become nesting material
- Document any new bird activity — species, location, time of day — to help diagnose problems early
A Note on Facility Managers
If you're managing a commercial space or multi-unit building rather than a single room, the same principles apply but at scale. Consider adding signage near loading dock doors, rooftop access hatches, and service corridors reminding staff to close doors promptly. Building-wide bird-proofing overlaps with roof-level work (bird stops at ridge lines, netting over courtyards) and window treatments at scale, topics covered in more detail in the guides on how to bird-proof your roof and how to bird-proof your house.
Still Getting Birds In? Troubleshoot This Way
If you've sealed the obvious gaps and birds are still getting in, work through this checklist before calling a professional.
- Confirm the entry point by placing a thin strip of masking tape across suspected gaps overnight — if it's displaced in the morning, something came through.
- Check for shared wall or ceiling spaces with adjacent rooms, attics, or garages. A bird in your room may have come from an attic space connected by an unsealed ceiling fixture, recessed light, or pull-down attic stair frame.
- Look at your HVAC return air vents — birds occasionally enter through return air ducts that connect to poorly screened exterior intakes.
- Watch the room at dawn and dusk for two or three consecutive days without opening any window or door. If a bird still appears, there's a gap you haven't found yet — likely in the ceiling or wall.
- If the room shares a chimney flue with other rooms, confirm a working damper is in place and closed when not in use.
When to Call a Wildlife Professional
Some situations are genuinely beyond DIY scope. Call a licensed wildlife control professional or wildlife rehabilitator if any of these apply:
- You've found an active nest with eggs or dependent nestlings inside the room and cannot identify a safe, legal path to removal on your own
- You suspect a protected species (raptors, swallows, certain woodpeckers) is involved — mishandling these carries significant legal risk under the MBTA
- There is substantial droppings accumulation in enclosed spaces like wall cavities, duct runs, or attic areas that connect to the room
- Birds are entering through wall or ceiling cavities you cannot access safely without structural work
- You've followed every step in this guide and birds are still getting in after two weeks — a professional inspection will find things a non-expert typically misses
- An injured or disoriented bird is in the room and standard gentle herding methods have not worked after two attempts
When you call, give them the species if you know it, the room location, how long the problem has been occurring, and what entry points you've already identified or sealed. That information cuts the diagnostic visit significantly and gets you to a solution faster.
FAQ
Can I just spray something inside to make birds leave, instead of sealing gaps right away?
You can use non-harmful deterrents temporarily, but sprays and fumes should not replace sealing. Birds often re-enter through the same learned entry point once they calm down, so you still need to locate the specific gap and permanently exclude it after the room is clear.
What if I see a bird in the room but I cannot find where it’s getting in?
Treat the room like a map. Go room by room and shine a flashlight around window frames, under baseboards, around outlet covers (especially exterior-wall outlets), and along ceiling lines. Light leaks at these spots usually indicate entry gaps that are hidden from normal viewing inside the room.
Are window screens enough if I keep the windows open sometimes?
Screens help a lot, but only if they are fully seated and intact at every seam. Replace any bent frames or holes, and confirm no gaps exist where the screen meets the window stops, otherwise birds can slip through even when the screen “looks fine.”
How do I choose the right mesh size if I want maximum bird exclusion?
Follow the 1/4 inch rule for fiberglass or aluminum mesh when excluding even small songbirds. If you use larger openings, you may stop bigger birds but still get repeated visits from smaller species that can squeeze through gaps.
What’s the difference between caulking a crack and using hardware cloth?
Use caulk for small gaps (around 1/2 inch or less) where you can achieve a continuous seal along edges. Use hardware cloth over larger openings first, then seal the perimeter with caulk, so the bird cannot probe the edge and widen the gap.
Can I use expanding foam to fill gaps around windows, pipes, or the roofline?
Avoid relying on expanding foam alone on exterior openings. Birds can peck through foam, and the seal can also degrade where foam is exposed to weather, so pair gaps treatment with a durable barrier method such as mesh plus perimeter sealing.
How do I handle a nest if I suspect it’s active but I’m not sure?
If you cannot confirm whether eggs or nestlings are present and dependent, assume it may be active and avoid removal. The safest next step is to document what you see from a distance and contact a licensed wildlife rehabilitator or wildlife control for a quick determination before disturbing the nest.
Is it okay to clean droppings with a vacuum or broom?
No for most situations. Dry sweeping or vacuuming can aerosolize particles. For moderate amounts, you should reduce aerosolization by wetting appropriately before collection, and for significant accumulations you should use professional hazardous waste cleanup instead of DIY methods.
Bird droppings are on a vent cover, can I just remove the vent cover and clean it?
Cleaning alone may miss the larger issue, if the vent duct or exterior termination allows birds to enter. Before sealing, confirm the damper closes properly and inspect the duct joints. Otherwise, birds can keep roosting and new droppings will return.
After I bird-proof, how long should I wait before I remove nests, close doors, or do repairs?
Wait until the bird is out and you’ve completed the full inspection cycle. This prevents accidentally sealing in another bird, a new bird, or active nesting materials you had not identified yet.
What if birds keep re-entering at dawn or dusk even after I seal visible gaps?
Re-check for intermittent openings you might not notice, such as vents whose dampers don’t fully close, gaps around door sweeps that lift when doors move, or window-latch gaps on days you open the window. Use your notes on timing to target the most likely systems that allow entry at those hours.
When should I stop DIY and call a professional?
Call if the entry route is through a complex structure like an attic crawl space with many connected pathways, if you suspect protected species or active nesting you cannot verify, or if there’s extensive droppings in confined areas. Professionals can also identify hidden entry points that are difficult to see from inside the room.