The fastest, safest way to get a bird out of your attic is to open or create one clear exit point, darken the rest of the space so the bird naturally moves toward the light, and give it a few hours to leave on its own. That works most of the time. When it doesn't, you have a few fallback DIY options before you need to call a wildlife professional. If you suspect a bird is stuck on a glue trap, treat it as a medical and safety problem and focus on humane removal methods right away. Either way, you need to handle cleanup blank" rel="noopener noreferrer">carefully afterward and seal the entry gap before another bird finds it.
How to Catch a Bird in Your Attic Safely and Humanely

Maya Carver
13 May 2026
First things first: quick safety steps
Before you go into the attic, take a breath. A bird up there is stressful but rarely an emergency. That said, a few things actually do require fast action.
- Keep kids and pets out of the attic and close the door between the attic and living spaces so the bird can't get further into the house.
- If the bird is visibly sick (lying on its side, trembling, no reaction to movement), don't handle it. Call your local wildlife rehabilitator or animal control instead.
- If you have any reason to suspect avian influenza (dead backyard birds nearby, unusual die-offs in the area), wear an N95 respirator and gloves before entering, and avoid stirring up feathers or droppings.
- Don't chase or rush the bird. A panicked bird in a confined space will injure itself and is harder to guide out.
- If it's nesting season (roughly March through August in most of the U.S.) and you hear multiple birds, chicks, or see nest material, stop and read the legal section below before doing anything else.
Act fast if the bird has been in the attic for more than 24 to 48 hours without food or water, or if it's clearly injured. Otherwise, you have time to do this right.
Figure out what bird you're dealing with and how it got in
Identifying the bird
You don't need to be a birder to get a useful ID. Focus on four things: size, overall shape, color pattern, and when you hear it. A starling sounds chattery and musical; pigeons coo and thump around; sparrows chirp; chimney swifts make a rapid chittering sound at dusk and dawn. Size matters too.
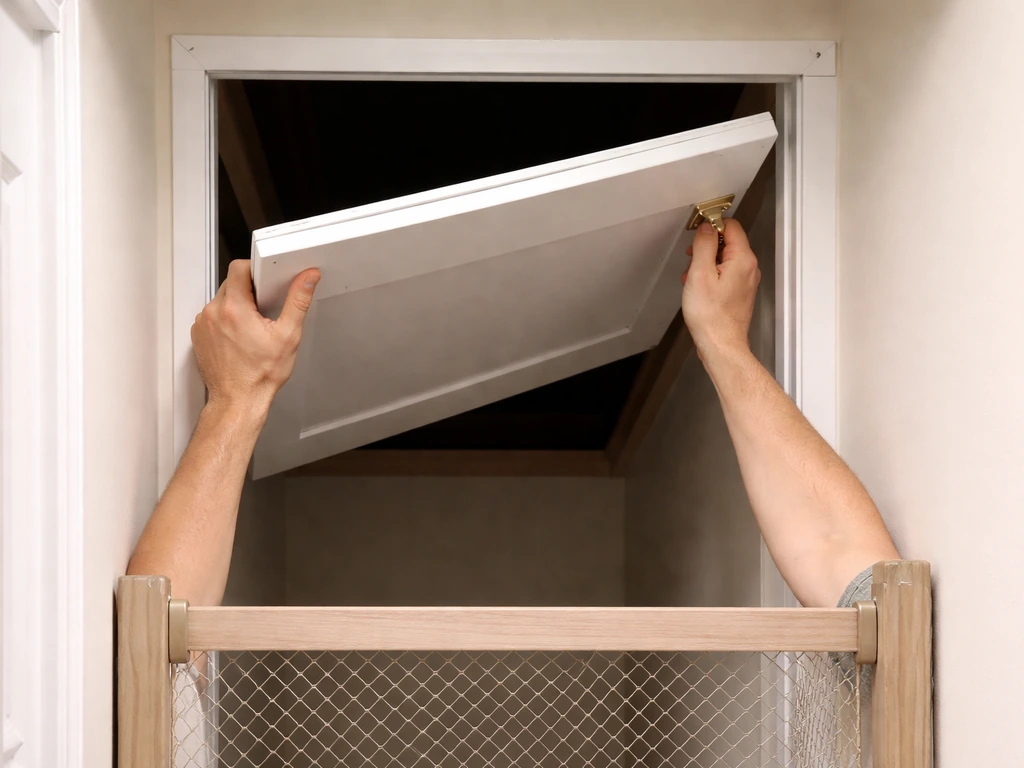
Something the size of a robin or smaller is almost certainly a songbird that wandered in through an open gap. Something larger, like a pigeon or starling, is probably roosting habitually. If you can take a quick photo through the access hatch with your phone, run it through a free ID app like Merlin (Cornell Lab) to confirm the species.
Knowing what you have tells you whether it's protected, whether it might be nesting, and roughly how hard it will be to catch if the exit method doesn't work.
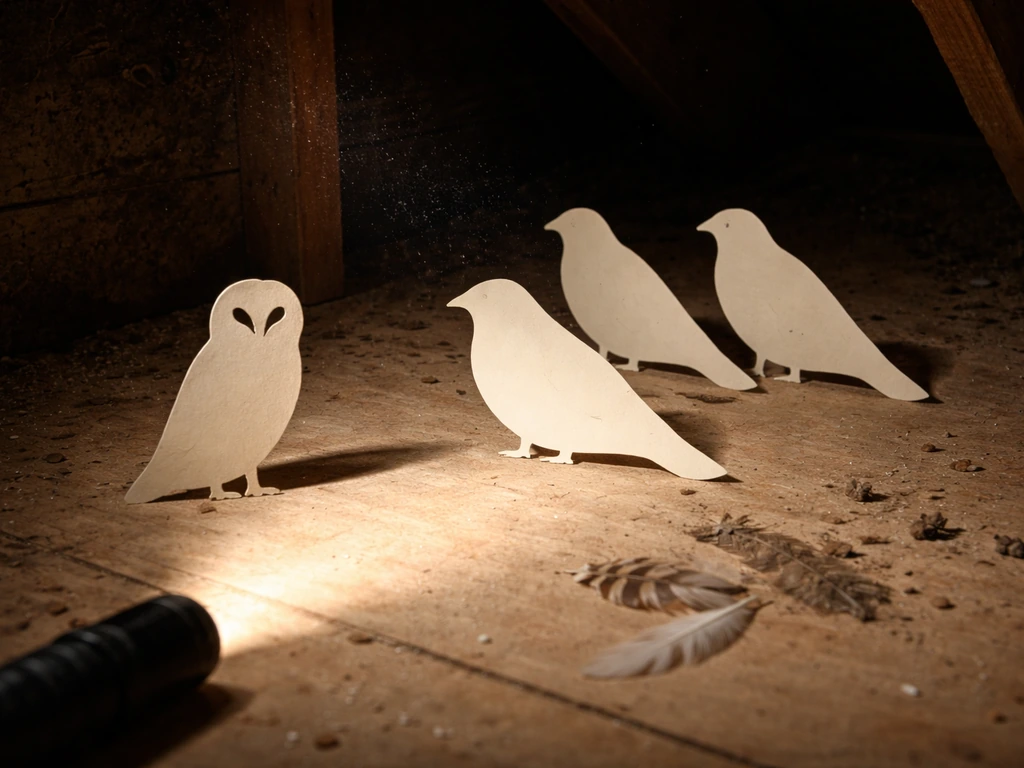
Common attic birds and their signs
| Bird | Typical noise/timing | Droppings clue | Likely entry point |
|---|---|---|---|
| European Starling | Chattering, daytime | White/dark, scattered | Soffit gaps, broken vents |
| House Sparrow | Chirping, daytime | Small, white-tipped | Soffit gaps, ridge end caps |
| Pigeon (Rock Dove) | Cooing, any time | Large, pale gray-white | Ridge gaps, open louvers |
| Chimney Swift | Chittering, dusk/dawn | Small, insect-packed | Chimney, ridge vents |
| Barn Owl | Hissing/screeching, night | Large, dark pellets | Gable vents, large gaps |
Finding the entry point
From the outside, the most common gaps are: ridge vent end caps that have loosened or cracked, torn or missing soffit screens, damaged gable vents, open louver vents, and gaps where roofing material meets the fascia board. White streaking on siding or roof surfaces below a gap is a reliable tell. Ridge vents in particular can look solid from the ground but have small open ends at the caps where hardware cloth has pulled away. Once you're in the attic, look for light coming through from outside during the day. Any daylight you can see is a gap large enough for a bird.
The humane exit method: give the bird a way out
This is the approach that works best in the majority of cases and requires no handling at all. The core idea: make one opening the most obvious, brightest exit in the attic, and block or darken everything else so the bird flies toward the light and out.
- Go into the attic during daylight and locate the bird. Note roughly where it is and where the entry point or nearest vent is.
- If the attic has a gable vent, soffit vent, or ridge opening near the bird, open or expose that fully. If the only opening is where the bird came in, that's your exit point too.
- Block or cover all other light sources in the attic: cover any secondary vents temporarily with cardboard or a dark cloth, and block any light coming in from the hatch behind you.
- Turn off any attic lights. The exit should now be the only bright spot in the space.
- Quietly back out, close the hatch, and leave the attic alone for two to four hours. Check back by cracking the hatch. If the bird is gone, great. If not, repeat at dusk when outdoor light levels drop and the bird's instinct to roost kicks in, making it more likely to move toward the exit.
- Once the bird is gone, immediately close or screen the exit point temporarily so it can't re-enter before you make permanent repairs.
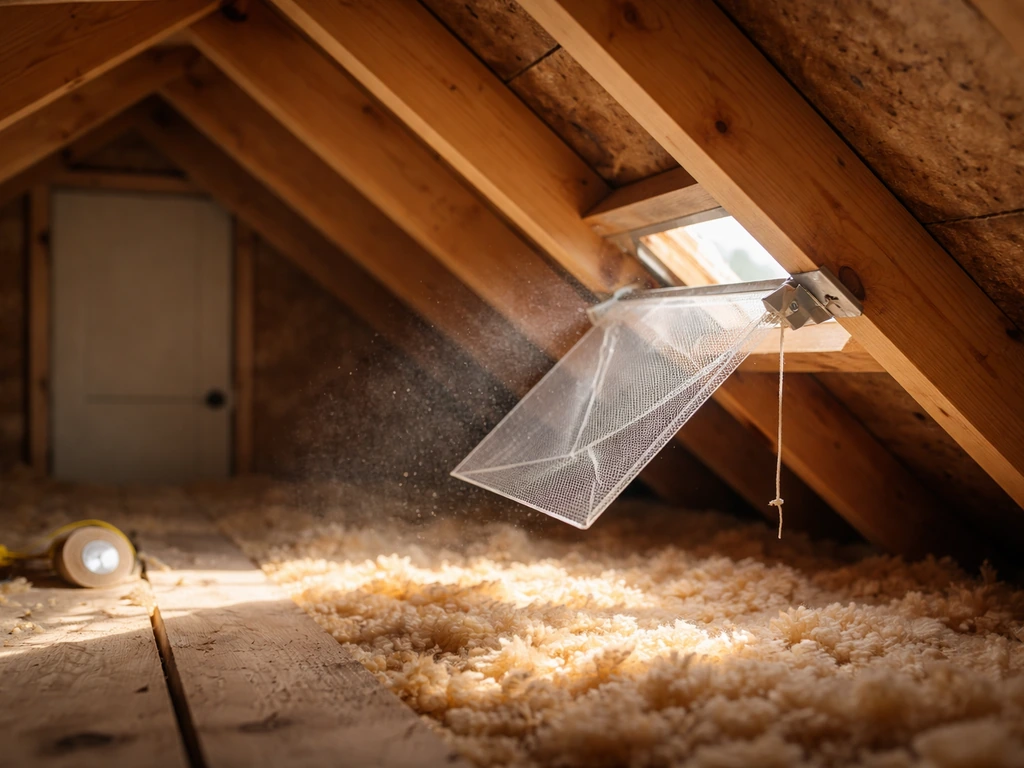
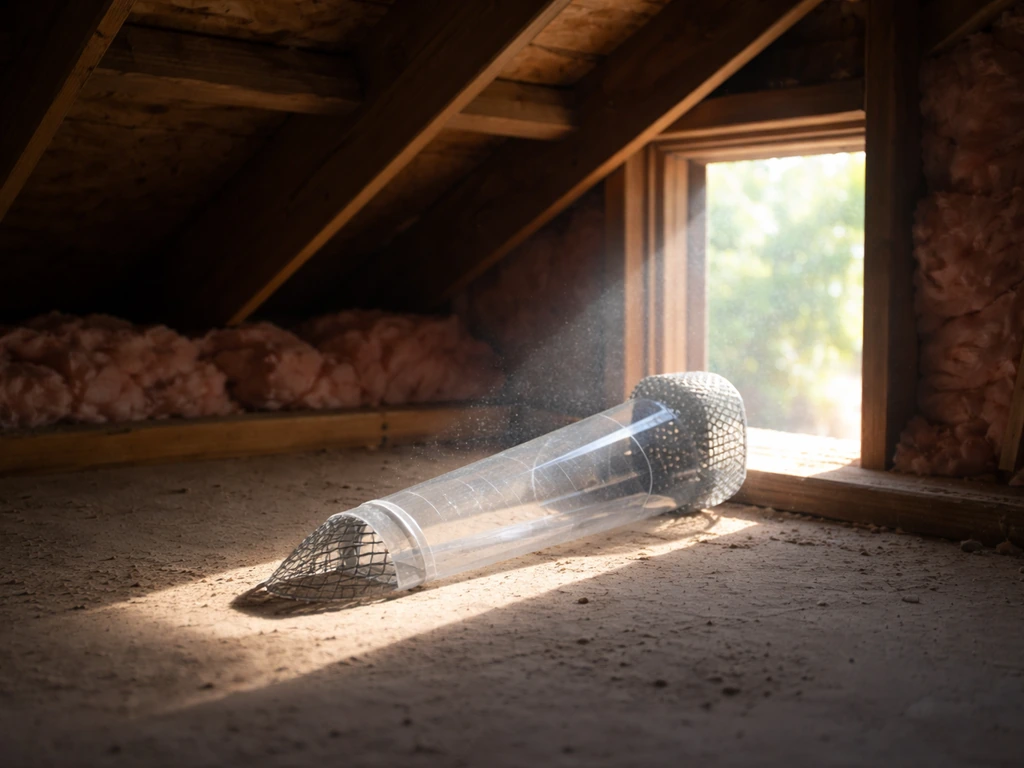
If the bird came in through an active entry point (a consistent gap it has been using), you can set up a simple one-way exit: cover the gap with a piece of lightweight screen or netting that is attached at the top and sides but left loose at the bottom. The bird can push out through the bottom flap but can't find its way back in against the mesh. Leave this in place for two to four days to make sure all birds have exited before you do permanent repairs. This is the same principle used for larger wildlife removal and works reliably when the gap is well-defined.
When the bird won't leave: DIY capture options
If you've tried the exit method for a full day with no luck, or the bird is injured and can't fly to an exit, you'll need to catch it directly. Do this carefully. Birds have fragile bones and can injure themselves or you during capture. If you still need a more hands-on option, these steps for how to trap a bird outside can help you contain it safely and get it back out.
The box-and-towel method
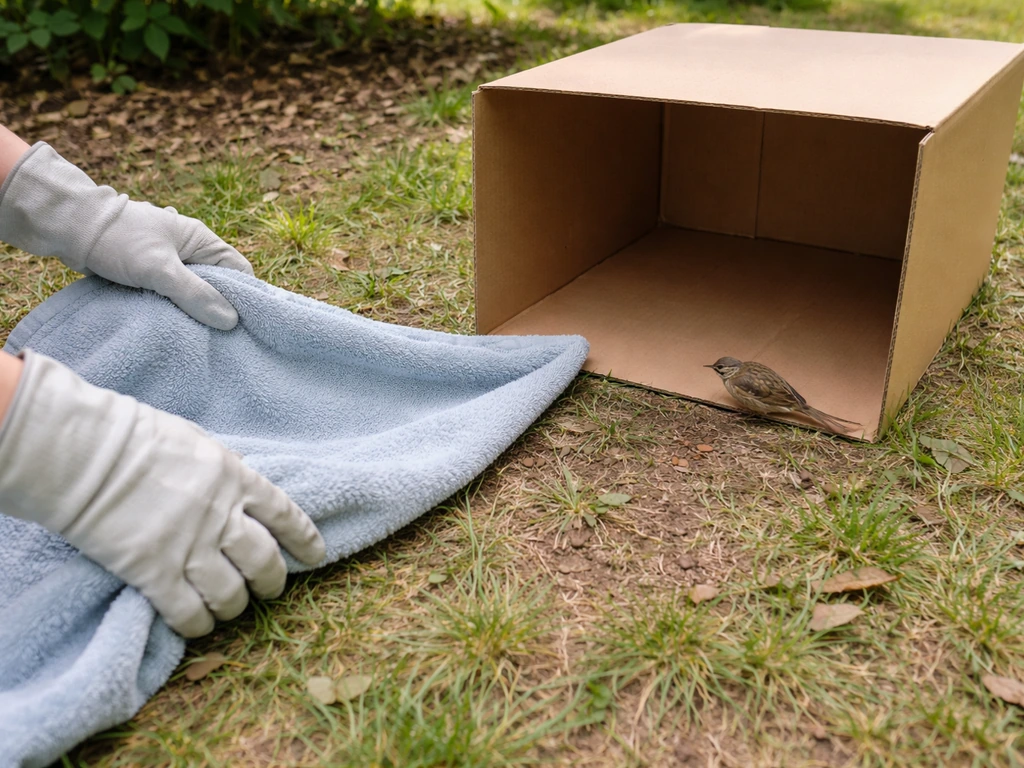
This works well for smaller songbirds. Put on gloves, then use a large cardboard box (open side facing the bird) or a lightweight towel to gently herd the bird into a corner or against a rafter. Drape the towel over it or lower the box over it, then slide a piece of cardboard underneath to create a closed container. Do this slowly and avoid sudden movements. Once contained, take the box outside immediately and open it at ground level away from the house. The bird will fly off when it's ready.
Using a net
A large landing net (like a pool net or a dedicated bird-catching net) works for birds that are too fast or too high up to box easily. The technique is the same: slow approach, steady motion, net over the bird rather than swinging at it. Once the bird is in the net, fold the rim over to keep it contained and carry it outside. Avoid crushing the bird against the frame.
What not to do
- Don't chase the bird repeatedly. Multiple failed capture attempts stress the bird and can cause it to fly into walls or rafters hard enough to injure itself.
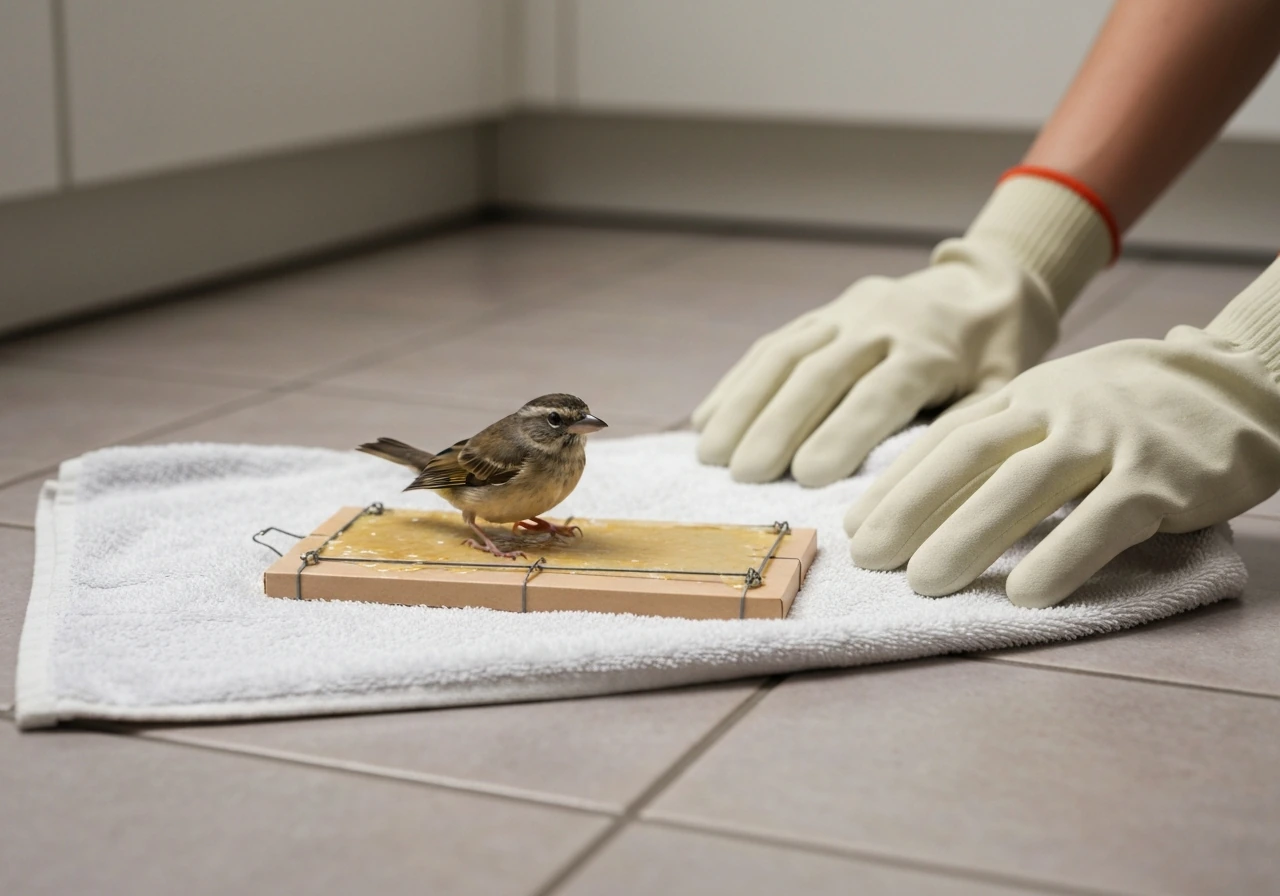
- Don't use glue traps. If a bird lands on one, removal is very difficult and causes serious harm. If you've encountered a bird on a glue trap, that's a separate situation requiring immediate care.
- Don't try to grab the bird barehanded without gloves. Most attic birds are not aggressive, but any cornered animal can scratch or bite, and droppings on feathers can carry bacteria.
- Don't use any poison or spray to immobilize a bird. It's illegal for most species and dangerous to other animals.
- Don't attempt capture if you suspect the bird has eggs or chicks nearby. You may be separating a parent from nestlings.
Cleanup after the bird leaves
This part matters more than most people realize. Bird droppings can carry Histoplasma fungus (which causes histoplasmosis, a lung infection) and Chlamydia psittaci bacteria (which causes psittacosis). Both infections happen when you breathe in dust from dried droppings. The rules for safe cleanup are simple but important. If the bird is stuck on a sticky trap, focus on freeing it safely by removing the trap and using vegetable oil or a gentle adhesive remover to loosen the bird.
PPE before you start
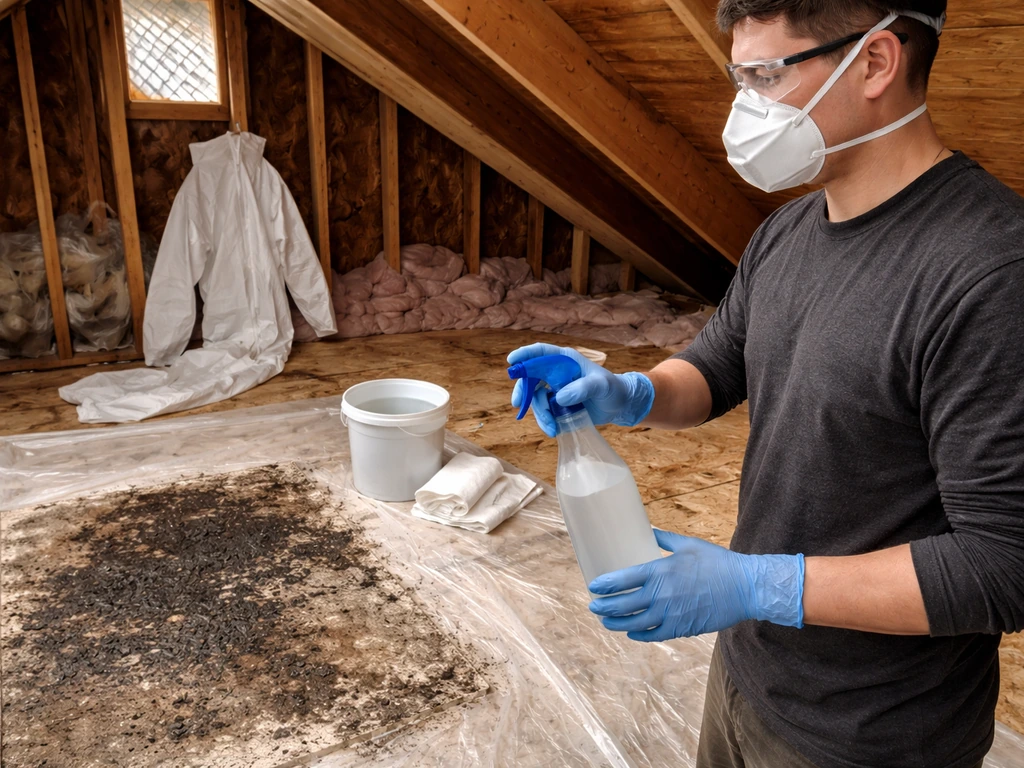
- N95 respirator or a NIOSH-approved respirator with HEPA filter cartridges (not just a dust mask)
- Non-latex rubber gloves
- Safety glasses or goggles
- Disposable coveralls, or old clothes you'll wash immediately at high heat
- Rubber boots or shoe covers
How to clean it safely
- Never dry-sweep or vacuum droppings. Both methods throw contaminated dust into the air, which is exactly what you're trying to avoid.
- Wet the droppings first. Use a spray bottle with a diluted bleach solution (roughly 1 part bleach to 9 parts water) or a commercial disinfectant. Let it sit for a few minutes to kill pathogens and reduce dust.
- Scoop or wipe up the dampened material and double-bag it in heavy plastic bags for disposal.
- Wipe down surrounding surfaces with the disinfectant solution.
- For large accumulations (several square feet or more of layered droppings), this is a HEPA-vacuum job and may require a professional remediation crew. Don't attempt large-scale removal with a standard shop vac.
- Wash all clothing immediately after, and shower before going into living areas of the house.
- Remove and dispose of any nesting material using the same wet-handling approach.
Seal the attic so it doesn't happen again
One bird getting in usually means there's a gap that other birds (and other animals) will find too. Proofing the attic properly is a one-afternoon job for most homes, and it's far easier than dealing with repeat invasions.
The golden rule before you seal anything
Never permanently seal an entry point until you are certain no birds or other animals are still inside. Sealing a bird in will result in a worse situation: a trapped, panicked animal that can cause significant damage trying to get out, and eventually a much more serious cleanup problem. Verify the attic is empty before any permanent repairs.
Common entry points and how to fix them
| Entry point | Recommended fix | Materials |
|---|---|---|
| Ridge vent end caps | Re-secure or replace end caps; fill gaps with exterior caulk plus hardware cloth or copper mesh (Xcluder/Stuff-It style) | Exterior caulk, 1/4-inch hardware cloth, copper mesh |
| Soffit vents (torn screen) | Replace screening; use galvanized or aluminum screen, not plastic | Pre-made vent covers or 1/4-inch hardware cloth |
| Gable vents | Install hardware cloth behind the louver from the inside | 1/4-inch hardware cloth, staple gun or screws |
| Open louver vents | Replace with capped/screened vent covers | Commercial screened louver vent |
| Gap at fascia/roofline | Seal with exterior caulk; use flashing if the gap is structural | Paintable exterior caulk, metal flashing |
| Chimney (for swifts) | Install a chimney cap with a screen | Commercial chimney cap, stainless steel mesh |
Verifying the fix works
After repairs, check the attic interior for new light penetration on a sunny day. Any visible daylight is a gap you missed. If you used a one-way door during the exclusion phase, leave it in place for at least three to four days before replacing it with a permanent seal, and check for any signs of activity (scratch marks, feathers, fresh droppings) around the patched area. A simple verification trick: press a small piece of painter's tape over the sealed area from the inside and check it after a day. If it's disturbed, something tried to get back in.
Legal and seasonal rules, and when to call a professional
Protected species and the Migratory Bird Treaty Act
This is not something to ignore. The Migratory Bird Treaty Act (MBTA) makes it illegal to destroy, move, or disturb an active nest containing eggs or chicks for almost all native bird species in the U.S. That includes very common birds like robins, starlings (technically not MBTA-protected, but most songbirds are), chimney swifts, and barn owls. If you find a nest with eggs or young birds in your attic, you cannot legally remove it or seal the entry point until the nest is fully vacated on its own. Violations can result in significant fines.
A few species are not protected under the MBTA: European starlings, house sparrows, and rock pigeons (common pigeons) are non-native invasive species and are not covered. You have more flexibility with these, but humane treatment is still the right approach.
Seasonal timing matters
If you discover birds in your attic between roughly March and August, assume nesting is possible until you confirm otherwise. Do not install permanent exclusion barriers during active nesting season if there's any chance young are present. The safest windows for exclusion work are late fall (October through November) and late winter (January through February), when most migratory birds have left and breeding season hasn't started. If you're doing attic-proofing as a planned project rather than an emergency, schedule it for that window.
When to call a wildlife professional
Some situations are beyond a DIY fix. Call a licensed wildlife control operator (NWCO) or your state wildlife agency if:
- You find an occupied nest with eggs or chicks and the parent birds are still active (you'll need professional guidance on legal options and timing).
- The bird appears sick, injured, or has been exposed to suspected avian influenza.
- You can't locate the entry point after a thorough inspection.
- There are multiple birds or signs of a long-term roost (large volumes of droppings, multiple entry points, decades of accumulation).
- The species is protected under a special status beyond MBTA (certain owls, raptors, or threatened/endangered species), which may require additional state or federal permits for any disturbance.
- You're not comfortable working in the attic safely, especially in summer heat or on a steep roof.
When you call, have this information ready: what species you think it is (or a photo), how long it's been there, whether you've heard chicks, and what entry points you've found. A good NWCO can usually give you a clear plan on the first visit. If the situation involves a protected species requiring a permit, they'll handle the authorization process with the U.S. Fish and Wildlife Service on your behalf.
Quick decision guide: what to do next
- Single bird, no nest, no chicks heard: Use the one-way exit method. Give it a day. Capture if needed, then seal.
- Bird present during nesting season (March to August): Check carefully for a nest before doing anything. If no nest, proceed with exit method. If nest found with eggs or chicks, wait it out and call a professional for guidance.
- Injured or sick bird: Don't attempt to handle it without protective gear. Call a wildlife rehabilitator.
- Multiple birds or heavy accumulation of droppings: This is a roost situation, not a stray. Call a licensed wildlife control operator.
- Bird is a pigeon, house sparrow, or European starling: Not MBTA-protected; you have more options, but still pursue humane exclusion first.
- Unsure of species: Get a photo, identify it, and check MBTA status before proceeding.
FAQ
How long should I wait before trying to catch a bird in your attic instead of using the exit/light method?
If the bird can access a clear exit, try leaving the setup in place for about a few hours to several hours. If you see no progress by the next full day, or you can confirm it has been inside roughly 24 to 48 hours without food or water, switch to a hands-on capture approach or call a wildlife professional, especially if you suspect injury.
Is it safe to use poison, glue, or sticky traps to get a bird out of an attic?
No, avoid using sticky or toxic products. Sticky traps can trap birds until they suffer injury or stress, and cleanup becomes more hazardous. If you suspect the bird is already stuck on a glue trap, treat it as an urgent safety and medical situation and focus on humane removal.
What if the bird won’t fly toward the light even after I darken the attic?
This usually means the exit isn’t obvious to the bird or there are multiple competing exits. Re-check for any daylight gaps, make only one exit bright (dim the rest consistently), and keep lights on at the exit side while the other areas stay dark. If it’s injured or perch-happy and not moving, switch to direct containment (box or net) rather than prolonged waiting.
Can I catch the bird through the access hatch only, or do I need to open more of the attic?
If the access hatch allows safe viewing and you can set up a clear, controlled capture area, you can often do it without opening large sections. If the bird is high, behind insulation, or you cannot create a stable corner for herding, opening a bit more space for a safer approach can reduce flailing and injuries. When in doubt, use a net or call an NWCO.
Should I wear gloves and a mask during cleanup, and what exactly should I avoid?
Yes, wear gloves and avoid stirring up dust from droppings. Use gentle cleanup methods that minimize airborne particles, and do not dry-sweep droppings. Bird waste can carry infections, so keep your breathing protected and dispose of contaminated materials properly.
What is the best way to contain the bird if it’s under insulation or in a tight corner?
Use a large box or towel to guide it slowly into a corner you can fully enclose. Do not pull at insulation to chase it, because that increases dust and can trap the bird deeper. If you cannot safely corner it without digging or disturbing insulation heavily, contact a wildlife pro.
If I seal the entry gap after the bird leaves, how can I be sure more birds are not still inside?
Do not permanently seal until you verify the attic is empty. After you install temporary one-way exit hardware, leave it in place for two to four days, then check for signs such as fresh droppings, feathers, or scratch marks near the patched area. Only after that verification should you move to permanent sealing and final exclusion.
Do I need to worry about nesting protection rules even if I only see a bird or hear chirping?
Yes. If you find evidence of eggs or chicks, you generally cannot legally remove or disturb an active nest for most native bird species in the U.S. Between about March and August, assume nesting is possible until confirmed otherwise, and avoid installing permanent exclusion barriers if young birds might be present.
What birds are legal to remove or exclude more freely, and does that change cleanup precautions?
European starlings, house sparrows, and rock pigeons are non-native and are not covered by MBTA, so there may be more flexibility. However, humane handling and safe cleanup still matter, because droppings and feathers can still create health risks.
When should I skip DIY entirely and call a licensed wildlife control operator?
Call if the bird appears injured and cannot be safely captured, if you see ongoing nesting or hear chicks, if you suspect multiple birds are using the attic, if entry points are complex (like roof ridge issues), or if you cannot guarantee a humane capture without risking injury to the bird or yourself. Also call if you find signs of other animals that need different handling.
After I’ve caught and released the bird, where should I release it?
Release it immediately outdoors at ground level away from the house, so it can orient and fly off when ready. Avoid holding it near open doors where it might re-enter, and keep handling time minimal, especially if it seems exhausted or injured.
Next Articles

How Do I Identify a Bird in My Backyard Step by Step
Step-by-step bird ID: observe, match field marks, use look-alikes, document photos, then take humane next actions.

How to Get Bird Off Sticky Trap: Safe Rescue Steps
Step-by-step safe bird rescue from sticky traps, cleanup, prevention, and when to call wildlife professionals.
How to Get a Bird Off a Glue Trap: Safe Steps Now
Step-by-step humane removal of a bird from a glue trap, with safe supplies, aftercare, and when to call wildlife rescue