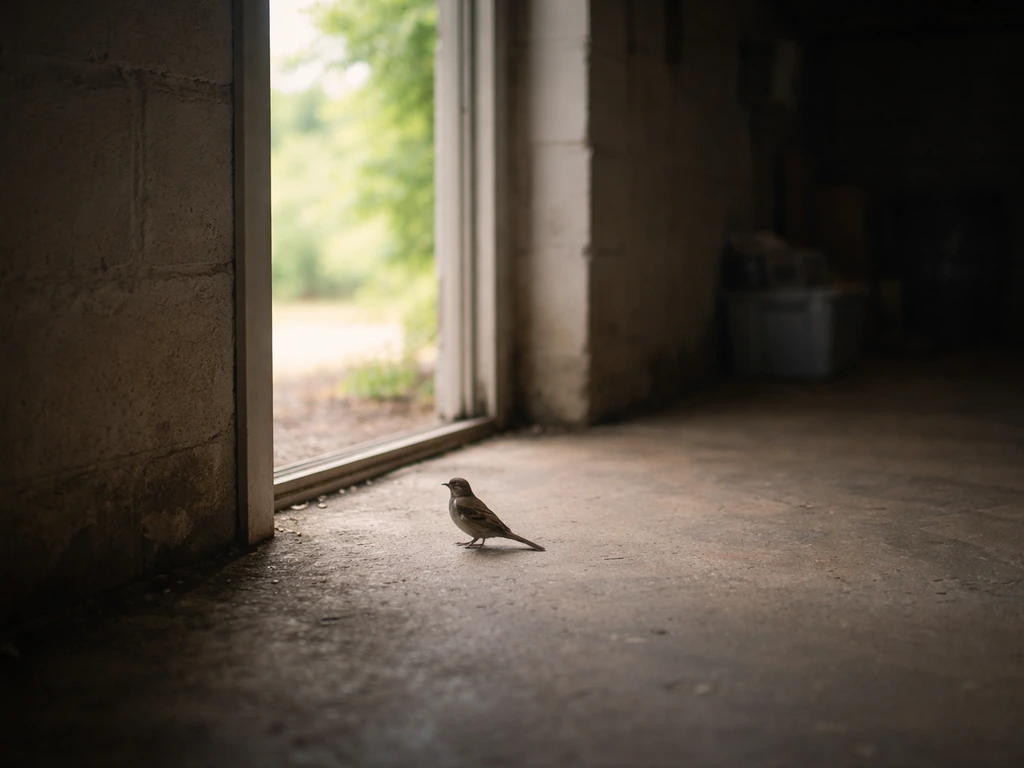
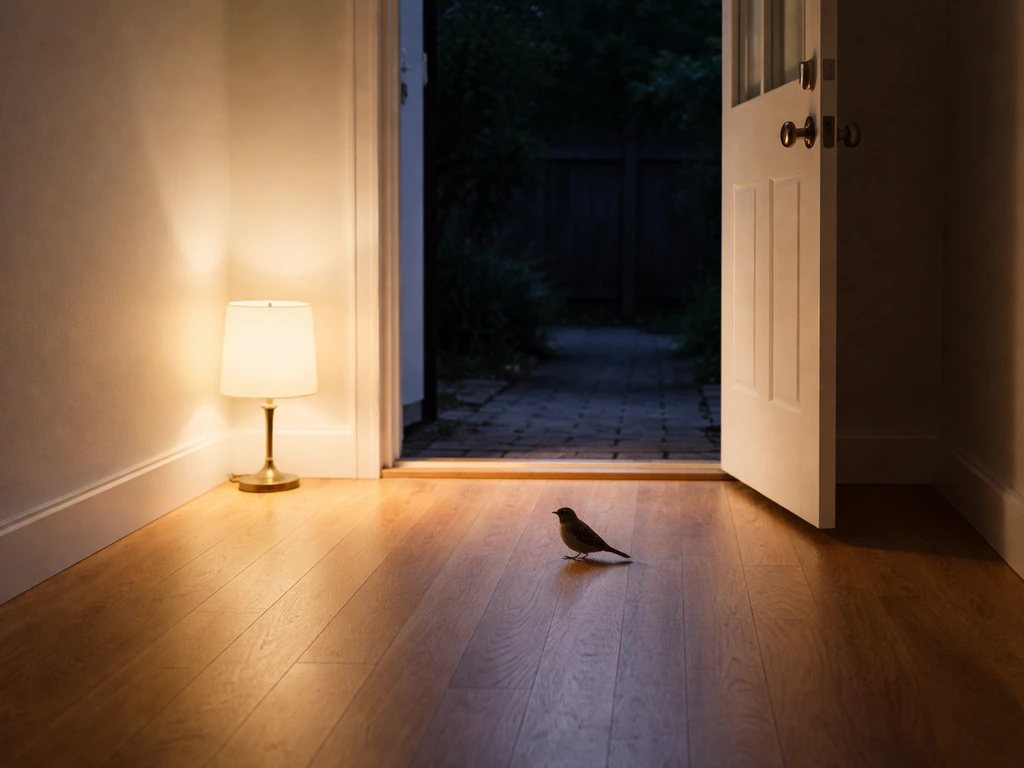
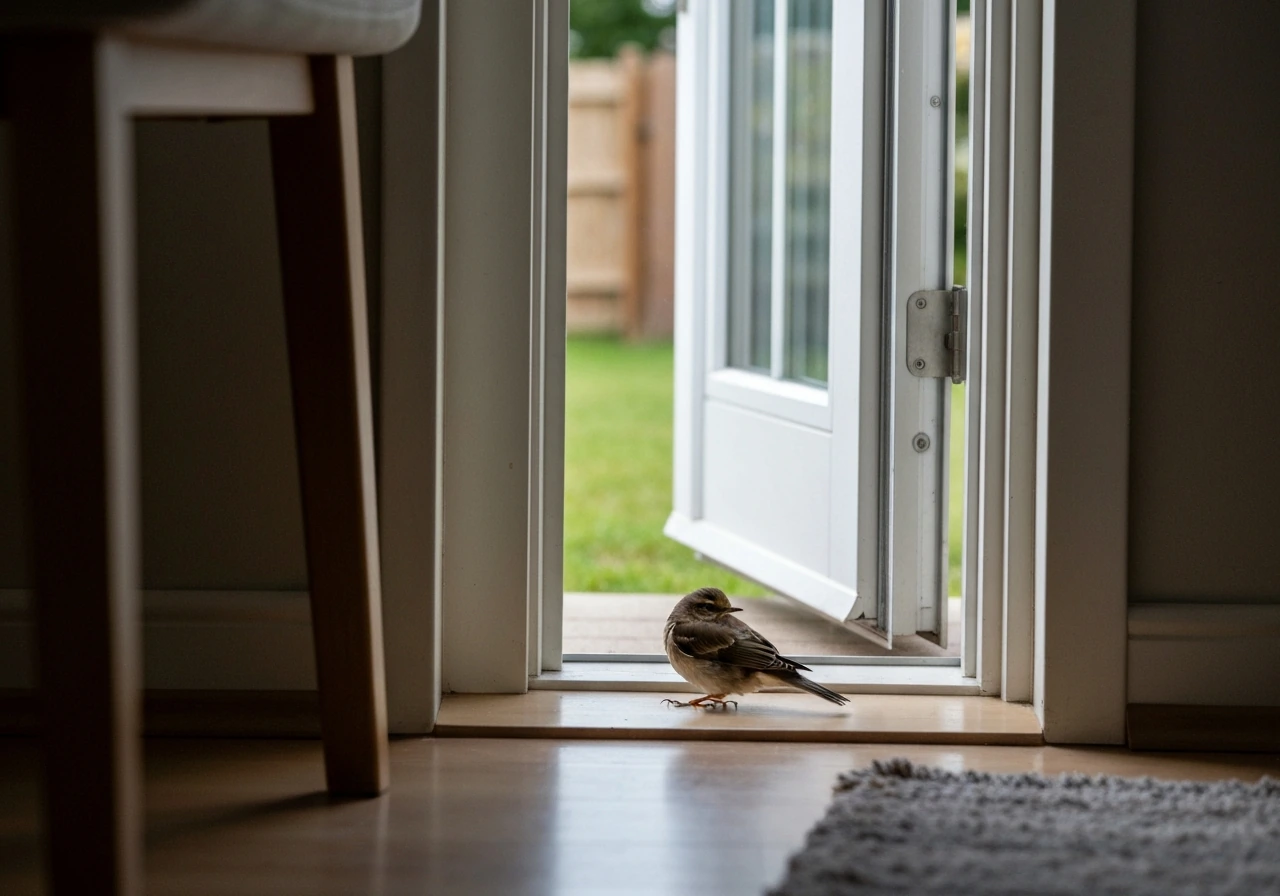
Turn off every light in your basement, open one clear exit (a window or door that leads outside), and then leave the room. Birds instinctively fly toward light, so a dark room with a single lit exit is usually all you need. Wisconsin Humane Society also recommends opening any available windows and covering non-opening windows so birds do not mistake them for exits, and notes that once they have time, they usually fly toward light and out an open door blank" rel="noopener noreferrer">birds instinctively fly toward light and out an open door. Give the bird 15 to 30 minutes of quiet to find its own way out. If you are wondering how to get a bird out of the rafters, the goal is the same: create an exit and reduce the lights that keep it trapped inside the space. That one step resolves the situation more than half the time without any chasing, grabbing, or stress for you or the bird.
How to Get a Bird Out of Your Basement Safely and Humanely

Quick emergency steps (do these first)
Before you do anything else, take a breath. A panicked bird flapping around a basement is scary, but it is almost never dangerous if you stay calm and move slowly. Here is the exact sequence to run through:
- Close the basement door behind you so the bird cannot get into the rest of the house.
- Turn off all basement lights, including any lamps or screen glow.
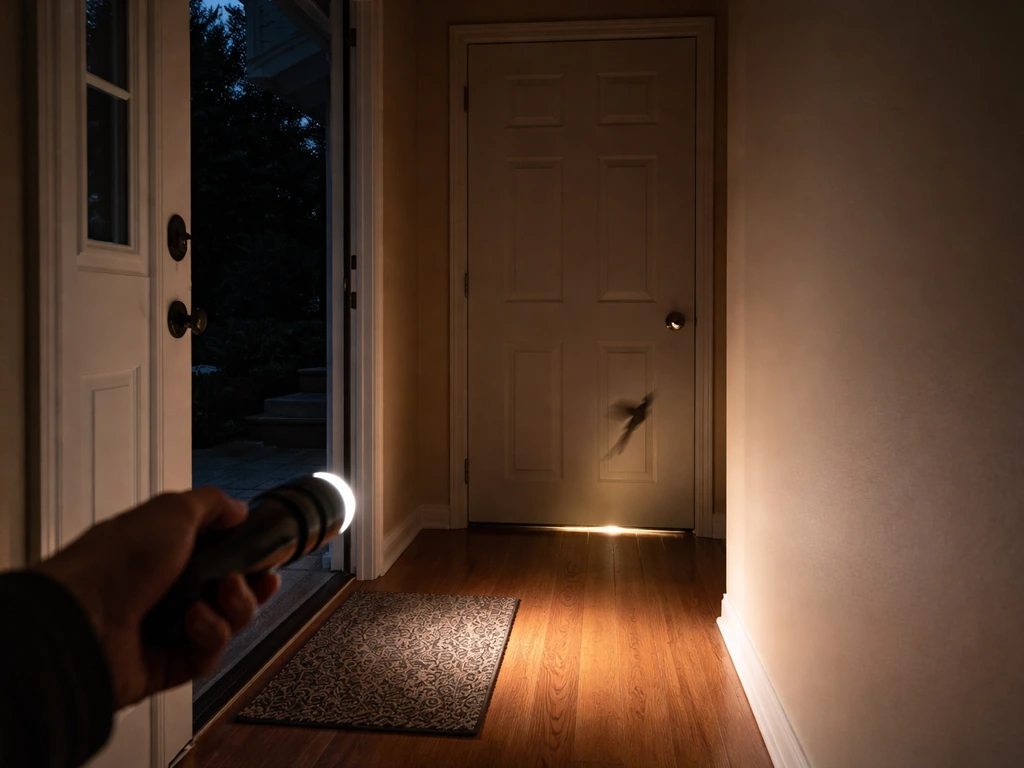
- Open one exit only: the window or door closest to outside. If you have multiple basement windows, cover the ones that will not open with a blanket, cardboard, or closed blinds so the bird is not attracted to false light sources.
- Back out of the room and close any interior doors. Give the bird 20 to 30 minutes of undisturbed quiet.
- Check back quietly. If the bird is gone, close and secure the exit. If it is still there, move on to the guided removal steps below.
The key insight here is that birds do not understand glass or walls. They will exhaust themselves flying at a lit window that does not open. Eliminating every competing light source and leaving a single obvious exit fixes that problem immediately.
Figure out what kind of bird you are dealing with
You do not need to be a birder to get a useful ID. A quick look at size, shape, and bill will tell you almost everything you need to know, and that information will affect how you handle the situation.
Start with size: is it roughly sparrow-sized (small, fits in your palm), robin-sized (medium, length of your hand), or larger? Then look at the bill: a short, thick, seed-cracker bill points to a sparrow or finch; a long, pointed bill suggests a robin, thrush, or starling; a straight dagger-like bill with a compact body is often a nuthatch. Tail shape and wing length round out the picture. You do not need a species name, but you do need to know whether the bird looks healthy and whether it could be a protected migratory species.
The most common basement visitors in North America are house sparrows, European starlings, American robins, and the occasional pigeon. House sparrows have tawny streaks on the back and a large yellowish bill on females. Robins are hard to miss with their warm orange underparts and dark head. Starlings are stocky, short-tailed, and iridescent in good light. Pigeons are large and slow, which actually makes them easier to guide out. Knowing the species also tells you whether you might be dealing with a protected migratory bird, which changes your legal obligations (more on that below).
Also check for signs of injury before you try anything: drooping wing, inability to stand, labored breathing, obvious wounds, or the bird just sitting on the floor when it should be moving. An injured bird needs a different response than a healthy but panicked one.
Humane removal methods: open exits, guiding, and one-way options
Method 1: Let it find its own way out (best option)
The light-and-exit method described above is your first and best move. It requires no contact with the bird and causes the least stress. Most healthy birds will take this exit within 30 minutes if the room is dark enough and the outside light is bright enough. Do this during daylight hours for best results.
Method 2: Gently guide it toward the exit
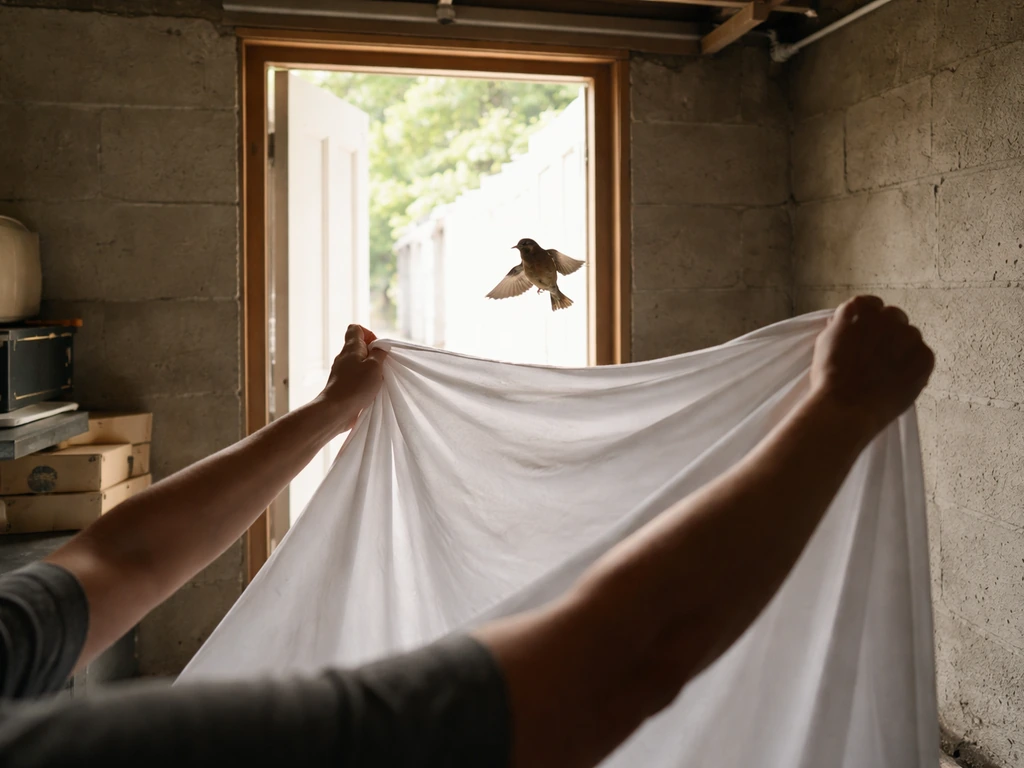
If the bird has been in the basement for more than 30 minutes and is not heading toward the exit on its own, you can help it along. Hold a bed sheet up high in front of you and walk slowly toward the bird, angling it toward the open window or door. The idea is not to chase the bird but to use the sheet as a soft visual barrier that encourages the bird to move in the right direction. Move in slow, steady steps. Stop if the bird panics and freezes, let it calm down, then continue. Do not corner it.
Method 3: Soft net as a last resort
If the sheet technique fails after a couple of attempts, a long-handled soft mesh net (the kind sold at pet stores or wildlife supply shops) can be used to gently trap the bird against a wall or window. Do not try to snag it out of mid-air because that risks injury to you and the bird. Once you have it contained in the net, carry it immediately outside, open the net at ground level or near a bush, and let it go. Wear gloves for this step. Only handle the bird long enough to get it to the exit.
One-way exclusion devices
One-way devices are more relevant for recurring entry problems than for a single trapped bird, but they are worth understanding. A one-way excluder is a tube or funnel installed over an entry point that lets a bird exit but not re-enter. They are most useful after you have confirmed the space is empty and you want to prevent re-entry while you complete permanent repairs. They are not typically practical for an immediate single-bird rescue, but they are a solid tool in your longer-term proofing kit.
What not to do: risks, injuries, and contamination
This is where a lot of well-meaning homeowners make the situation worse. Here is what to avoid and why.
- Do not chase the bird. Running at it causes panic flying, which risks the bird hitting walls or windows hard enough to injure itself, and it can scratch or bite you if it feels cornered.
- Do not try to grab an injured bird bare-handed. Scratches and bites can transmit diseases, and USFWS recommends contacting a wildlife rehabilitator before attempting to capture an injured bird at all.
- Do not disturb a nest. If you find a nest with eggs or live young in your basement, stop. Disturbing an active nest of a migratory bird can carry significant legal penalties under the Migratory Bird Treaty Act (MBTA) in the U.S. and similar regulations in Canada.
- Do not seal entry points while a bird might still be inside. You could trap it in the wall or another cavity, where it will die. Always confirm the space is empty before closing any opening.
- Do not clean up bird droppings without protection. Bird feces can harbor Histoplasma capsulatum (the fungus that causes histoplasmosis), and stirring up dry droppings aerosolizes spores. The CDC recommends an N95 respirator, goggles, and gloves at minimum for any cleanup. For large accumulations, a professional hazardous-waste handler may be required.
- Do not use glue traps, poison bait, or any chemical deterrents indoors. These are inhumane, often illegal for protected species, and dangerous in an enclosed space.
A quick note on PPE for cleanup afterward: once the bird is out, wet any droppings with water or a disinfectant spray before wiping or sweeping to reduce dust. Wear gloves and wash your hands thoroughly with soap and water. If you can see a substantial accumulation (more than a few scattered droppings), treat it seriously and consider professional cleanup.
Stop it from coming back: sealing, exclusion, and fixing attractants
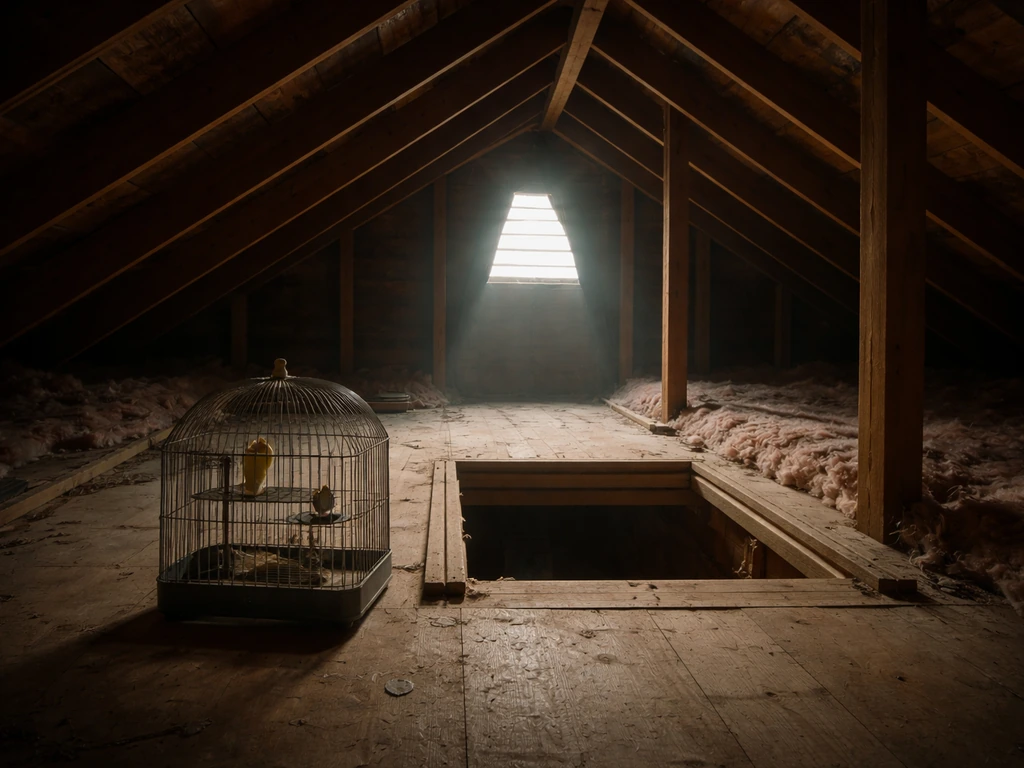
Once the bird is out, you have a window (no pun intended) to fix the actual problem. A bird in a basement got there somehow, and if you do not close that route, you will be doing this again. To understand how did a bird get in my basement, check for entry gaps around foundation cracks, vents without intact screens, and any spots where pipes or wiring come through. Related entry problems in other parts of the building, like getting a bird out of the attic or out of wall cavities, follow the same locate-exclude-seal logic. This same approach also works for how to get bird out of wall cavities: create a clear exit and then block the entry path afterward a bird out of wall cavities. For the same reason, figuring out how to get a bird out of the attic is also about creating an exit and blocking the entry path afterward.
Find every entry point
Walk the exterior of your foundation and basement-level walls in good daylight. You are looking for gaps as small as 1/4 inch because that is enough space to admit small birds and rodents. Pay special attention to utility penetrations (pipes, conduit, wiring), foundation cracks, rotted wood where framing meets the foundation, gaps around window frames, and any vents that lack intact screens. Mark each gap with tape or chalk before you start patching.
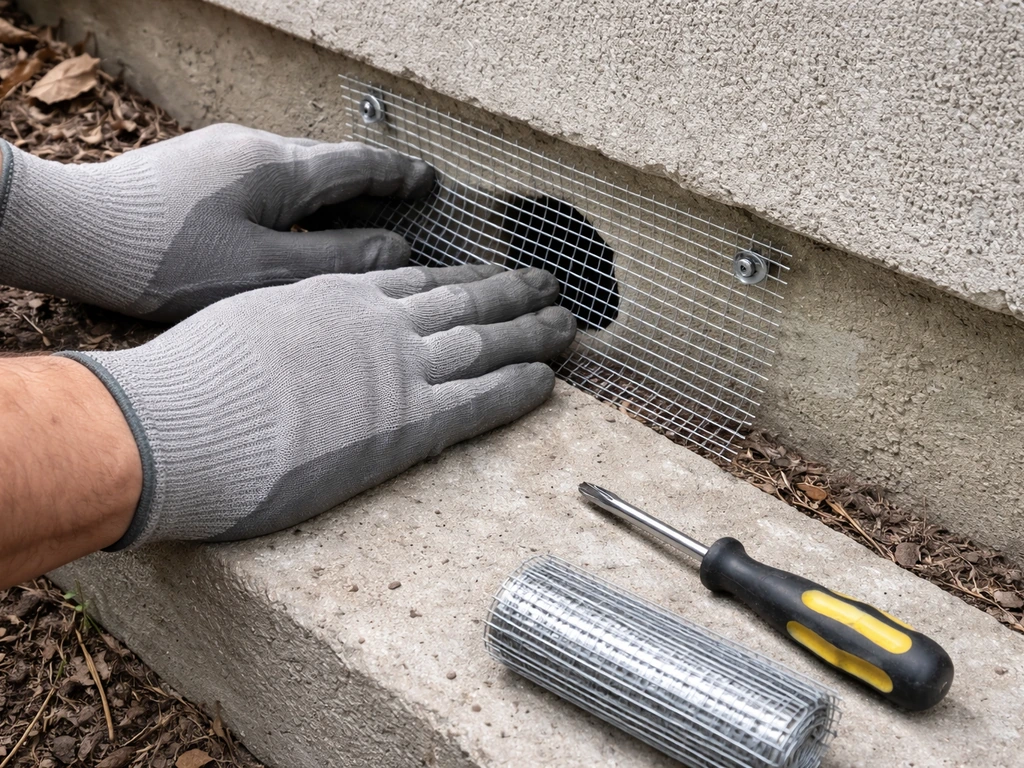
Seal and exclude
Hardware cloth (also called wire mesh) is your best friend here. Use 1/2-inch by 1/2-inch mesh for most basement vents and openings, and 1/4-inch mesh for smaller gaps where you are also concerned about rodents. Illinois Department of Public Health’s Bird Control Manual discusses bird exclusion materials and recommends mesh or wire mesh for vent openings, while advising you to consult local codes and consider proper installation mesh or wire mesh for basement vent openings. Staple or screw it in place rather than relying on caulk alone for larger openings. For gaps around pipes and conduit, use a combination of steel wool and an appropriate filler or expanding foam rated for exterior use. Window well covers keep basement windows protected while still allowing light and drainage.
Fix the attractants
Birds do not enter basements randomly. They are usually following food (insects, spilled grain, pet food), water (leaks, standing water), or shelter (warmth, roosting spots). Removing these makes your basement a lot less interesting. Fix any moisture issues that attract insects, move pet food to sealed containers, and eliminate any roosting ledges or nesting materials that might have been left in the space.
Seasonal timing and a long-term monitoring checklist
Timing matters enormously for exclusion work. The worst time to seal up your basement is during active nesting season (roughly March through August in most of North America), because you risk trapping nesting adults or orphaning chicks. The best windows for proofing work are late fall (September through November, after nesting has ended) and late winter (February, before birds start scouting nest sites). If you discover an active nest during a spring or summer inspection, leave it alone until the young have fledged, then seal the entry point.
| Time of Year | Recommended Action | Notes |
|---|---|---|
| February (late winter) | Inspect and seal foundation gaps before nesting begins | Good window before spring scouting activity |
| March to August (nesting season) | Inspection only; do not seal if active nest is found | Disturbing active nests of migratory birds may be illegal |
| September to November (post-nesting) | Full exclusion and sealing work | Best time for hardware cloth installation and vent repairs |
| December to January | Interior check: look for droppings, feathers, or damage | Confirm previous repairs are holding |
Beyond seasonal timing, a simple annual monitoring routine will catch problems before a bird ends up trapped inside again. Walk your basement perimeter twice a year (spring and fall), check every vent screen for damage, look for fresh droppings or feathers near the foundation, and replace any deteriorated caulk or mesh. A 20-minute inspection twice a year is all it takes to stay ahead of this.
Quick proofing checklist
- All foundation vents have intact 1/2-inch hardware cloth screens
- Utility penetrations (pipes, wires, conduit) are sealed with mesh and/or appropriate filler
- Window well covers are installed and latched
- No gaps larger than 1/4 inch along the sill plate or rim joist
- Roof-to-wall junctions above basement level are inspected (birds nesting above can access below)
- No standing water, open pet food, or exposed grain inside the basement
- Droppings from previous visits cleaned up with proper PPE to avoid re-attracting birds
When to call a wildlife professional (and the legal stuff you need to know)
Most healthy-bird-in-basement situations resolve with the DIY steps above. But there are clear situations where you should stop and pick up the phone instead.
- The bird shows obvious injury signs: drooping wing, inability to stand, labored breathing, visible wounds, or it is sitting flat on the floor and not trying to move. In this case, do not try to catch it first. Contact a licensed wildlife rehabilitator and follow their instructions.
- You find a nest with eggs or live young. Do not touch it, do not seal around it, and do not try to relocate it. Under the U.S. Migratory Bird Treaty Act, disturbing, moving, or destroying an active nest of a protected migratory bird can result in serious fines. Canada's Migratory Birds Regulations (updated July 2022) similarly prohibit disturbing or destroying nests containing a live bird or viable egg. Wait for the nest to be vacated, then act.
- You cannot identify the species and you suspect it might be a protected bird. Many songbirds, raptors, and waterfowl are covered under federal protections. When in doubt, do not capture or disturb.
- DIY removal attempts have failed after two or three tries and the bird is becoming increasingly stressed or injured.
- There is a large accumulation of droppings suggesting the bird (or birds) have been present for an extended period. This is a contamination situation, not just a removal situation, and it may require professional hazmat-level cleanup.
To find a licensed wildlife rehabilitator near you, contact your state or provincial wildlife agency, or search the National Wildlife Rehabilitators Association or IWRC directories. When you call, be ready to describe the species (or your best guess), the bird's condition, how long it has been in the space, and whether there is a nest present. That information will help them give you accurate guidance fast.
One important legal note for facility managers: if your building has had repeated bird entry and you are considering any trapping, relocation, or nest removal as part of a larger pest management program, check whether you need a federal or state permit before doing anything. Well-intentioned actions taken without the right authorization can still carry legal liability under MBTA provisions, even if no harm was intended. When in doubt, a call to your local wildlife agency or a licensed wildlife control operator takes about five minutes and can save you a significant headache.
FAQ
How long should I wait before trying a backup method to get a bird out of my basement?
If it is healthy but stuck, the fastest low-stress option is the light-and-exit method during daylight, then the sheet method if it still will not move toward the exit after about 30 minutes. If you see signs of injury or it keeps colliding with walls, switch to “containment only” and contact a wildlife rehabilitator rather than trying multiple capture attempts.
What methods should I avoid when trying to get a bird out of my basement?
Do not use glue traps, poison, or any approach that causes burns, suffocation, or mid-air snags. Even if you mean well, a bird that is injured during capture often becomes more stressed and harder to release. If the bird will not cooperate with the exit and sheet approach, use a gentle mesh net only to guide it out, or call for professional help.
What are the signs that the bird is injured and I should not proceed with DIY rescue?
If the bird is actively bleeding, can barely stand, is breathing with effort, has a drooping wing, or appears lethargic and unresponsive, treat it as an injury case. In that situation, do not chase it around the room. Darken the area with one lit exit, minimize handling, and contact a licensed rehabilitator.
Can I get a bird out of my basement at night, or does it only work in daylight?
No. The article’s approach assumes daylight, and it also relies on creating a single obvious exit. In darkness, you can still work by turning off most lights and lighting only one door or window that opens to the outside, but avoid leaving multiple bright sources that can redirect the bird.
Should I open more than one basement door or window to help the bird escape faster?
If you must open an exit, open only one. Leaving several exits lit or creating cross-drafts can pull the bird away from the one chance it has to escape. After opening the chosen door or window, close off the rest of the basement area from your movement and keep noise low.
What should I do if I can’t immediately get to the basement again after discovering the bird?
If you have to keep it contained briefly (for example, while you call for help), the safest move is to remove competing lights and keep the bird in the room with the single open exit available. Avoid locking it into smaller closets or corners, and do not feed it to “calm it down,” because food can increase the chance it re-enters later.
Do I need a permit if I think the bird is protected or if there might be a nest nearby?
The article mentions legal considerations for protected birds, and the key decision aid is whether you have an active nest or repeated, ongoing entry. If there is a nest or evidence of nesting (fetal droppings, nesting material, frequent return), stop exclusion until fledging, then proof the entry route. If you are unsure about permits or species protection status, contact your wildlife agency before removal or trapping.
Do I need to identify the exact bird species before I try to get it out safely?
Use the species and health check to guide expectations, but do not spend time trying to identify the exact species before rescue. Once the bird is out, you can take a few clear photos and note size, bill shape, and behavior, then handle proofing. If the bird looked sick or you suspect a protected species, prioritize calling a rehabilitator over detailed ID.
If I get the bird out, will it come back, and when should I start sealing entry points?
If the bird was only present briefly and you remove the attractants, the odds of immediate re-entry are lower. If there are visible entry gaps, damaged screens, or recurring signs (fresh droppings or feathers repeatedly showing up), assume it can return. After release, inspect and seal entry points promptly, ideally after nesting season.
Step-by-step humane ways to get a bird out of the attic, plus escape guidance, exclusion tips, and prevention checklist.
Humane, step-by-step guide to get a trapped bird out safely, handle injuries, and prevent future entry.
Step-by-step humane bird escape, DIY fixes, prevention tips, and when to call wildlife experts for indoor bird incidents