If a bird has found a way into your building and keeps coming back, or is roosting somewhere it shouldn't be and seems stuck or 'locked in' by barriers or conditions, here's what you do: stop new entry immediately by closing off obvious gaps, safely guide the bird out if it's inside, then systematically seal every access point before it returns. That's the short loop. The rest of this guide breaks it into steps you can actually execute today, plus a longer-term proofing plan so the problem doesn't repeat itself. To truly learn how to control bird population on site, focus on inspection, exclusion, and ongoing maintenance rather than one-off deterrents prove it doesn't repeat itself.
How to Stop Droll and Lock Birds Fast and Prevent Recurrence

Maya Carver
17 May 2026
Quick emergency actions: stop entry and secure people and pets
Before anything else, contain the situation. A panicked or disoriented bird inside a building can injure itself on windows, spread droppings across a wide area, or stress out pets and small children. Do these things first, in this order.
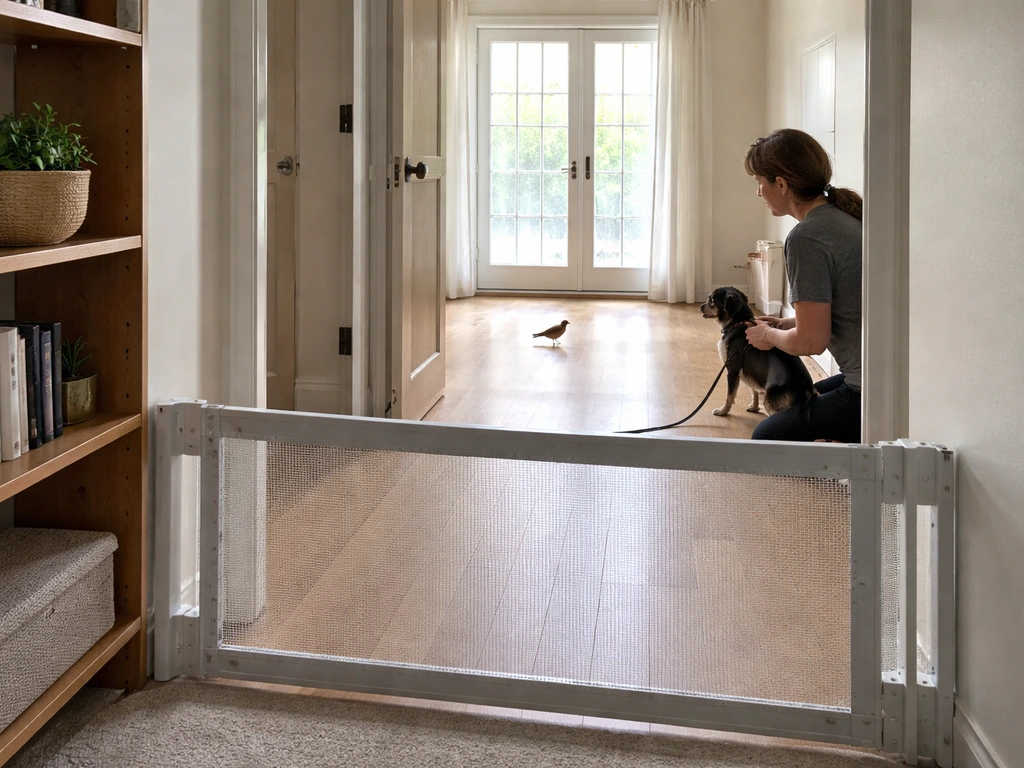
- Clear the room: move people, pets, and food away from the area where the bird is active.
- Close interior doors to limit how far the bird can travel through the building.
- Open the largest available exterior exit, such as a window, door, or loading bay, and darken the room so the light draws the bird toward the opening.
- Block obvious re-entry points temporarily: stuff a towel under a gap, close a vent flap, or prop something in front of a broken screen. This doesn't have to be perfect right now, it just slows the problem while you work.
- Do NOT chase or grab the bird with bare hands. You risk bites, scratches, zoonotic exposure, and a more frantic bird.
- Do NOT use chemical repellents, sprays, or smoke inside an occupied building.
Once the area is secured and people are safe, you can move to the diagnostic step below. If the bird is already out or roosting externally, skip straight to the entry-point inspection section.
Identify what you're actually dealing with
The right fix depends entirely on what the bird is doing. Misreading the situation is the most common reason DIY attempts fail and the bird keeps coming back. Use this quick diagnostic before spending money on materials.
| What you're seeing | Situation type | Priority action |
|---|---|---|
| Bird flying around inside, can't find exit | Trapped / locked inside | Guide out using light and open exits; do not chase |
| Bird returning to same ledge, beam, or roof edge every day | Roosting on exterior | Identify roost point; install physical deterrents |
| Bird carrying material into a gap, vent, or cavity | Nesting in progress | Check legal status first; exclude only if nest is inactive |
| Active nest with eggs or chicks inside | Protected nesting | Do NOT disturb; contact wildlife authority or wait out season |
| Bird repeatedly entering same gap, then exiting | 'Droll and lock' cycle: habitual entry | Seal after confirming bird is out; install one-way device temporarily |
The 'droll and lock' pattern, where a bird enters through a gap, gets disoriented or partially blocked by interior conditions, then exits and returns again, is extremely common with pigeons, starlings, and sparrows. They develop a strong site fidelity to that entry point. Blocking only the inside without addressing the exterior gap means the bird simply finds another way in, or waits and re-enters when your temporary fix fails. To prevent bird re-entry, focus on sealing the exterior gap as well as blocking the inside so the bird cannot simply return later.
Get the bird out humanely, right now
If the bird is inside
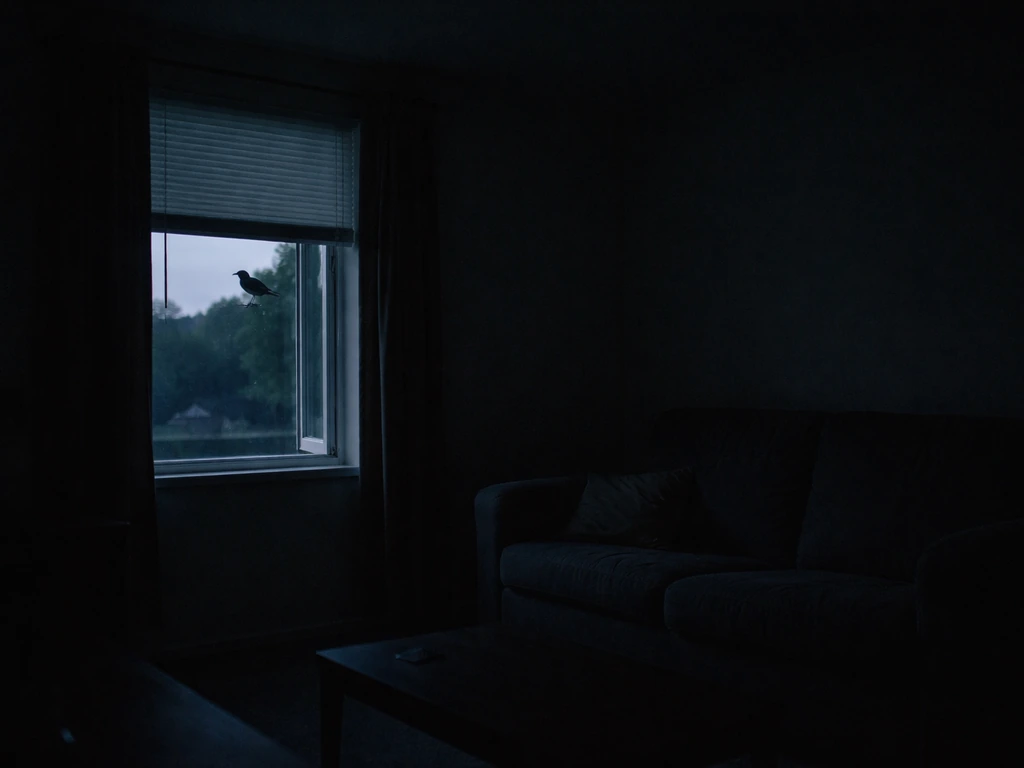
The single most effective method is the dark-and-open technique. Close all blinds, curtains, and interior lights except at one exit point: an open window, a propped door, or a garage bay. The bird will naturally fly toward the brightest point. Give it 15 to 30 minutes without interference. Most birds find their way out without any help if you stop adding visual noise to the room.
If it's been more than 30 minutes and the bird is clearly exhausted or grounded, you can attempt a gentle capture. Put on gloves and use a large, soft cloth or light towel to loosely wrap the bird from above. Cup it gently, carry it outside, and open your hands near a tree or hedge. Don't throw or toss. If the bird doesn't fly after a minute, it may be injured and needs a wildlife rehabber.
If the bird is roosting on an exterior surface
Don't try to physically remove a roosting bird from a ledge or roof. It will return. Your job is to make the roost site uncomfortable or inaccessible. Temporary deterrents like reflective tape, balloon eyes, or motion-activated sprinklers can break the habit while you prepare a permanent solution. These work best when installed within 24 to 48 hours of first noticing the roost, before site attachment becomes strong.
Find and fix every entry and roost point
Do a proper inspection first
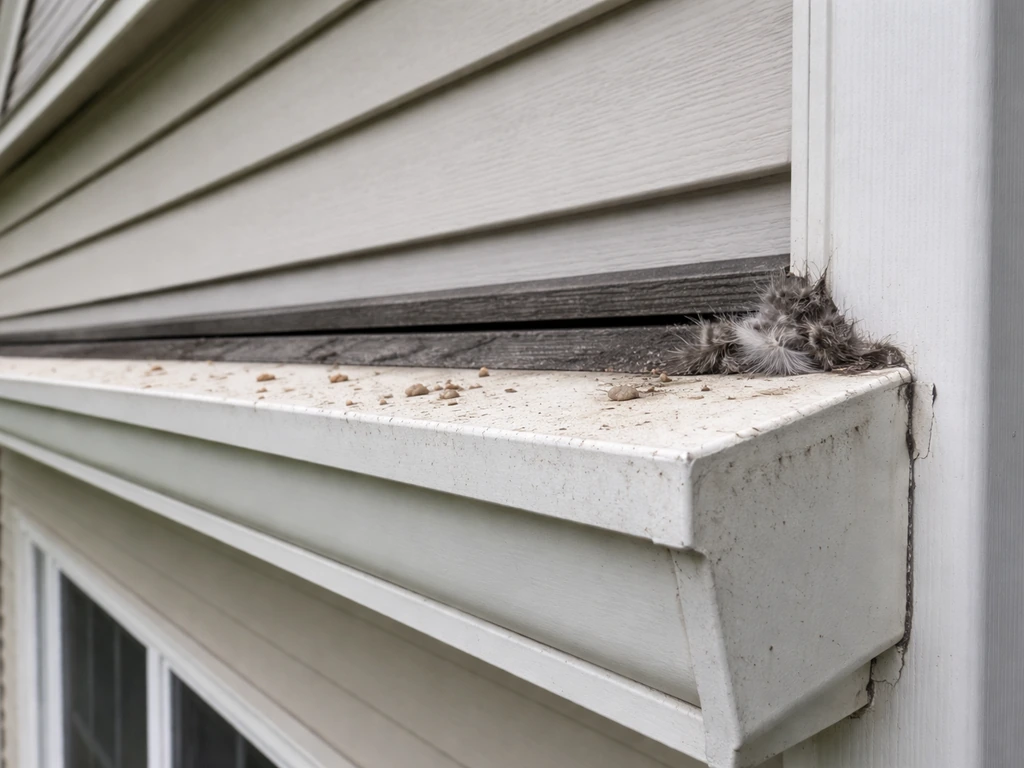
Walk the entire building exterior at bird-activity hours, which is usually early morning and late afternoon. Look for fresh droppings, feathers, staining, and worn edges around gaps. Birds create a visible grease and dirt smear around entry points they use regularly. That streak is your roadmap.
- Check all roof-line junctions: soffits, fascia gaps, ridge vents, and where roofing material meets walls
- Inspect utility penetrations: where pipes, conduit, cables, and HVAC lines enter the building
- Look at vents: dryer vents, bathroom exhaust vents, gable vents, and attic louvers are frequent entry points
- Check for damaged or missing window screens, especially on upper floors
- Inspect loading dock doors, garage doors, and any door that stays open during the day
- Look for gaps around expansion joints, weep holes in brick, and any opening larger than half an inch for small birds or one inch for larger ones
Repair the structure before you seal
Sealants fail faster when applied over rotted wood, cracked mortar, or rusted metal. Before you install any exclusion material, repair the underlying damage. Replace rotted fascia boards, re-mortar cracked masonry, and fix bent vent covers. Skipping this step means your sealing job lasts one season instead of five or more.
Proofing installs that actually hold up
Physical exclusion is the most reliable long-term solution. Visual deterrents and sound devices lose effectiveness within weeks as birds habituate to them. Here's what actually works.
Hardware cloth and wire mesh
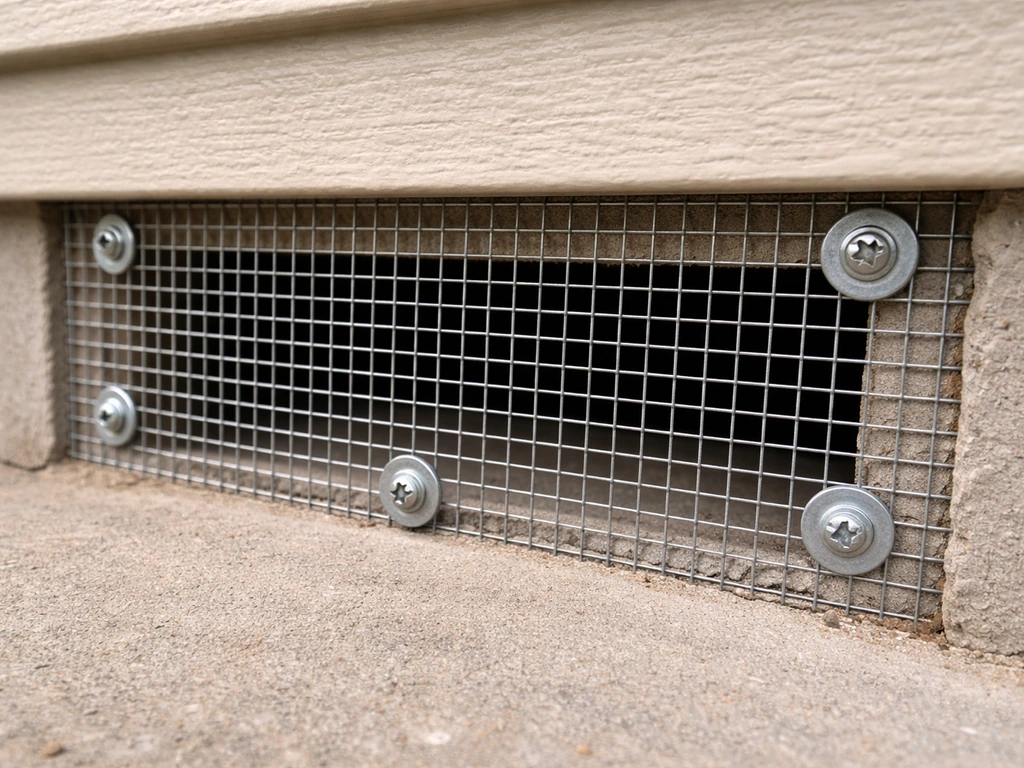
For gaps, vents, and open cavities, half-inch galvanized hardware cloth is your best material. It's stiff enough to resist bird pressure, doesn't rust quickly, and is invisible from a distance. Cut it to size, fold edges, and secure it with screws and washers rather than staples. Staples pull out within one nesting season. For larger openings like gable vents, use pre-made wire vent covers rated for pest exclusion.
Bird netting
Heavy-duty polyethylene netting with a 19mm or 50mm mesh (depending on species) is the standard for excluding birds from large open areas like loading docks, roof courtyards, and under-eave spaces. It has to be tensioned correctly or birds will find a sagging section and push through. Fix it to a wire support system at the perimeter and check tension twice a year, particularly after winter.
One-way exclusion devices
When a bird is confirmed inside a cavity or attic and you don't want to trap it, a one-way door or tube lets it exit but prevents re-entry. Install these over the primary entry point, leave all other gaps sealed, and leave the device in place for at least five to seven days to ensure the bird has exited. Then remove it and seal the opening permanently. This is the right method for the classic 'droll and lock' cycle.
Door seals and gap closers
For facilities with doors that stay open during business hours, heavy brush-strip door seals along the bottom and sides reduce casual walk-in and fly-in by smaller birds. Automatic door closers with adjustable delay settings are worth the investment for high-traffic entries near loading areas. Combine these with a bird-deterrent strip or spike system above the door frame to eliminate the ledge birds use to wait for an opportunity.
Ledge spikes and slope systems
Stainless steel bird spikes on window ledges, parapets, HVAC equipment tops, and signs stop birds from landing without harming them. They're most effective on flat or narrow surfaces. On wide ledges, pair spikes with a 45-degree PVC or metal slope panel that physically prevents landing and nesting. Avoid cheap plastic spikes: they UV-degrade in about two years and birds sometimes nest between them.
Cleaning up droppings safely
Bird droppings are a genuine health hazard, not just a mess. Dry droppings can carry Histoplasma capsulatum, the fungus responsible for histoplasmosis, and blank" rel="noopener noreferrer">disturbing them without protection can aerosolize spores directly into your breathing zone. WSU EHS advises never to sweep, vacuum, or disturb bird droppings, and recommends wet cleaning methods instead blank" rel="noopener noreferrer">never sweep or shovel dry material. The CDC and NIOSH are clear: preventing accumulation is the best control, and when you do clean, never sweep or shovel dry material.
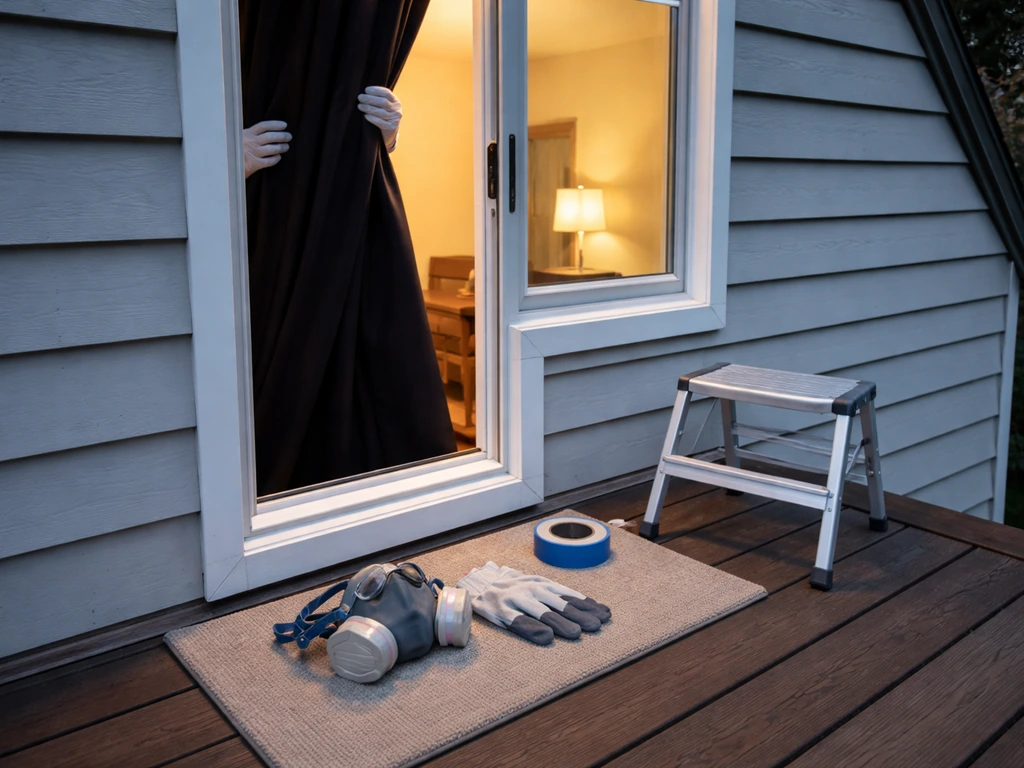
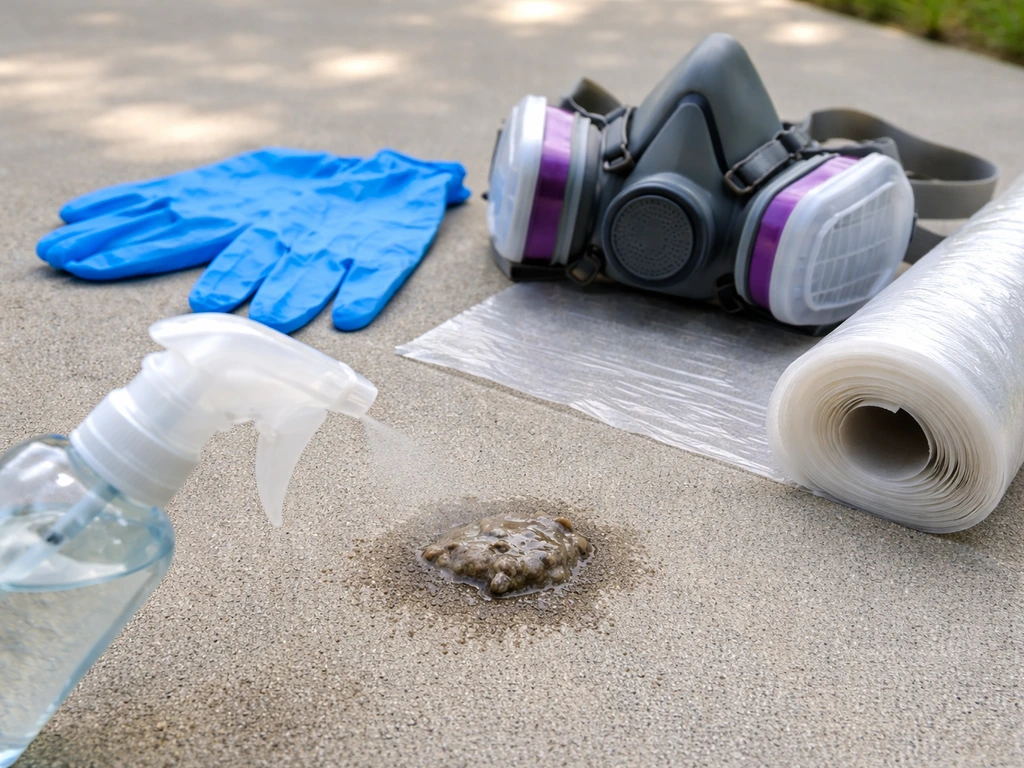
PPE before you touch anything
- NIOSH-approved respirator fitted with HEPA filter cartridges (not a dust mask)
- Non-latex disposable gloves
- Safety glasses or goggles
- Disposable coveralls
- Shoe coverings or dedicated rubber boots you can decontaminate
Wet cleaning is the only safe method
Wet the droppings thoroughly with a disinfectant solution before touching them. This suppresses dust and binds spores so they don't become airborne. Then wipe or mop with disinfectant-soaked materials rather than sweeping. A high-efficiency filtered industrial vacuum is acceptable for larger areas, but a standard shop vac is not: it exhausts fine particles back into the air. Bag all waste in sealed plastic bags and dispose of it as directed by your local waste authority.
After cleaning, wash the surface again with a virucidal or antibacterial disinfectant rated for use on non-porous surfaces. Let it dwell for the contact time on the label. Odor from old roost sites can linger and attract new birds, so treating the area with an enzymatic odor neutralizer after disinfection is worth the extra step.
Timing, legal considerations, and when to call a professional
When to do exclusion work seasonally
The best windows for sealing and proofing work are late summer through early fall (after nesting ends and before winter roost consolidation) and late winter before breeding season begins in early spring. In the Northern Hemisphere, this roughly means August through October and January through February. Avoid major exclusion work from March through July if you suspect active nests are present: disturbing an active nest of most migratory bird species is a federal offense under the Migratory Bird Treaty Act in the US.
Know which birds are legally protected
In the US, the Migratory Bird Treaty Act protects most native bird species, their nests, and their eggs. You cannot legally destroy an active nest or harm the birds. Pigeons, house sparrows, and European starlings are generally not protected under this federal law, but check your state regulations because some states add their own protections. In the UK, the Wildlife and Countryside Act 1981 protects almost all wild birds. If you're unsure about the species you're dealing with, photograph it and contact your local wildlife authority before taking action.
When to stop DIYing and call a wildlife professional
Some situations are beyond a homeowner or facility manager DIY fix. Call a licensed wildlife control operator or pest management professional if you encounter any of the following.
- You find an active nest with eggs or live chicks inside a cavity or vent
- The bird appears injured and cannot fly
- The species is unknown and may be federally protected
- The infestation involves a large colony (more than a dozen birds) with extensive droppings accumulation
- Access to the entry or roost point requires working at heights above one story without safety equipment
- Previous DIY attempts have failed and birds return within days
- You find evidence of bats sharing the roost space (bats are subject to entirely separate regulations)
When you call, have this information ready: species if known, how long the problem has been occurring, exactly where you've seen entry or roosting activity, and any temporary steps you've already taken. This saves the professional time and gets you a more accurate quote and action plan.
Build a maintenance schedule so this doesn't repeat
One-time exclusion is not enough for most buildings. Birds are persistent, and building materials degrade. Set a twice-yearly inspection routine: once in late winter before nesting season and once in fall after it ends. Walk the full exterior, check that mesh and netting is intact and tensioned, look for new droppings accumulation near sealed points, and re-apply any sealant that's cracking. This 30-minute walkthrough is the difference between a solved problem and a recurring one. If you're also dealing with birds nesting on balconies or in your roof space more broadly, the inspection and sealing principles here apply directly to those problems as well.
FAQ
How long should I wait after dark-and-open before trying anything else?
Give the bird 15 to 30 minutes with all blinds and interior lights off except the single exit point. If it is still present after 30 minutes, switch approaches, because repeated attempts often worsen disorientation and increase droppings spread.
What if the “brightest exit” is a door, not a window, and the bird keeps landing near it but not leaving?
Keep the room dark and prop the door fully open, but also clear the door-side approach (remove clutter and close interior curtains near the doorway). If it still won’t exit, use a one-way door/tube only if you can fully seal other gaps first, then leave it in place for the required days.
Can I just block the inside gap to stop the droll and lock cycle?
Blocking only interior access usually fails, because the bird will return via the original exterior opening or wait for a temporary fix to degrade. The durable solution is sealing exterior entry points and making the roost site inaccessible.
Do I need to identify the bird species before excluding it?
You should at least roughly confirm the species because mesh size and some protections differ, but you can still proceed with safe exclusion basics. If you suspect protected species or nests, stop and contact a local wildlife authority before installing barriers.
Is it safe to use reflective tape or motion sprinklers long-term?
They often work only briefly, birds habituate quickly, and the site fidelity behind droll and lock persists. Treat them as short-term disruption while you prepare permanent exclusion, ideally installed within 24 to 48 hours of first noticing activity.
What should I do if I find a bird roosting externally on a ledge and I can’t access the area easily?
Don’t try to physically remove it. Plan for making the landing surface uncomfortable or inaccessible, but you may need a pro if you cannot reach edges and installation points safely.
How do I know where the bird is getting in if I don’t see obvious gaps?
Look for fresh droppings, feathering, grease streaks, and worn edges around suspected entry points during early morning and late afternoon. Those marks indicate the exact route the bird uses, even when the opening is small or hidden.
What’s the most common DIY mistake that causes exclusion to fail early?
Applying wire, netting, or sealants over deteriorated substrate. Repair rotted wood, cracked masonry, and rusted metal first, otherwise the barrier loosens and birds exploit the failing edges.
Can I staple hardware cloth in place?
Avoid staples, they can pull out within one nesting season as birds stress the barrier. Use screws and washers for a more durable attachment into solid framing.
How tight should netting be so birds can’t push through?
Netting must be tensioned to prevent sagging sections. Fix it to a proper wire support system at the perimeter, then re-check tension after winter and during twice-yearly inspections.
When should I use a one-way door or tube, and what’s the safe minimum time to leave it installed?
Use it only when a bird is confirmed inside a cavity and you do not want to trap it. Leave the one-way device in place for at least five to seven days after installation, with all other gaps sealed, then remove it and seal permanently.
What if the bird goes into a cavity and there might be babies inside too?
Do not proceed with one-way devices or exclusion if active nesting is possible. Disturbing active nests of protected migratory birds can be illegal, so pause and consult a wildlife professional or authority.
How should I clean droppings without aerosolizing spores?
Never sweep or shovel dry material. Wet droppings thoroughly with disinfectant first to suppress dust, then wipe or mop using disinfectant-soaked materials. For larger areas, use a properly filtered industrial vacuum rather than a standard shop vac.
Is histoplasmosis the only health risk from droppings?
Histoplasmosis is a major concern, but droppings can also create general respiratory hazards when dust is disturbed. The safe approach is strict dust control (wet first), PPE, sealed waste disposal, and contact-time disinfection on non-porous surfaces.
Can I clean and exclude anytime during the year?
For best results, plan sealing and proofing for late summer through early fall, and late winter before breeding in early spring. Avoid major exclusion from March through July if you suspect active nests, since both legal and safety risks increase.
What information should I provide when calling a wildlife control operator?
Share the bird species if known, how long the issue has been happening, the exact entry or roost locations you’ve observed, and any temporary steps you already tried. This helps them identify likely access points and estimate the correct exclusion scope.
What does a good twice-yearly inspection include to prevent recurrence?
Do a late-winter walkthrough before nesting and a fall walkthrough after it ends. Check that mesh and netting remain intact and tensioned, look for new droppings near sealed points, and re-apply or repair any sealant that is cracking or pulling away.
Next Article
How to Stop Bird Nesting: Quick Fixes and Prevention Steps
Stop active bird nesting fast with safe, legal fixes, then seal and deter entry points for long-term prevention.
