If birds are nesting on your roof right now, the first thing you need to know is this: if there are eggs or live chicks in that nest, you legally cannot remove it in the U.S. under the Migratory Bird Treaty Act (MBTA), and Canada has similar protections under its Migratory Birds Regulations. Your job at this moment is to stop the problem from getting worse, document what you're dealing with, and get your permanent fixes ready so you can act the moment it's legal to do so. If the nest is still under construction with no eggs yet, you can remove it today and immediately seal the entry point.
How to Stop Bird Nesting in Your Roof Step by Step

Maya Carver
23 May 2026
Quick Response If Birds Are Nesting Right Now
Before you grab a ladder, run through this decision flow. It takes two minutes and keeps you on the right side of the law.
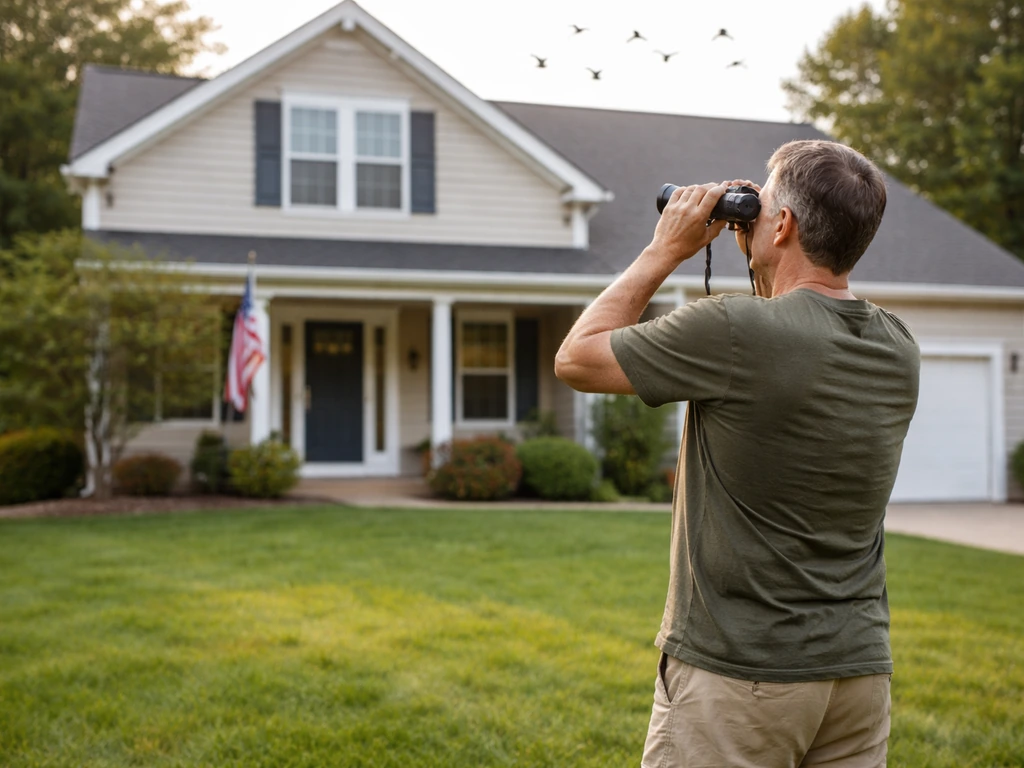
- Observe from the ground first. Use binoculars if you have them. Are you seeing adults flying in and out with food? That almost certainly means chicks are present.
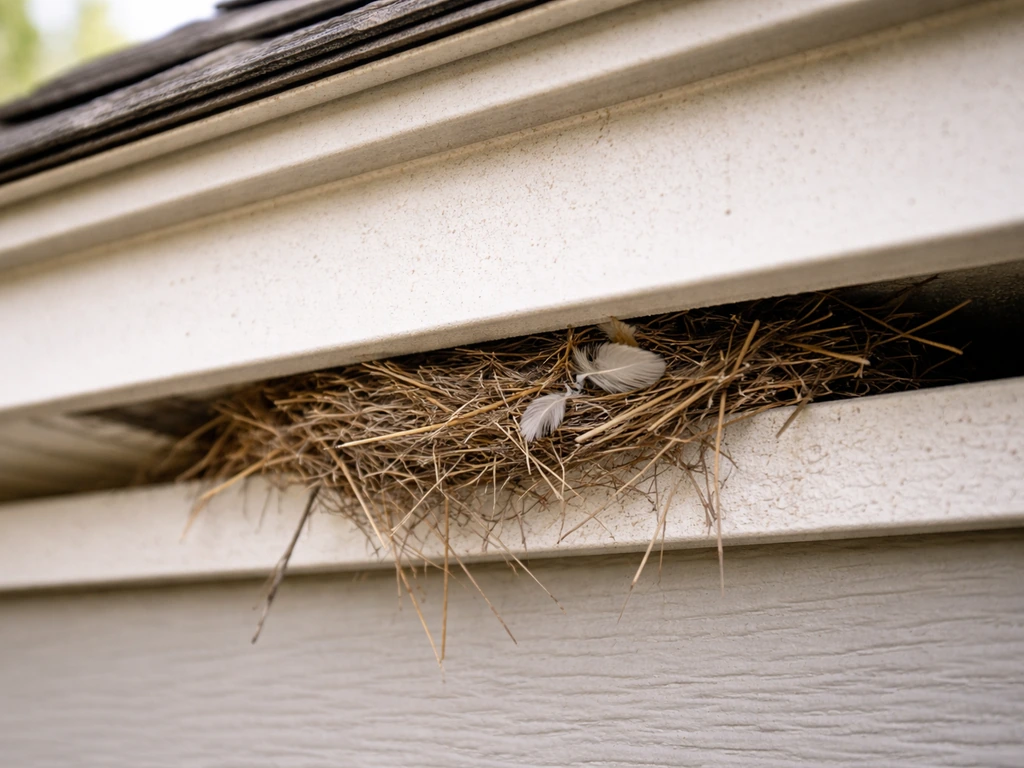
- Look for eggs or chicks. If you see either, stop. The nest is legally active and protected. Do not disturb it.
- If the nest is empty and still being built (just twigs and debris, no eggs), remove it now. Bag it, seal the gap, and move on to permanent exclusion.
- If the nest is active, your immediate job is to prevent additional damage: clear standing water from gutters, block nearby ledges where a second nest could start, and document everything with photos dated by your phone.
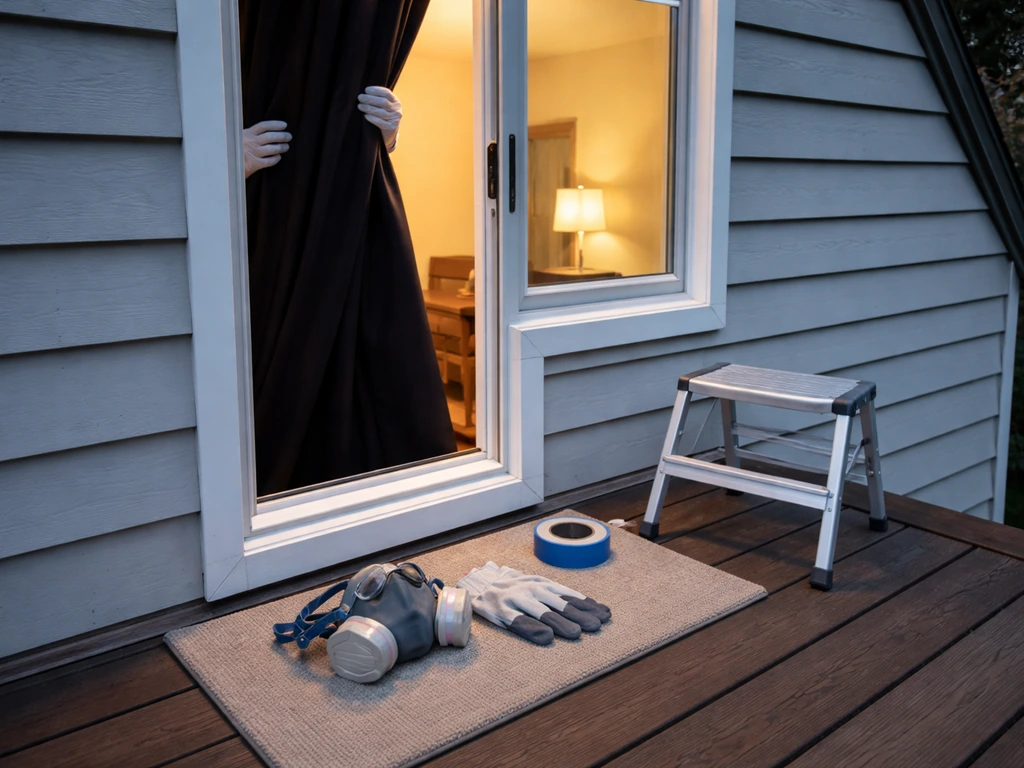
- Put on gloves and a dust mask any time you're near nesting material. Bird droppings and nesting debris carry bacteria and fungal spores.
The key thing to understand is that legally, a nest becomes active the moment the first egg is laid. It stays active until the fledged young no longer depend on it, which means just because you see birds flying doesn't mean the nest is done. Wait until you're certain no eggs or dependent chicks remain before taking any removal action on an active nest.
Identify the Bird Type and Why They Picked Your Roof
Knowing which bird you're dealing with changes everything about how you handle it. Different species have different nesting timelines, different preferred spots, and different legal statuses. Spend five minutes identifying the bird before you do anything else.
Common Roof-Nesting Birds to Look For
| Bird | Preferred Spot | Nest Description | Time to Fledge | Legal Status (U.S.) |
|---|---|---|---|---|
| House Sparrow | Crevices, gaps in soffits, overhangs | Loose grass, feathers, paper scraps | 14–17 days after hatching | Not protected under MBTA |
| European Starling | Eaves, cavities, roof vents | Grass, twigs, debris, feathers | About 3 weeks | Not protected under MBTA |
| House Wren | Around eaves, birdhouses, openings | Twig foundation, plant fibers, animal hair | 15–17 days after hatching | Protected under MBTA |
| Chimney Swift | Chimneys, similar vertical structures | Twigs glued with saliva to wall | ~28 days after hatching | Protected under MBTA |
| Pigeons/Rock Doves | Flat rooftops, ledges, parapet walls | Loose sticks and debris | 25–32 days after hatching | Not federally protected |
Beyond the species itself, ask yourself why your roof was chosen. Birds pick rooflines because they offer shelter from weather, height protection from ground predators, and structural ledges that mimic natural cliffs or tree cavities. Gutters are especially attractive because clogged gutters create standing water, which breeds insects and provides a drinking source. You essentially hand birds a food-plus-water-plus-shelter package in one spot. Fixing gutters is one of the fastest ways to make your roof less attractive long-term.
Immediate Deterrents You Can Apply Safely Today
These are the things you can do right now, even while a nest is active nearby, without touching the nest itself. The goal is to reduce attractants and disrupt the birds' comfort in the area so they're less likely to establish a second nest or return next season.
- Clear gutters immediately. Remove debris, flush them out, and install gutter guards. Standing water and decaying leaf matter are active attractants.
- Hang reflective tape or bird-scare flash tape near nesting areas (not over an active nest). Mylar strips about 12–18 inches long, spaced every few feet, create light and movement that disturbs birds.
- Install a decoy predator. A plastic owl or hawk silhouette placed on the roofline can work short-term. Move it every 2–3 days or birds will learn it's harmless.
- Use bird repellent gel on ledges where birds are landing. These tacky gels make surfaces uncomfortable without harming birds. Avoid putting them near active nests.
- Eliminate food sources at roof level. Check for insect infestations, which may be attracting insect-eating species. Also clear any seed spillage from roof-mounted feeders.
- Reduce standing water across the property. Fix leaky gutters, remove birdbaths near the roofline, and ensure downspouts drain away from the building.
A quick safety note: working near rooflines means fall risk is real. If you cannot reach an area safely from a ladder with both hands free, do not attempt it. Use a long-handled tool or hire someone. No deterrent job is worth a fall from height.
Exclusion and Roof-Proofing Steps
Physical exclusion is the most effective permanent solution available. It works by blocking access entirely or by allowing birds to exit but not re-enter. This is the step that stops the problem from coming back season after season.
Using One-Way Doors to Evict Roosting Birds
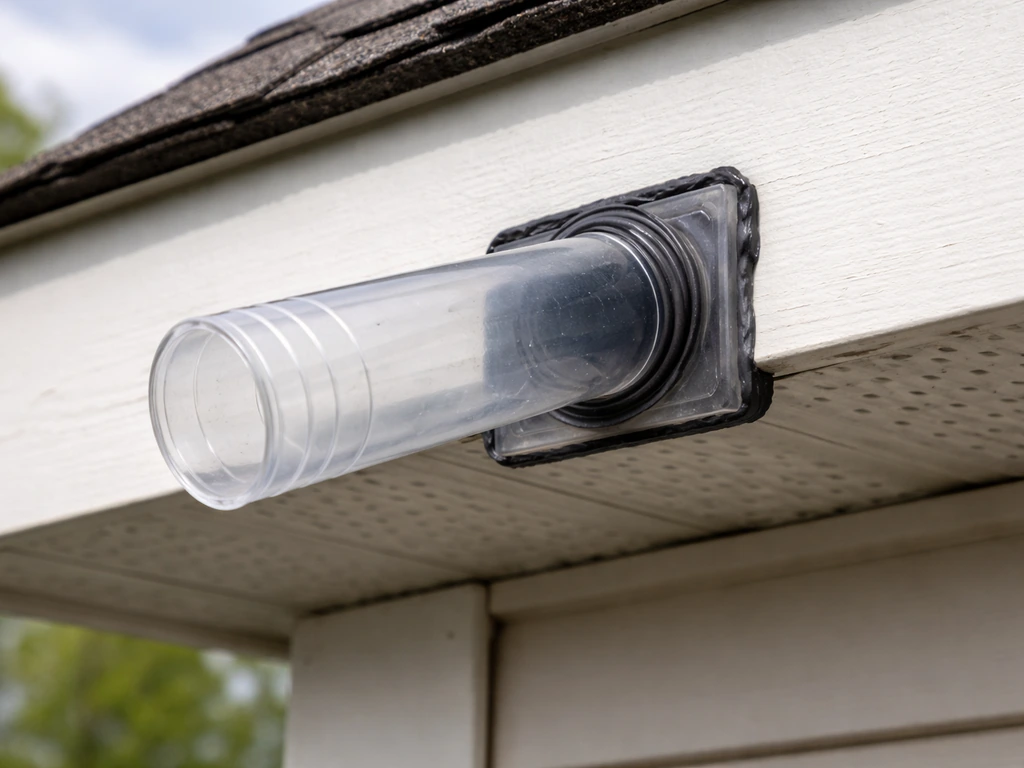
A one-way door (also called a tube excluder) is a device fitted over an entry point that lets birds push out but closes behind them so they cannot get back in. They're the humane standard for evicting birds that are roosting but not actively nesting with eggs. Here's how to install one correctly:
- Identify every entry point around the target area. Birds typically have one main hole and one or two backup gaps. Seal all secondary gaps with hardware cloth or foam before installing the one-way door on the primary entry.
- Cut a tube or door-flap excluder to fit snugly over the main opening. Hardware cloth bent into a funnel shape works well for irregular gaps.
- For angled areas like eaves and trim where gravity might hold a flap open, run a length of fishing line from the bottom of the flap to two small screw-eyes set just above the opening. This keeps the door closing properly without relying on gravity alone.
- Leave the one-way door in place for at least seven days. In cool or rainy weather, extend this to ten days or more. Birds need time to realize the entry is blocked and find alternative shelter.
- After seven-plus days with no observed bird activity going into the hole, remove the one-way door and permanently seal the opening.
Installing Physical Barriers
Once birds are out and entry points are sealed, install physical barriers to prevent landing and re-entry on ledges, ridges, and flat surfaces.
- Bird spikes: Stainless steel or UV-resistant plastic spikes attached to ledges, gutters, and ridge caps. They do not harm birds but make landing impossible. Choose a width appropriate for the surface (narrow for thin ledges, wide for parapet walls).
- Bird netting: Heavy-duty polyethylene netting stretched across eave gaps, under solar panels, or over open voids. Use a minimum mesh size of 3/4 inch to exclude sparrows and starlings.
- Slope barriers: Foam or rigid slope inserts fitted into gutter channels or ledge corners to eliminate the flat surface birds need to settle on.
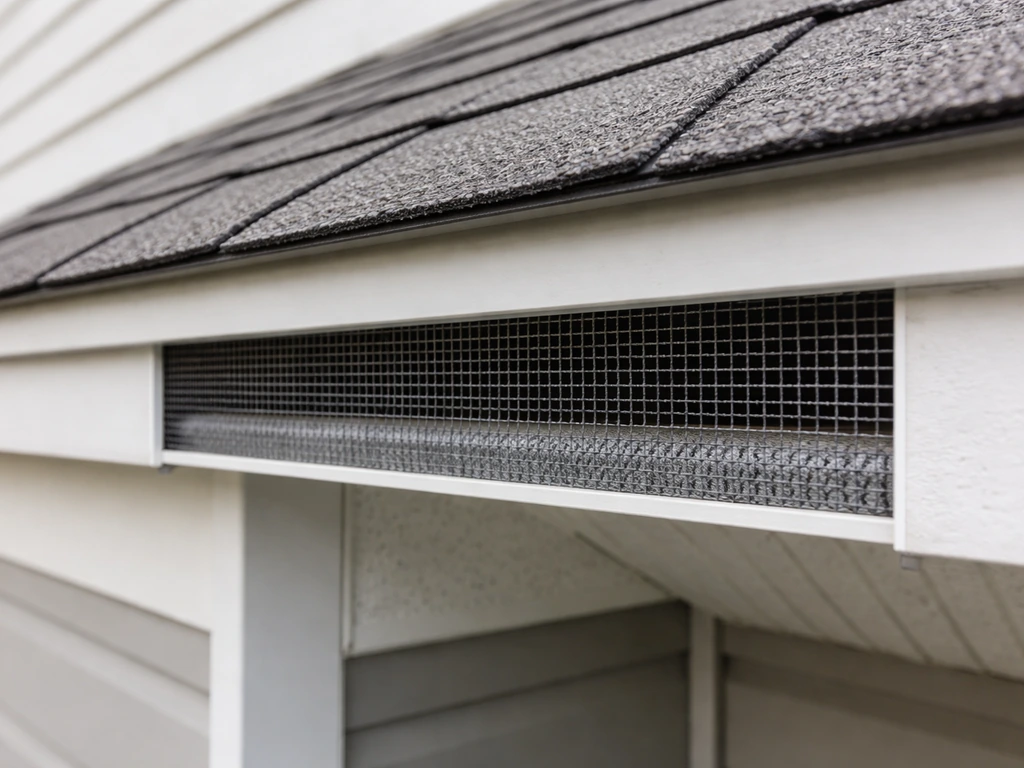
- Roof vent covers: Galvanized wire mesh covers or commercial vent guards installed over all roof vents, turbine vents, and ridge vents. These are one of the most overlooked entry points.
Repairing Entry Points and Fixing Roof-Level Attractants
Deterrents and excluders buy you time, but sealing the building is the permanent fix. Walk the entire roofline systematically and treat every gap larger than half an inch as a potential entry point for sparrows or starlings. You can control bird population over time by removing attractants, blocking access, and doing ongoing roof-level maintenance so birds do not keep returning.
- Damaged soffit boards: Replace rotted or cracked soffit panels. Birds exploit any soft wood or pre-existing hole. Use fiber cement or PVC soffit material for better long-term durability.
- Gaps behind fascia boards: Run a bead of paintable exterior caulk behind any fascia that has pulled away from the roofline. Follow up with galvanized flashing if the gap is structural.
- Roof-to-wall junctions: Check where the roof meets dormer walls, chimneys, and additions. These junctions shift over years and open gaps. Seal with mortar, caulk, or metal flashing as appropriate.
- Ridge cap gaps: Inspect the ridge cap for lifted sections. Use roofing adhesive or replace damaged caps. A lifted ridge cap is a direct highway into your attic.
- Chimney tops: Install a chimney cap with mesh sides. This excludes chimney swifts (once the season ends and they've migrated) and prevents starlings and sparrows year-round. Never seal a chimney without first confirming swifts are not present.
- Remove unintentional food sources: Satellite dish mounts, security camera housings, and dryer vent covers all accumulate debris. Clean and seal them regularly.
While you're at it, think about what's happening at ground level too. Bird feeders placed close to the house push birds toward the structure. Move any feeders at least 30 feet from the building. Dense ornamental shrubs planted against the eaves also give birds a sheltered launching point to explore the roofline. Trimming them back one to two feet removes that perch.
Long-Term Prevention Plan
The most effective thing you can do long-term is interrupt the early-season nesting attempt before a nest is established. A key part of the long-term plan is using exclusion and roof-proofing steps to stop bird nesting from coming back how to stop bird nesting. Birds begin scouting nesting locations weeks before they actually build. If you can disturb early scouting behavior and have your exclusion barriers already in place, birds move on to find another location and never commit to yours. The Illinois Department of Public Health also emphasizes preventing birds from nesting in the first place by deterring birds attempting to build and sealing or screening likely nesting spots disturb early scouting behavior.
Seasonal Timing Guide
| Season / Month | What Birds Are Doing | What You Should Do |
|---|---|---|
| Late winter (Feb–Mar) | Scouting locations, returning to familiar sites | Inspect and seal all entry points before nesting begins. Install spikes and netting now. |
| Spring (Mar–May) | Active nesting, egg laying, incubation | Do not disturb active nests. Monitor and document. Keep gutters clear. |
| Early summer (May–Jul) | Feeding chicks, fledglings leaving nest | Watch for nest completion and fledging. Begin cleanup and sealing as nests become inactive. |
| Late summer (Aug–Sep) | Second broods possible for some species | Confirm nests are truly inactive before sealing. Continue monitoring. |
| Fall (Oct–Nov) | Most birds finished nesting, some migrating | Full roofline inspection and repairs. Best window for major exclusion work. |
| Winter (Dec–Jan) | Minimal nesting activity | Maintenance check. Replace damaged spikes, re-caulk gaps, clean gutters. |
Annual Maintenance Checklist
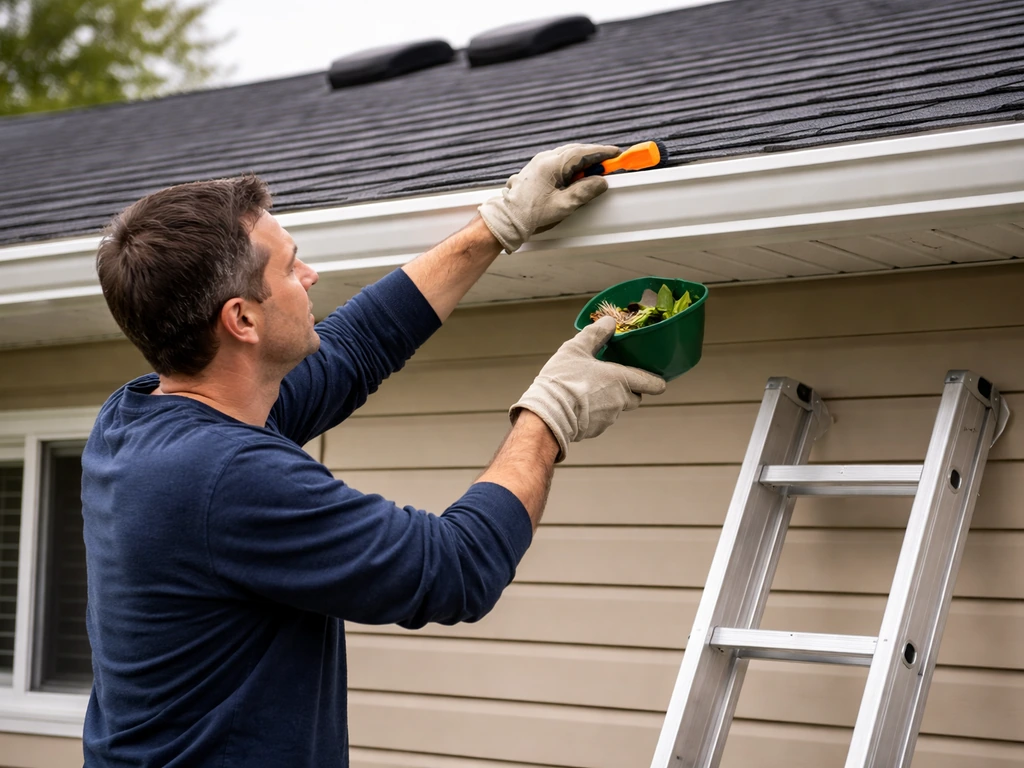
- Clean and flush gutters twice a year: once in early spring before nesting season and once in late fall after leaves drop.
- Inspect all roof vents, ridge caps, and soffit panels every February before birds return.
- Check bird spike strips and netting for damage, displacement, or debris buildup that makes them usable as a nesting platform.
- Trim trees and shrubs back from the roofline each fall.
- Photograph the roofline each season from the same angles so you can spot new gaps or damage year over year.
- Check chimney caps and flashing after any major storm.
Landscaping decisions also matter more than most people realize. Dense ivy on exterior walls, climbing roses up trellises attached to eaves, and thick evergreen hedges right against the foundation all create sheltered corridors birds use to access upper parts of your building. If you've had recurring problems, simplifying the planting near the structure will reduce pressure from birds significantly.
If you're also dealing with birds on a balcony, a fence line, or in other spots around the property, the same seasonal logic applies everywhere: interrupt early before a nest is established, seal gaps, and remove attractants. The roof is just the highest-priority location because access is hardest and damage from nesting debris in gutters or attic voids is most serious.
When to Call a Wildlife Professional and What the Law Says
Let's be direct about the legal side: in the U.S., the Migratory Bird Treaty Act makes it illegal to destroy, remove, or disturb a nest that contains eggs or chicks, or where young birds are still dependent on the nest. This covers the vast majority of wild bird species you'll encounter. House sparrows, European starlings, and feral pigeons are notable exceptions since they're not native species and are not protected under the MBTA. But wrens, swallows, swifts, and most songbirds are fully protected.
In Canada, the Migratory Birds Regulations 2022 work similarly. Protections may lift once a nest has been vacated for a designated period and has not been reused, but some species receive protection at all times under provincial or additional federal legislation. A permit may be available if you genuinely cannot wait, but these are typically only issued for human health or safety emergencies, not for convenience. Check with Environment and Climate Change Canada or your provincial wildlife office if you're unsure.
Call a Wildlife Professional If:
- You have an active nest of a protected species with eggs or chicks and cannot wait for fledging. A licensed professional can advise on permit options and legal next steps.
- You're dealing with chimney swifts. Their chimney access has specific legal protections and timing requirements. Only do chimney work when swifts are confirmed absent.
- The nesting area is in an inaccessible location such as deep inside a wall cavity, attic void, or beneath solar panels where DIY work creates a serious fall or structural risk.
- You have a large colony: more than ten to fifteen birds roosting or nesting in one area. Large colonies produce significant amounts of droppings that may require professional remediation for health reasons.
- The problem has recurred for two or more seasons despite your own exclusion attempts. A professional inspection will find entry points you've missed.
- You notice any respiratory symptoms, skin irritation, or illness in household members after nesting debris exposure. Seek medical advice and do not disturb the area further without proper PPE and professional guidance.
When you call a wildlife professional, have this information ready: the bird species if you know it, the number of birds observed, the location on the building, whether you've seen eggs or chicks, and photos of the entry points and nesting area. Good photos taken from the ground with a zoom lens are enough. This information helps them assess the situation remotely, give you accurate legal guidance, and arrive with the right equipment.
The bottom line: the best time to stop birds from nesting on your roof was last fall when you could have sealed every gap before they returned. The second best time is right now, before eggs are laid. If you want, focus on exclusion and roof-proofing steps to permanently stop nesting and keep birds from returning stop birds from nesting on your roof. To keep birds from coming back, focus on proven deterrence and exclusion steps so you can stop nesting attempts before they begin stop birds from nesting. Work through this guide in order, use the seasonal timing table to plan your next steps, and get your exclusion materials installed before February of next year. One proactive inspection season is worth three years of reactive cleanup.
FAQ
What should I do if I find a nest that definitely has eggs or chicks in it?
Do not remove the nest or try to chase the birds out. Instead, secure the area to prevent people from accessing the spot, stop any attractants you can safely reach (like fixing a leaking gutter or moving a nearby feeder), and contact a wildlife professional for legal, species-appropriate guidance. Your immediate goal is to prevent a second entry point from being used while you wait for the nest to fully vacate.
How can I tell if the nest is active if I only see birds flying around the roof?
Treat the nest as active until you have clear evidence that eggs are no longer present and any dependent young have fledged and stopped returning to the same cavity or ledge. Bird activity can continue after fledging, because adults may still feed or monitor the area, so you want confirmation like ongoing presence at the entry point over a full observation period, not just brief flights.
Can I use my own deterrents, like ultrasonic devices or sprays, while a nest is active?
Be cautious. Many consumer deterrents do not reliably stop nesting and can cause repeated disturbance without solving the access problem. If there are eggs or dependent chicks, focus on non-contact actions nearby (reduce food and water sources, remove nearby perches you can reach safely) and plan exclusion or sealing only when it is legal and safe to do so.
Do I need to know the bird species, or is any “bird removal” approach the same?
Species matters because nesting timing and preferred entry locations differ, and the legal protections vary by species (native migratory birds versus certain non-native exceptions). Even if you plan to use exclusion, identifying the species helps you choose the right barrier type, confirm likely entry points, and avoid actions that could be unlawful for protected birds.
What if the nest is in a hard-to-reach spot, like under shingles or deep inside a soffit?
If you cannot access the area safely with a ladder, do not attempt DIY work. In these situations, a professional can confirm whether the birds are actively nesting and can install correct one-way exclusion at the right entry location. Also note that sealing without removing access risks trapping birds inside or forcing them to find a new opening.
How soon after birds leave can I seal the entry points?
Wait until you are confident the nest is vacated and the young are no longer dependent. If you seal too early, you may trap birds inside a roof cavity or prompt them to re-enter through another gap. When in doubt, monitor the entry point for returning behavior over multiple days and follow local guidance for the species involved.
Can I seal holes and gaps before installing a one-way door?
Generally no. If birds are still inside or roosting in an active location, sealing other gaps can trap them and worsen the situation. The practical sequence is to allow birds to exit (with a one-way door when appropriate) and only then seal remaining entry points and add landing prevention barriers.
What size gap should I treat as an entry point?
Treat even small openings as potential access points if birds can fit their beak or claws into the gap. A useful rule is to inspect and address any opening larger than about half an inch, because common roof pests like sparrows and starlings often exploit surprisingly small seams and damaged flashing.
Will trimming gutters and downspouts alone stop nesting?
It can reduce the risk, but it rarely solves the problem by itself if access points remain. Clogged gutters and water-filled areas increase insects, which indirectly improves nesting success. Pair gutter repairs with roof-proofing, removal of nearby perches, and physical exclusion so birds cannot keep entering or reusing the same ledges.
Where should I place feeders if I want to stop roof nesting?
Move feeders farther from the house. A practical starting point is at least 30 feet away, because feeders close to the structure increase bird traffic near the roofline. If you cannot move them far, consider temporarily removing feeders during peak scouting and nesting windows while you complete exclusion and sealing.
Do ivy, trellises, or shrubs against the walls really matter?
Yes. Dense climbing plants and thick hedges near eaves create sheltered routes that help birds reach and investigate the roofline. If you have recurring issues, reduce plant contact with exterior walls and trim back shrubs or vines near ledges by at least the distance needed to remove easy perching and launching points.
If I’m dealing with house sparrows or starlings, can I remove nests immediately?
In many cases, they are treated differently because they are non-native and not protected under the MBTA. Even so, you should confirm your local rules and double-check whether any native protected species are involved, because mixed activity can occur. When uncertain, call a wildlife professional before removing anything.
What information should I gather before contacting a wildlife professional?
Write down the bird species if you can identify it, the number of birds you see, exact roof location (for example, soffit, ridge, or gutter line), whether you’ve observed eggs or chicks, and take clear photos of the entry points and nesting area. If possible, include times and dates of activity so they can advise on whether the nest is currently active and what legal steps come next.
Next Article
How to Stop Droll and Lock Birds Fast and Prevent Recurrence
Stop droll and lock birds fast with safe steps, troubleshooting, secure the area, then prevent reentry and roosting.