Getting rid of a bird comes down to three things: figuring out exactly what situation you have, stopping the problem at the source, and making sure it doesn't come back. Whether you've got a single confused bird that flew in through an open window or a full colony roosting in your attic, the steps are different, and doing them in the wrong order wastes time and can actually make things worse. This guide walks you through all of it, from the first five minutes to long-term proofing.
How to Get Rid of a Bird Safely: Quick Steps and Prevention

Maya Carver
17 Apr 2026

First, figure out what kind of bird problem you actually have
Before you do anything else, take two minutes to identify exactly what's happening. According to the Illinois Department of Public Health, proper control methods depend on accurate identification of the birds and what's attracting them. The situation you're dealing with changes everything about how you respond.
| Situation | Urgency | First Response |
|---|---|---|
| Single bird inside the building | High (immediate) | Open windows/doors, darken the room, guide it out |
| Bird roosting on ledge/roof but not inside | Low-Medium | Apply deterrents, remove attractants |
| Bird nesting in eave, vent, or attic | Medium (legal considerations apply) | Identify if nest is active before acting |
| Multiple birds roosting or entering regularly | Medium-High | Assess entry points, consider professional help |
| Large accumulation of droppings | High (health risk) | PPE required, do not disturb without precautions |
Ask yourself: Is the bird inside or outside? Is it one bird or many? Is there an active nest? Are there droppings already building up? Your answers drive everything below.
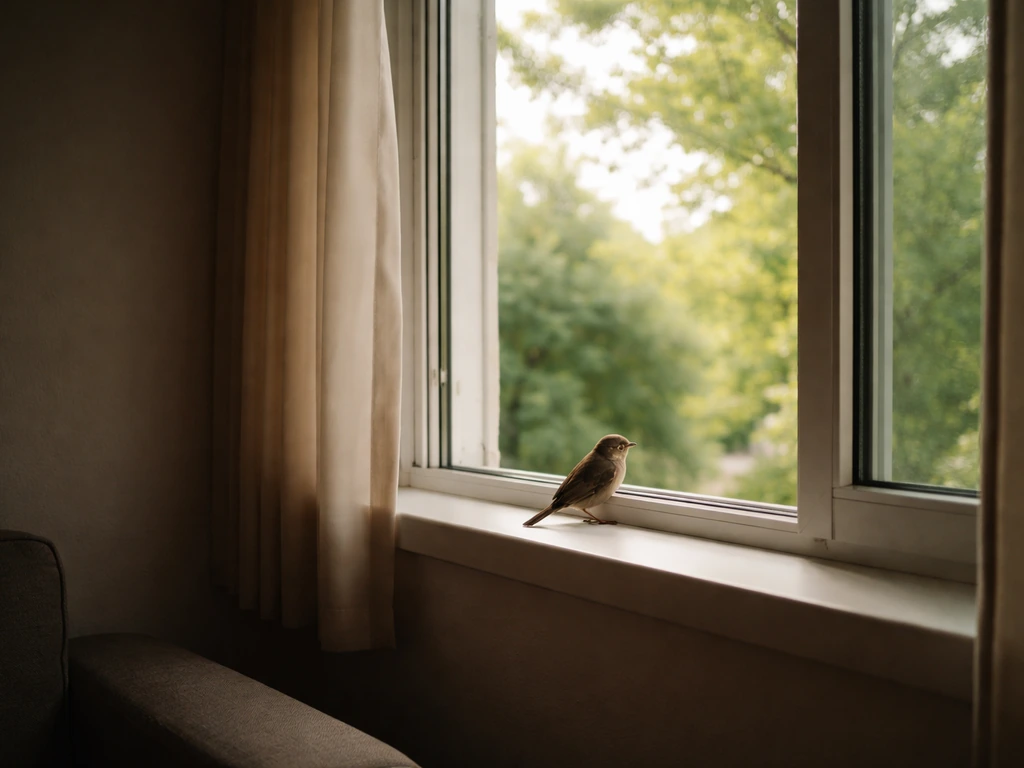
Emergency steps: what to do right now
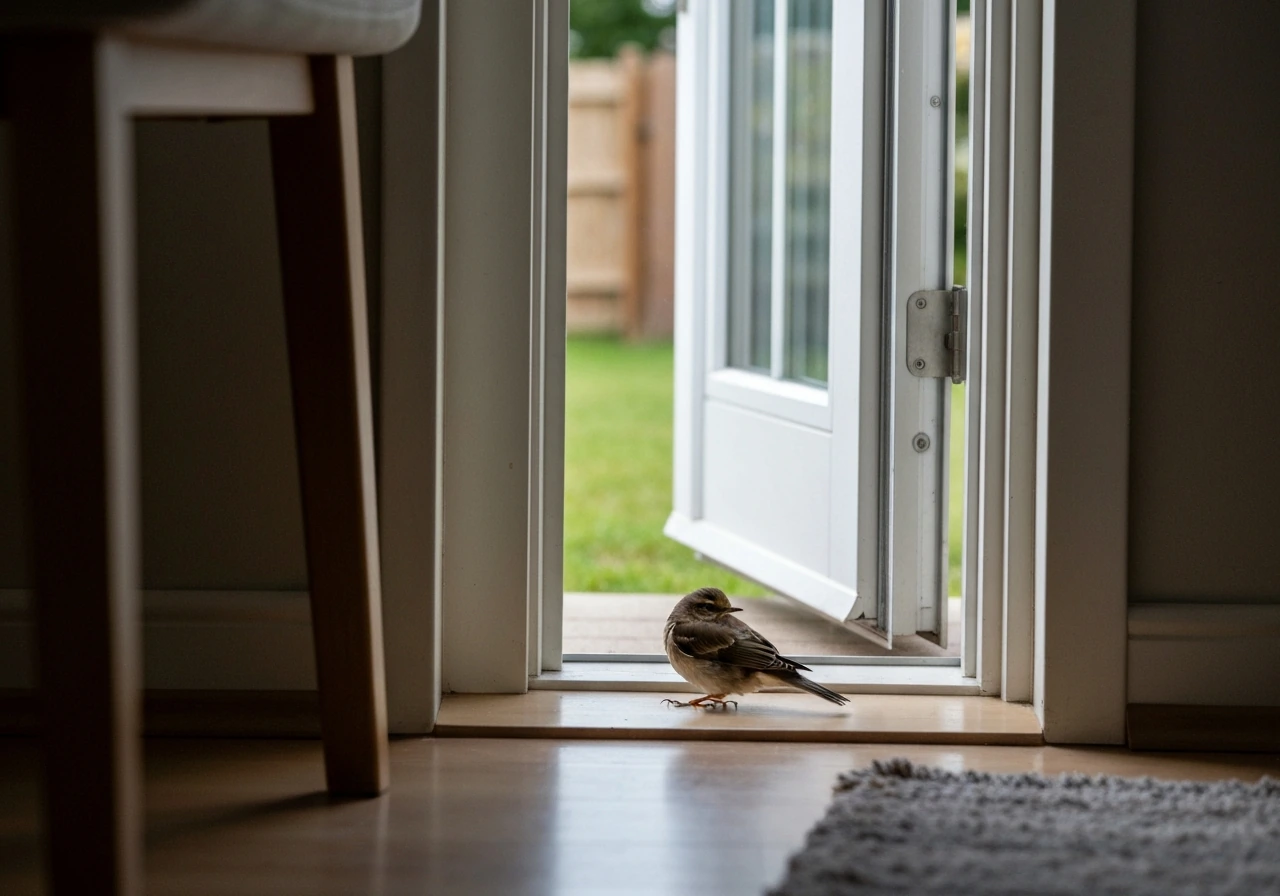
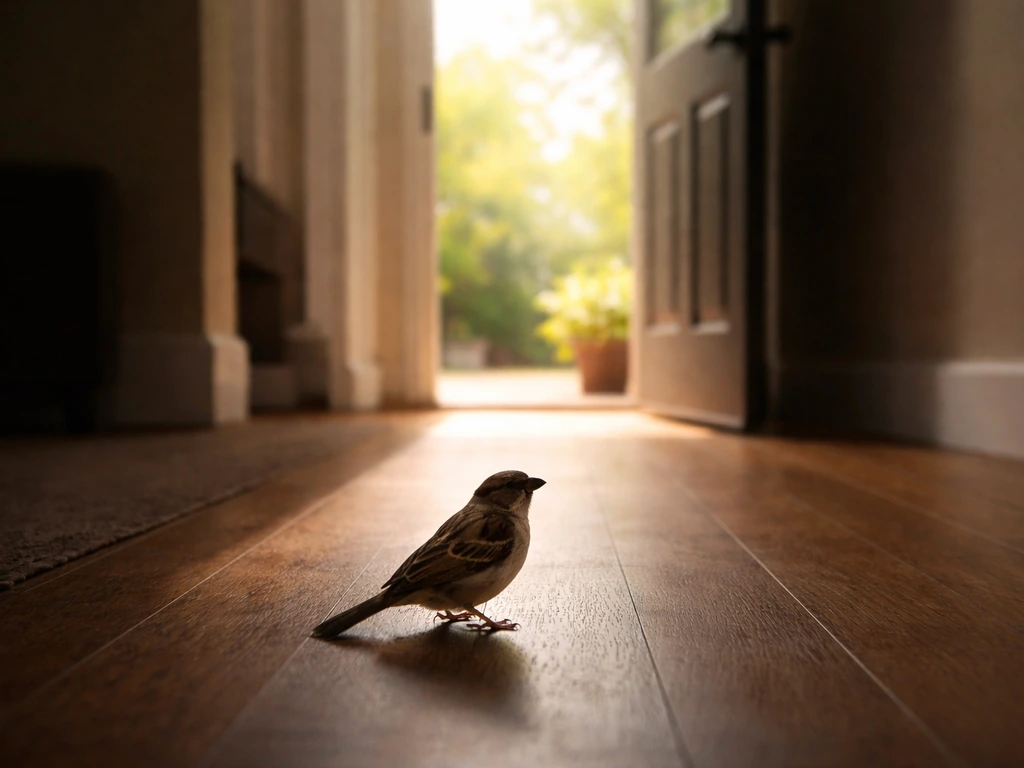
If a bird is inside your home or building right now, act quickly but calmly. Birds panic when cornered, and a panicking bird bouncing off walls and windows is a hazard to itself and can make a mess fast.
- Clear the room of people and pets immediately.
- Close interior doors to contain the bird to one space.
- Open the largest exterior exit available: a door, a large window, or a screen door.
- Close or cover all other windows except the one exit you want the bird to use.
- Darken the room by closing blinds and blocking light from all directions except the open exit. Birds fly toward light.
- Leave the room and give the bird 10 to 15 minutes. Most birds find their way out when left alone.
- If it doesn't leave, use a large towel or cardboard to gently herd (not chase) it toward the opening.
- Do not grab the bird with bare hands unless it is injured and cannot fly.
Once the bird is out, immediately identify and close the entry point it used. An open window without a screen, a gap under a soffit, an uncapped vent: find it before you do anything else, or the same problem will repeat within hours.
Humane removal methods that actually work
Exclusion: the most reliable method
Exclusion means physically preventing birds from accessing an area. It is the single most effective long-term solution for recurring entry problems. Seal every gap, vent, and opening except for one designated exit, then install a one-way device at that exit. Birds can leave but cannot re-enter. After two to three days with no re-entry activity, seal the final opening. This works especially well for attics, barns, and outbuildings where birds have been roosting for a while.
One-way exit devices
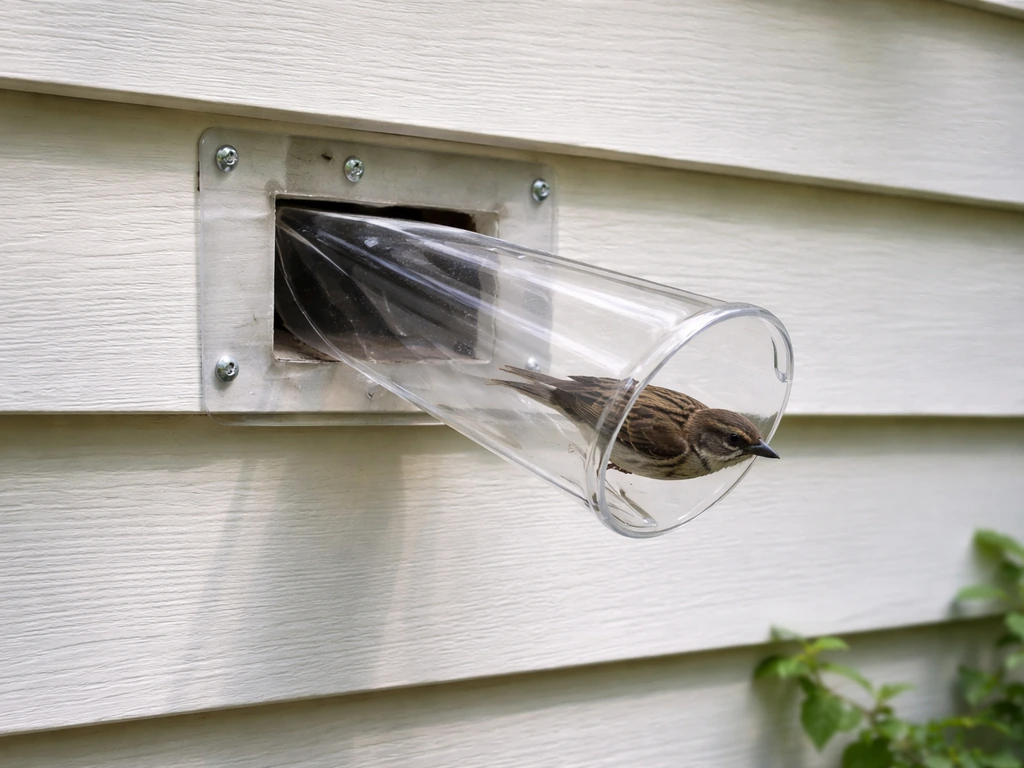
A one-way exit is a simple funnel or flap installed over the main entry point. Birds push through it to exit but can't figure out how to get back in from the outside. You can buy commercial versions or make one from hardware cloth shaped into a cone (open end facing out). Leave it in place for at least 72 hours to make sure all birds have exited before permanently sealing the hole. Never install a one-way exit over an active nest with eggs or flightless chicks still inside.
When DIY capture isn't appropriate
If a bird is injured, trapped in a wall cavity, or you're dealing with a protected species, do not attempt to capture it yourself. Washington state's wildlife guidance is clear that trapping is appropriate only in emergency situations, for targeted problem animals, or when it's the only practical solution, and recommends contacting a wildlife damage control professional or wildlife rehabilitator if you lack the training. Injured birds need a rehabilitator, not a cardboard box in your garage. Call your local wildlife agency or a licensed rehabilitator instead.
Cut off what's attracting them in the first place
Birds don't linger where there's nothing for them. Removing food, water, and nesting materials is the most underrated step in any bird control plan, and it's free.
- Remove or relocate bird feeders to at least 30 feet from your building if you want to keep them, or remove them entirely during an active problem.
- Pick up fallen fruit from trees and gardens daily. Rotting fruit on the ground is a major attractor for many species.
- Empty standing water sources: birdbaths, clogged gutters, low spots on flat roofs, and saucers under plant pots.
- Store pet food indoors and clean up after outdoor feeding immediately.
- Remove loose nesting materials: piles of twigs, dry grass, string, or loose insulation accessible from outside.
- Secure trash cans with tight-fitting lids.
If you're dealing with a specific species causing grief around your yard, the behavior and attractants vary. For example, some species are drawn to reflective objects, open water features, or specific plants. Getting rid of a robin involves different tactics than dealing with a larger wading bird. Knowing your bird makes a real difference.
Bird-proofing your building the right way
This is where you make the fix permanent. Physical barriers are far more reliable than sound devices or decoys, which birds habituate to within days or weeks.
Sealing gaps and entry points
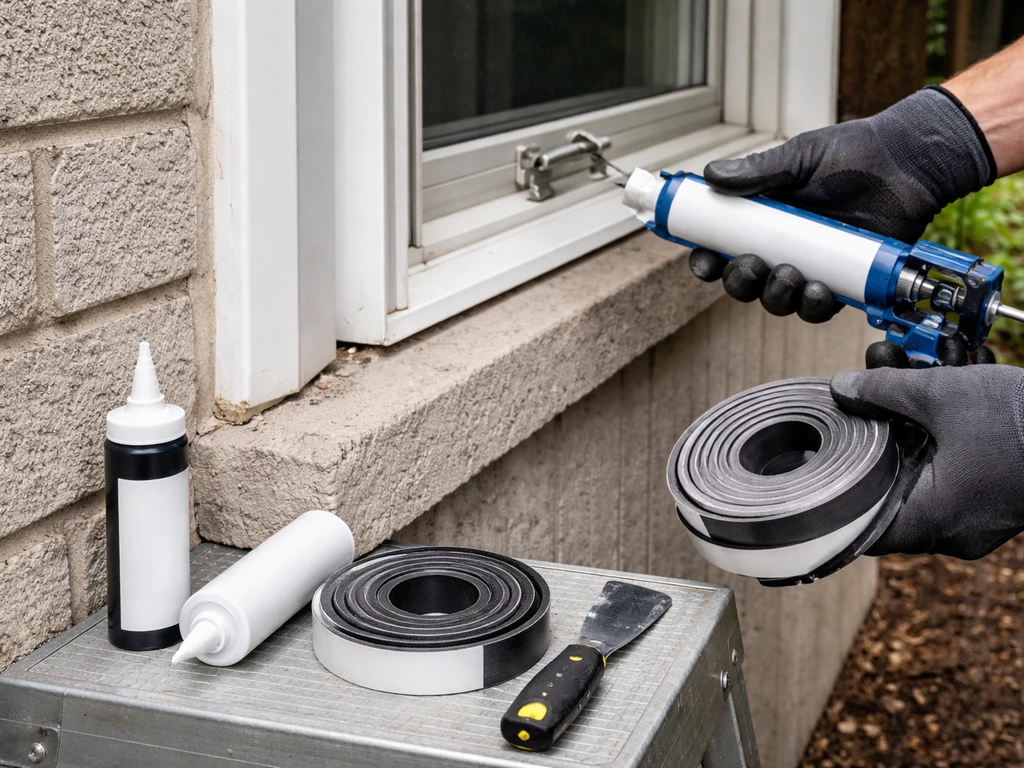
Walk the full perimeter of your building and look for any opening larger than half an inch. Check where pipes and conduit enter walls, gaps under soffits, damaged fascia boards, open ridge vents, and gaps around chimneys. Use galvanized hardware cloth, metal flashing, or foam sealant (for small gaps only) to close openings. For chimney protection, stainless steel chimney caps with integrated screening are the recommended solution: they keep birds out while also blocking rain, snow, and ember blowback. Note that hardware cloth should not be used directly to cap a chimney opening, as it can corrode and create fire-related issues; use purpose-built chimney caps instead.
Screens and mesh: sizing matters
When screening ventilation openings, the mesh size is a trade-off. Hardware cloth smaller than 1/2 x 1/2 inch will significantly reduce airflow, which can cause moisture or HVAC problems in some applications. Use the largest mesh that still excludes the target bird species. For sparrows and similarly small birds, you'll need 1/2-inch mesh or smaller but should check that your vent can handle the reduced airflow. For larger birds, 1-inch mesh is usually sufficient and has less airflow impact.
Deterrents that work (and ones that don't)
Physical deterrents that physically block birds from landing or roosting are the most effective: bird spikes on ledges and beams, sloped or angled surfaces where birds like to land, and netting over larger open areas like loading docks or atriums. Visual deterrents like fake owls and reflective tape can work briefly but lose effectiveness within a few days once birds figure out the 'predator' isn't real. Ultrasonic devices have very limited effectiveness for most species. Audio deterrents (predator calls) can be useful for short-term dispersal but are not a permanent fix and can be a nuisance to neighbors.
Building proofing checklist
- All roof vents screened with appropriate mesh (1/2 inch or larger based on species/airflow needs)
- Chimney capped with a stainless steel cap with screening
- Soffits and fascia boards inspected and any gaps repaired
- Pipe and conduit wall penetrations sealed with appropriate filler
- Ridge vents checked and covered with vent-specific exclusion products
- Window screens intact and without tears or gaps at the frame
- Bird spikes or other physical deterrents installed on ledges, sills, and beams where birds land
- Netting installed over any open structural bays, loading areas, or covered walkways with recurring problems
Dealing with multiple birds or a full infestation
When you're dealing with a flock roosting in or on your building, the scale changes the approach. Multiple birds mean more droppings, potential nesting sites, and a louder, messier cleanup job. It also raises the likelihood that you need professional help.
Trapping for multiple birds
Live trapping for birds is generally a last resort and requires permits in most states for many species. For non-protected pest species (like European starlings, house sparrows, and pigeons, which are not covered by the MBTA), trapping may be legal without a permit depending on your state, but check local regulations first. If trapping is warranted, use multi-catch traps baited with food and check them frequently (at minimum every 24 hours). Trapped birds must be handled or dispatched according to your state's regulations. If you're not sure what you're catching, call a professional.
Cleaning up droppings safely
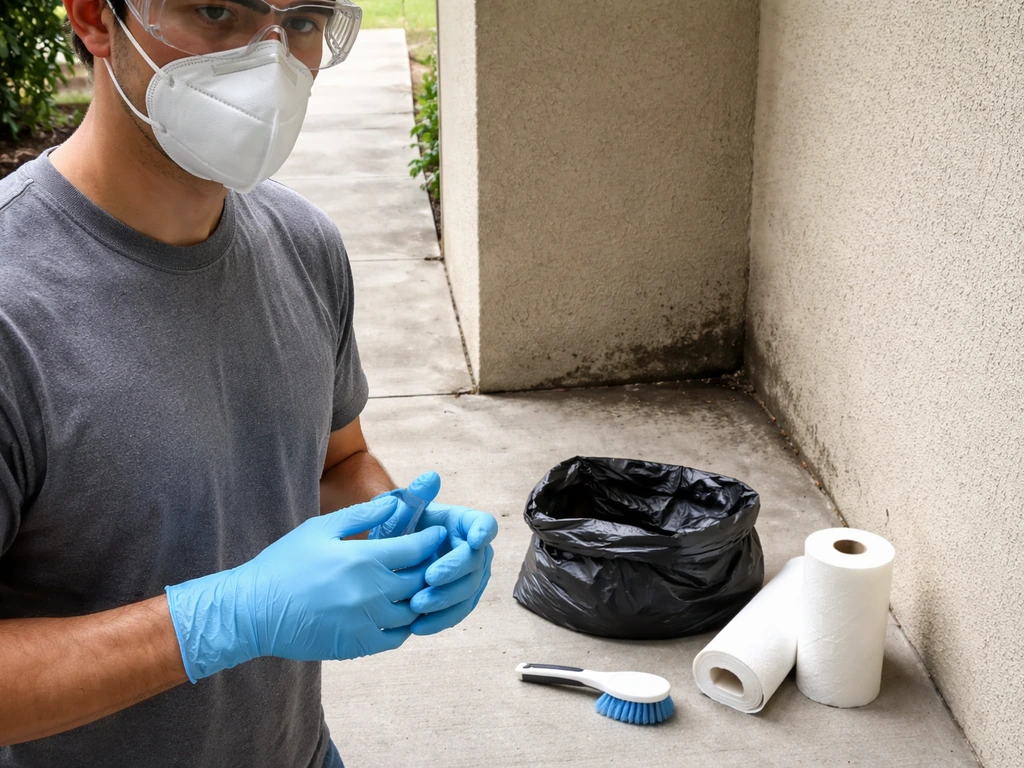
This step has real health stakes. Bird droppings can harbor Histoplasma capsulatum, the fungus that causes histoplasmosis, a serious respiratory infection you get by inhaling fungal spores. The CDC and NIOSH are direct: do not dry-sweep or vacuum droppings. The Minnesota DNR specifically flags this risk with bird waste. Disturbing dry droppings sends spores into the air.
- Wear an N95 respirator or better, disposable gloves, and eye protection before entering the area. If accumulation is large, a half-face respirator with P100 filters is recommended.
- Wear disposable coveralls or clothes you can bag immediately afterward.
- Wet all droppings thoroughly with a disinfectant spray (a diluted bleach solution or commercial disinfectant works) before touching or moving anything. This is the core step for preventing aerosolization.
- Let the disinfectant soak for several minutes.
- Carefully scoop or scrape the wet material into a heavy-duty plastic bag.
- Seal and double-bag the waste.
- Wipe surfaces again with disinfectant after removal.
- Bag and dispose of all PPE before leaving the area.
- Wash hands thoroughly after removal.
If the accumulation is large (more than a few square feet), this is not a DIY job. Large-scale droppings cleanup requires professional remediation with full respiratory protection and potentially a contained work zone. Don't skip the PPE to save time. For guidance on a related but specific scenario, the process for disposing of a dead bird safely follows similar precautions.
When to call a wildlife professional
Call a licensed wildlife control operator or pest management professional if: you cannot identify the entry point, the infestation involves more than a handful of birds, there is a large accumulation of droppings in an enclosed space, the birds are in a wall cavity or inaccessible void, you suspect you're dealing with a protected species, or you've done exclusion work and the problem keeps recurring. When you call, be ready to describe the species (or your best guess), how long the problem has been happening, where the birds are entering or roosting, and whether there are visible nests or droppings.
Legal rules, protected species, and nesting season
This is where a lot of homeowners accidentally break the law without knowing it. The Migratory Bird Treaty Act protects the vast majority of native North American bird species. That protection extends to their nests, eggs, and young. Destroying an active nest (one with eggs or chicks) is a federal offense. The U.S. Fish & Wildlife Service only issues nest removal permits when a nest is causing a documented human health or safety concern, or birds are in immediate danger.
The practical rule: if you find a nest, determine whether it is active before doing anything. NestWatch (Cornell Lab) advises that if you believe a nest has been abandoned, wait about four weeks from the last time you saw an adult at the nest before treating it as inactive. Never assume. Also note that monitors sometimes mistakenly assume a nest is abandoned when it isn't. When in doubt, wait and watch.
The best time to remove an inactive nest and seal the entry point is outside the breeding season: generally late fall through late winter in most of North America (roughly October through February). This avoids disrupting active nesting and reduces the chance you'll seal a bird inside a cavity. If you're dealing with a species like a whippoorwill or other protected migratory bird on your property, timing is especially important because these species have specific nesting windows protected by federal law.
The three most common pest bird species that are NOT protected by the MBTA are European starlings, house sparrows, and feral pigeons. For every other species, assume protection applies until you confirm otherwise with your state wildlife agency.
| Species | MBTA Protected? | Notes |
|---|---|---|
| European Starling | No | Can be removed, trapped, or excluded without federal permit |
| House Sparrow | No | Can be removed, trapped, or excluded without federal permit |
| Feral Pigeon (Rock Dove) | No | Generally not protected; check local ordinances |
| American Robin | Yes | Nest with eggs/chicks cannot be disturbed |
| Most songbirds, raptors, waterfowl | Yes | Permit required for nest removal of active nests |
For property owners dealing with specific protected species, the legal path forward often involves habitat modification and exclusion rather than removal. For instance, managing a blue heron near a fish pond is a common problem with its own set of legal constraints and species-specific deterrent strategies.
A few situations worth calling out specifically
Some bird problems show up in ways that don't fit neatly into the categories above. If you find a dead bird on your property, the removal process is its own topic with specific hygiene and disposal protocols. Knowing what to do with a dead bird on your porch before you touch it can save you from an unnecessary health exposure.
If the bird in question is actually a pet that has escaped or a neighbor's bird, the approach is completely different from wildlife control. Handling a pet bird situation involves contacting local animal control, checking lost-pet resources, and using a different type of humane capture approach than you'd use for a wild bird.
Some birds are particularly persistent nighttime problem-makers. If you're losing sleep over a loud nocturnal bird, understanding the behavior behind it matters. Learning about <a data-article-id="37811FB5-07EE-4FCC-B9B-4E25BCC41D2E">a storm bird and how to manage it follows the same exclusion and deterrent principles, but the timing and tactics for dispersal are slightly different.
Seasonal planning: when to do what
| Season | What to Do |
|---|---|
| Late Fall (Oct-Nov) | Inspect building for entry points; remove inactive nests; install caps and screens before winter |
| Winter (Dec-Feb) | Best time for exclusion work and nest removal; birds not nesting; seal all identified gaps |
| Early Spring (Mar-Apr) | Inspect for new nesting activity before it starts; install deterrents on ledges now, before birds claim spots |
| Late Spring/Summer (May-Aug) | Avoid disturbing active nests; focus on deterrents and non-nest-related exclusion only; document nest locations for fall action |
| Early Fall (Sep) | Monitor for signs nesting has ended; plan fall exclusion work; begin material and equipment prep |
The single most common mistake homeowners make is waiting until summer to do exclusion work, then discovering a nest inside the wall they were about to seal. Plan your bird-proofing for late fall or winter, and you avoid almost all of the legal and ethical complications that come with nesting season.
FAQ
What should I do if the bird is still inside my house right now? (I cannot find where it entered.)
If the bird is inside right now, focus on getting it out and then immediately locate and secure the exact entry point you suspect. Do not wait days to “see if it goes away,” because birds that already found a gap often re-enter through the same route within hours once they calm down.
When I’m trying to get one bird out, do I close all openings or leave some access routes open?
Use a single active escape route during the cleanup window. For example, keep one open exit (such as a door you can safely monitor) while you close other access points if needed, then close everything the same day after the bird exits and the area is secured.
If I exclude the birds, do I still need to clean droppings and nesting debris?
Yes. Droppings and nesting material can remain for a long time, so even after the birds leave, odors and residue can attract others. After exclusion is complete, clean the area with appropriate wet methods or professional remediation, then allow full drying before sealing so you do not trap moisture behind barriers.
How long should I wait after installing a one-way exit before I permanently seal the entry point?
Don’t assume silence means success. After you install a one-way exit, keep checking for re-entry activity for at least 72 hours, then do a final inspection before permanently sealing. If you still see fresh droppings near the opening or ongoing movement at the exit, wait longer.
What is the correct order of operations, remove droppings first or seal entry points first?
For most homes, the safest order is identification and removal of the attraction factors, then exclusion, and only then cleanup. Cleaning droppings first can spread spores and dust before you’ve stopped the source, which increases exposure and can bring birds back to the same contaminated area.
How can I tell if the nest is active versus abandoned before sealing the gap?
If you suspect a nest, check whether there are adults present and whether you see eggs or chicks. If activity is still ongoing, do not seal. For likely abandonment, the article’s guidance is to wait about four weeks after the last adult visit before treating it as inactive.
Is it okay to use spray foam to patch the gaps I find under my roof or around vents?
Don’t use foam sealant to fill large structural gaps or to “test” a hole while birds are still entering. Foam can shrink, crack, and fail outdoors, and patching without full inspection can miss hidden entry points around vents and soffits.
If I block vents with screening, could I accidentally cause moisture or HVAC issues?
Yes, airflow matters. If you reduce vent openings too much, you can create condensation and moisture problems that worsen roof, attic, and HVAC performance. Choose the largest mesh that still blocks the target bird and verify your vent can maintain required airflow.
What should I do if I cannot confidently identify the bird species I’m dealing with?
If you cannot confidently identify the species, treat it as protected until proven otherwise because most native birds are covered. This affects what you can legally remove, the timing of nest-related work, and whether exclusion and habitat modification are the right approach.
Do ultrasonic devices, fake owls, or reflective tape permanently stop birds from returning?
No. Ultrasound, most “repellent” devices, and decoys tend to lose effectiveness once birds habituate. If you use them at all, they should be short-term support while exclusion and habitat changes are being completed.
What counts as “too much” droppings for a DIY cleanup?
If droppings are more than a small localized area, DIY cleanup can expose you to airborne particles and spores. In enclosed spaces, the recommendation is to treat large accumulations as a professional remediation job with proper containment and respiratory protection.
What if birds are stuck in a wall cavity or in an area I can’t reach?
If you find a bird in an inaccessible wall cavity or void, assume it may be trapped and potentially injured, and the “capture and remove” approach can become unsafe quickly. In those situations, the practical next step is to contact a wildlife control professional rather than opening walls yourself.
How do I handle it differently if the bird is a pet or a neighbor’s escaped bird instead of wild wildlife?
A pet bird escape requires different steps, and the wrong approach can stress the bird and put you at risk. Contact local animal control or follow your area’s lost-pet guidance, and use humane capture methods appropriate for domestic birds, not wildlife exclusion techniques.